In this video, learn how to properly prepare the printing material and master the gestures that will make successful prints.
Do you prefer to read? Here is the transcript
Printing Material Preparation
For this step, you will need several tools: start with your exposed and washed-out screen with your logo, a printing squeegee, ink – in your case, water-based textile ink – a few mixing sticks, masking tape, a printing support, in our case a tote bag, and especially a tool to hold your screen, here a screen printing press.
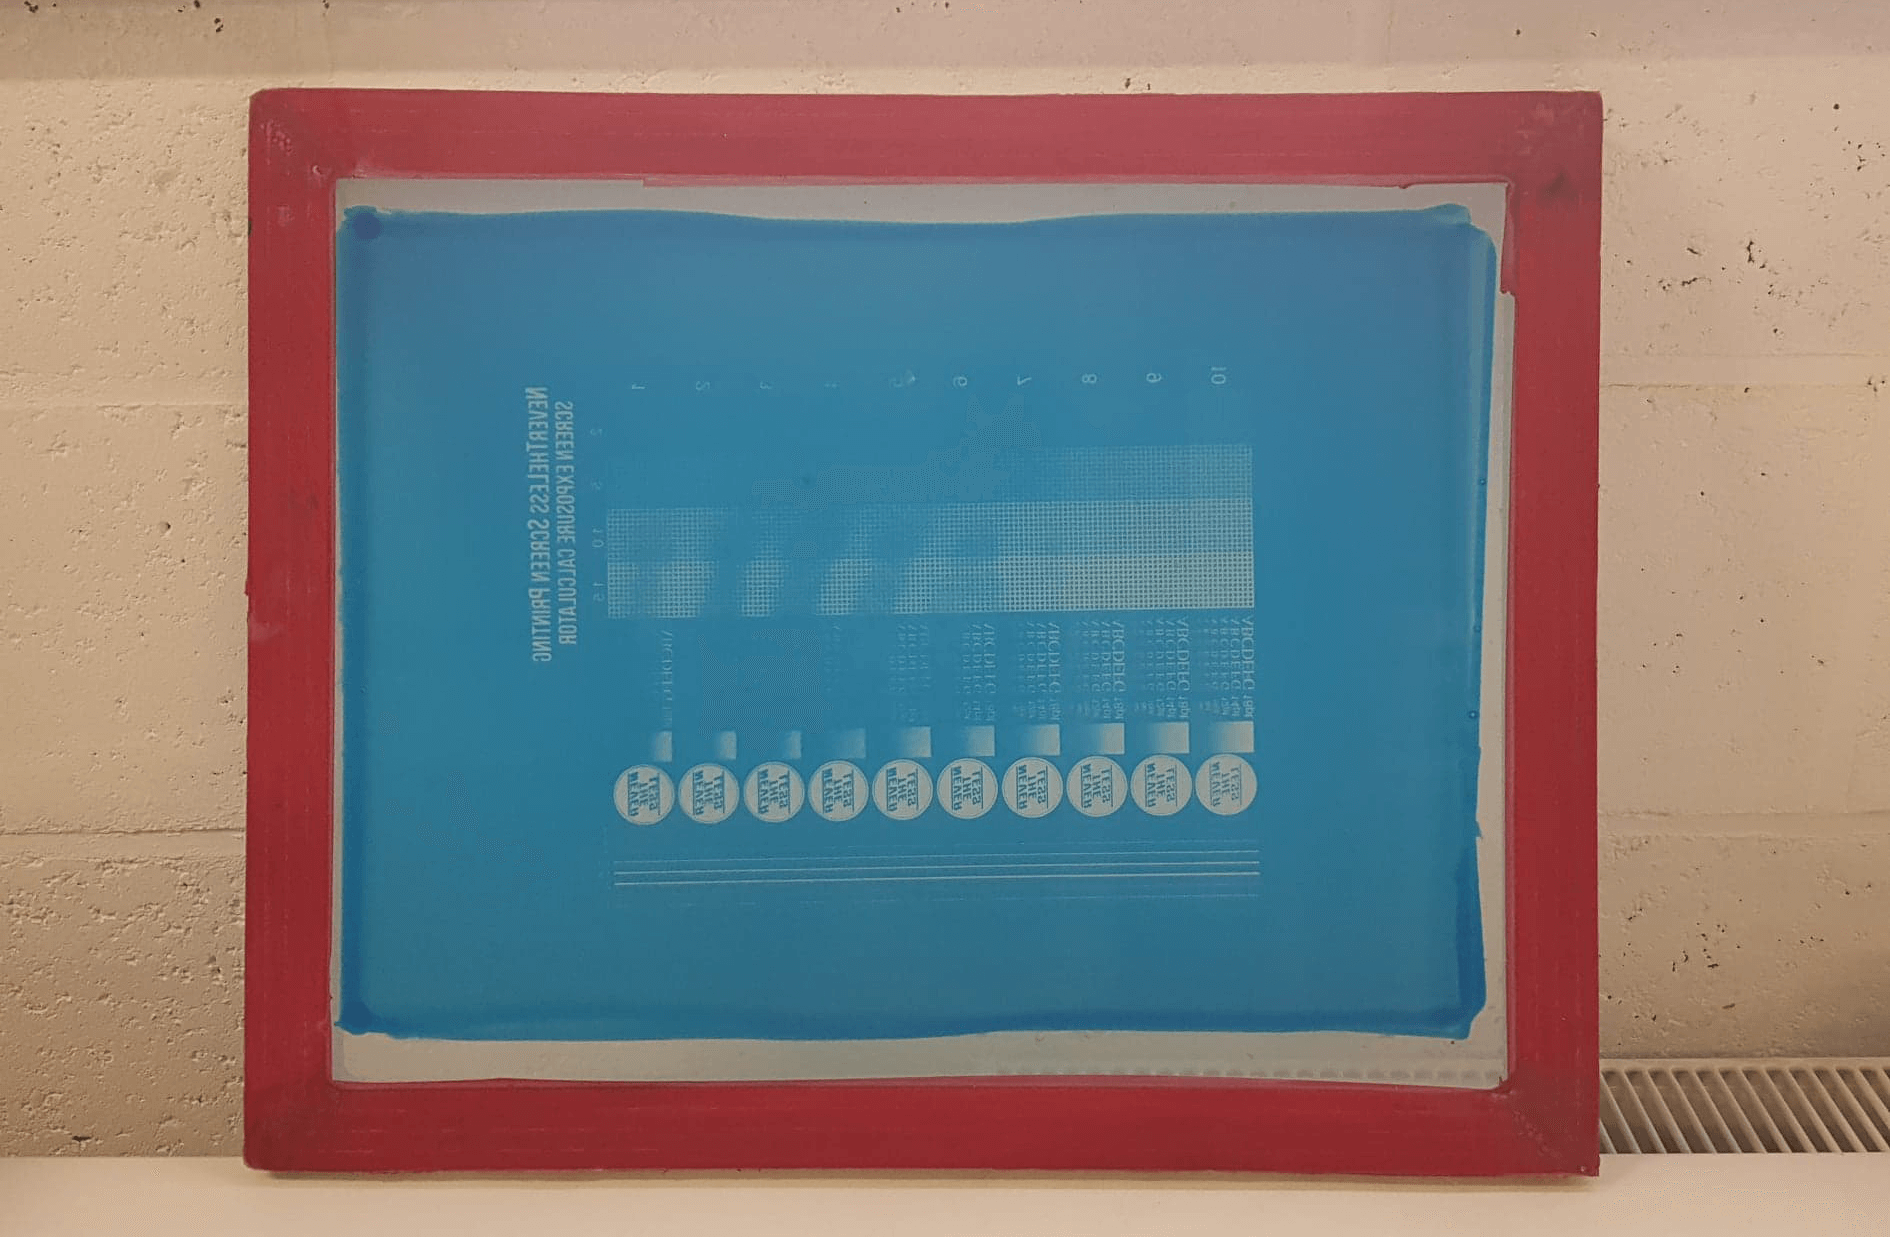
Before you start printing, you need to prepare your screen using the masking tape, which will help cover the edges where the emulsion couldn’t cover the mesh.
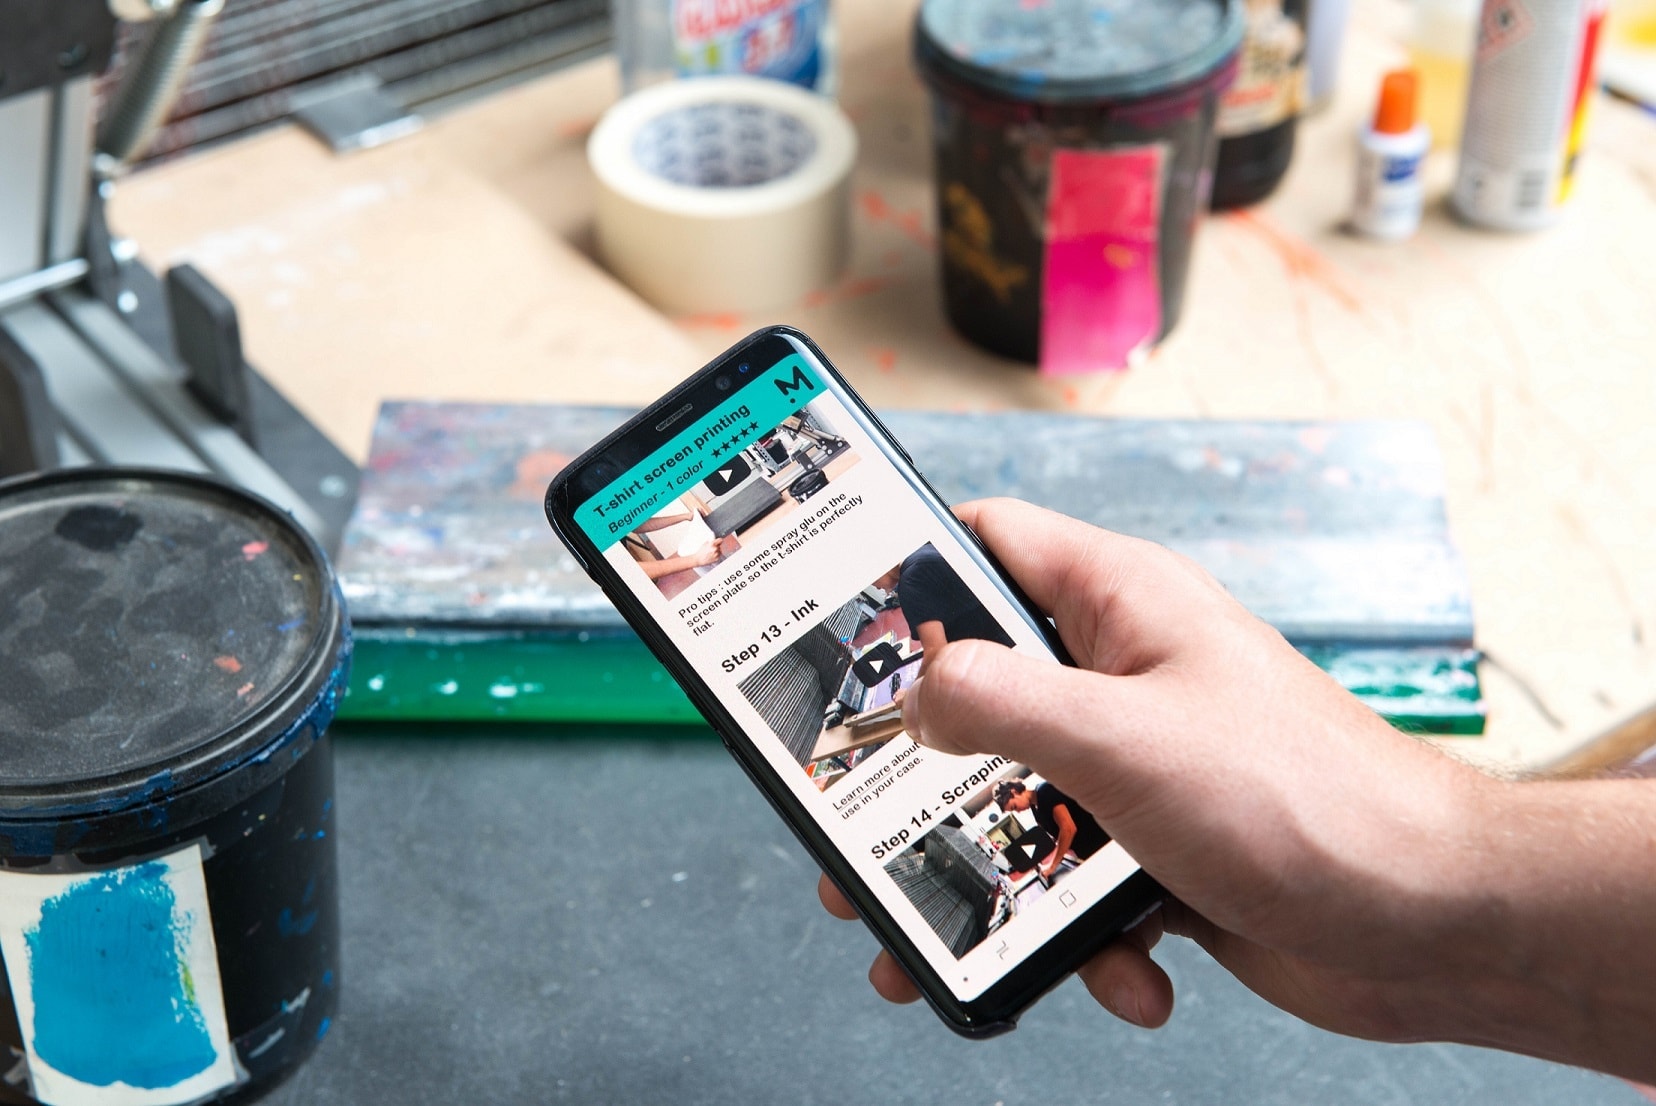
Start by preparing your printing surface by applying a light layer of spray adhesive. This will keep your tote bag or t-shirt from moving or sticking to the screen during printing.
If you’re doing a series of t-shirts or tote bags, renew this operation every 5 to 6 prints.
You can now install your screen. If you’re using the Mekanika kit, just tighten the black handles to keep the screen in place.
Ink mixing
A little more patience before printing, you need to prepare the ink first. In screen printing, there are two main types of inks: solvent-based and water-based. As their names indicate, solvent-based inks are made with solvents and cleaned with acetone, while water-based inks are cleaned with water.
In our kit, we provide Sicot brand water-based textile ink. This ink should be diluted to 10 to 15% of its volume and should be well mixed before use.
The texture will go from a thick yogurt-like consistency to a smooth Danette-like one.
So, don’t hesitate to work your ink for a few minutes to get this texture.
Manipulations
Grab your printing squeegee and place it against the screen, then apply a good amount of ink across the width of the logo to be printed. Note that this ink should not be applied directly on the logo, but just in front of your squeegee.
Lift your screen slightly with one hand and proceed to flood your screen with the other hand. Then lower the screen onto the tote bag and proceed with the squeegee stroke to print.
The squeegee stroke is a gesture that takes a few tries to master, but it's not complicated.
The big reveal!
Finally, you can lift your screen and see that all this preparation was worth it.
Once printed, water-based ink dries in the open air, but to stick to your support, it must be cured. For that, use a heat gun or a hairdryer and expose your ink to 150 degrees for three minutes for optimal washing durability.
After the art comes the cleaning
When you’re done printing, you can move on to the most fun part, cleaning. Start by collecting the excess ink from your screen. You can safely put it back in the pot. Then unscrew your screen and use a sponge to rinse everything with water.
Depending on the ink you used, and the time spent printing, some meshes may be harder to clean. To clear them, aim the water jet from your sink or sprayer at these meshes. Block and scrub with a sponge.
Next step: how to make a different impression?
That’s it, you’ve printed your tote bags and cleaned your screen, there’s no ink left on it.
Mekanika is a Belgian company based in Brussels whose ambition is to make local production more accessible thanks to a 100% open-source approach.
We design and produce high quality machines for CNC milling and screen printing, which have been recognized for their reliability and ease of use. Our tools are delivered as kits and fully documented, allowing to easily adapt them to specific needs.
Here are 10 common mistakes that beginner screen printers make, and how to avoid them, with a set of video tutorials to take you through your first successful print, step by step.
Not sure which criteria should make you go for an inkjet or a laser printer? Check this article, understand the pros and cons and get printer recommendations.