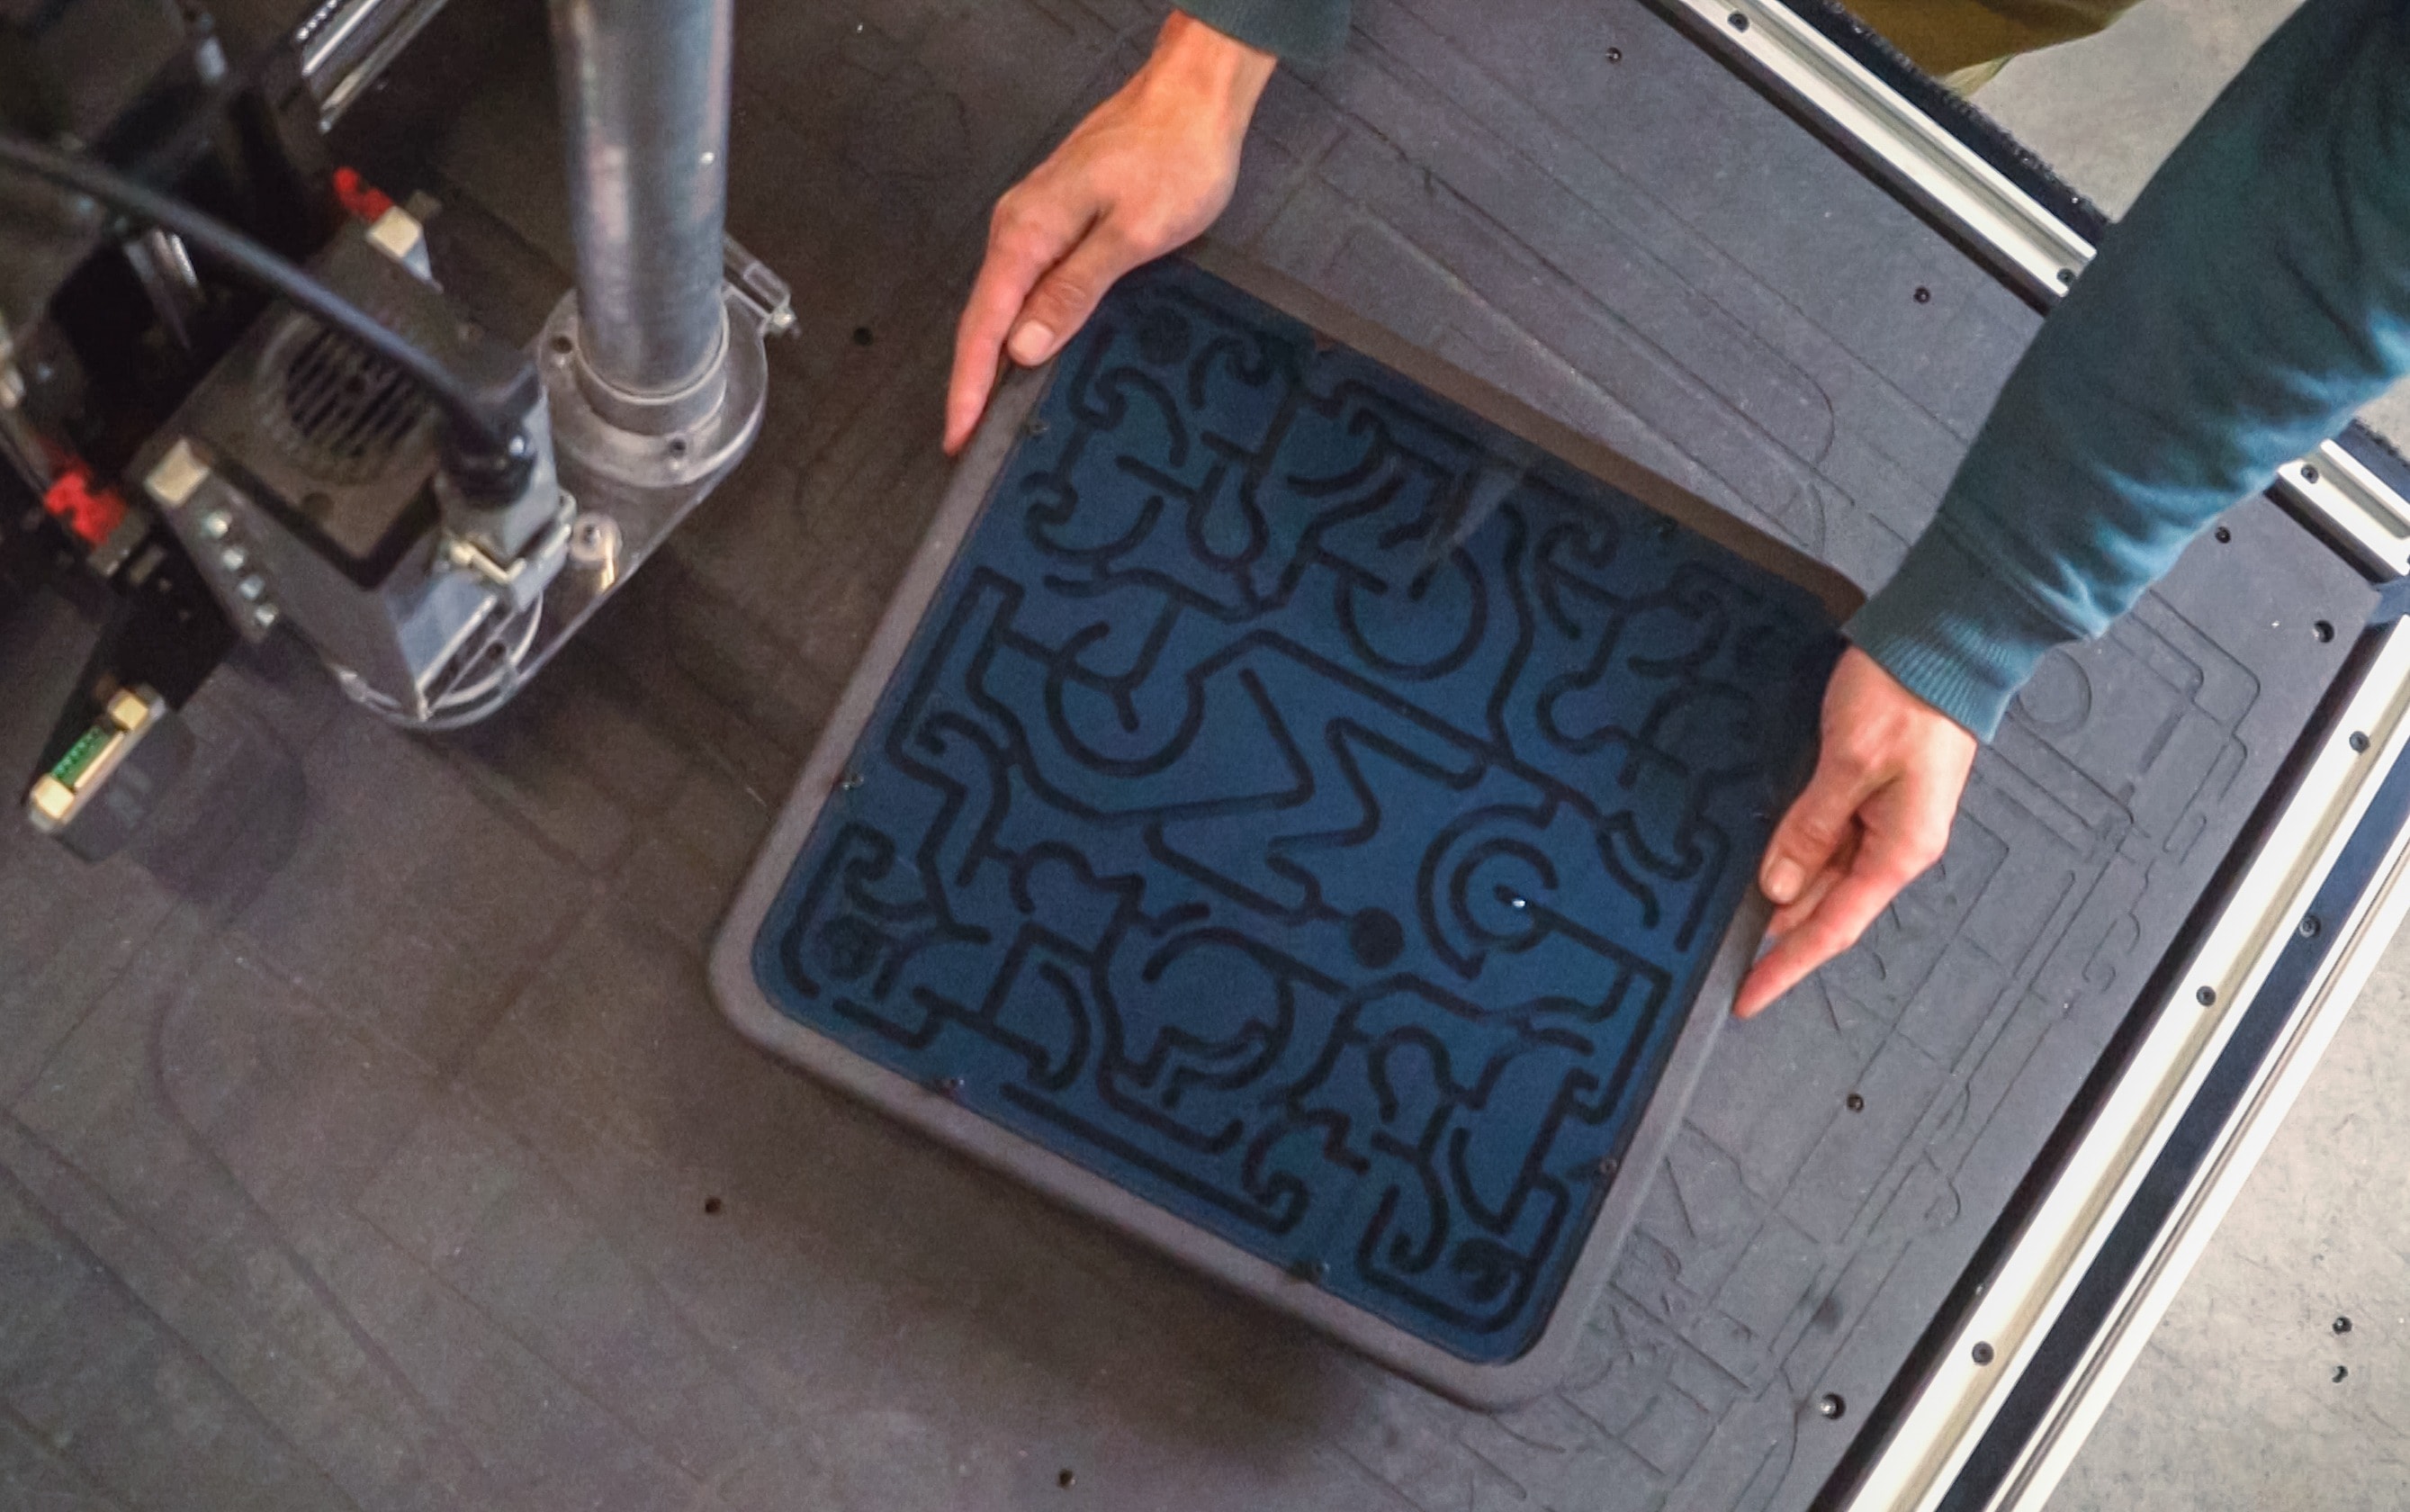
A guide to create a marble labyrinth made of wood and learn some basic CNC milling operations. This is an easy project to get started with your CNC.
Quentin Liard
Customer Support

This project is great for people who already have some experience with CNC milling.
The stand consists of 2 identical legs, each made up of 3 parts: Long Vertical - Short Vertical & Horizontal;
If you are familiar with Fusion, you can also create a new Gcode from the CAD body to make the legs in a 1 contour operation. For example, you could use plywood to make the stand from two 1-piece legs, which would be much faster and reduce the cost of the stand.
Each leg consists of 3 pieces and thus 3 G-codes;
We used beech wood for our stand, but you can use any material you like for this project.
1) Oversize your stock (+20mm on each side) to properly secure it to the spoiler board. Securing it firmly to your spoiler board will not only prevent your piece from flying around, but will also reduce the amount of vibration during milling and thus improve the surface finish.
Check out our "Feeds and Speeds Explained" article to learn more about the influence of parameters on your milling results.
2) If, like us, you are using solid wood, you need to pay attention to the direction of the grain! Your grain should be parallel to the long edge of each piece you mill. Orienting your grain the other way would break the structural integrity of the fence and it would break quickly when you use it.
| Good grain direction | Bad grain direction |
 |
 |
We used a 6mm 3-flute flat end mill for this project. You can buy one directly from our webshop.
You can also edit the Autodesk Fusion 360 project to use a different end mill if you want.

Each leg consists of 3 pieces, so 3 G-code files are needed for each leg.
This part consists of 2 operations:
This part consists of 2 operations: .
This part consists of 2 operations: .

Mekanika is a Belgian company based in Brussels whose ambition is to make local production more accessible thanks to a 100% open-source approach.
We design and produce high quality machines for CNC milling and screen printing, which have been recognized for their reliability and ease of use. Our tools are delivered as kits and fully documented, allowing to easily adapt them to specific needs.
Visit our shop to find out more, or check out our online resources and tutorials to continue learning.

A guide to create a marble labyrinth made of wood and learn some basic CNC milling operations. This is an easy project to get started with your CNC.
Quentin Liard
Customer Support

This guitar was imagined and designed by Hussein of Barada Guitars, with the help of his friend Austin, who lent his expertise to the design of the CAD files.
Roldan Descamps
Sales & Marketing

This project will guide you through the creation of a fully functional folding ping pong table entirely made of CNC cut wood panels.
Quentin Liard
Customer Support