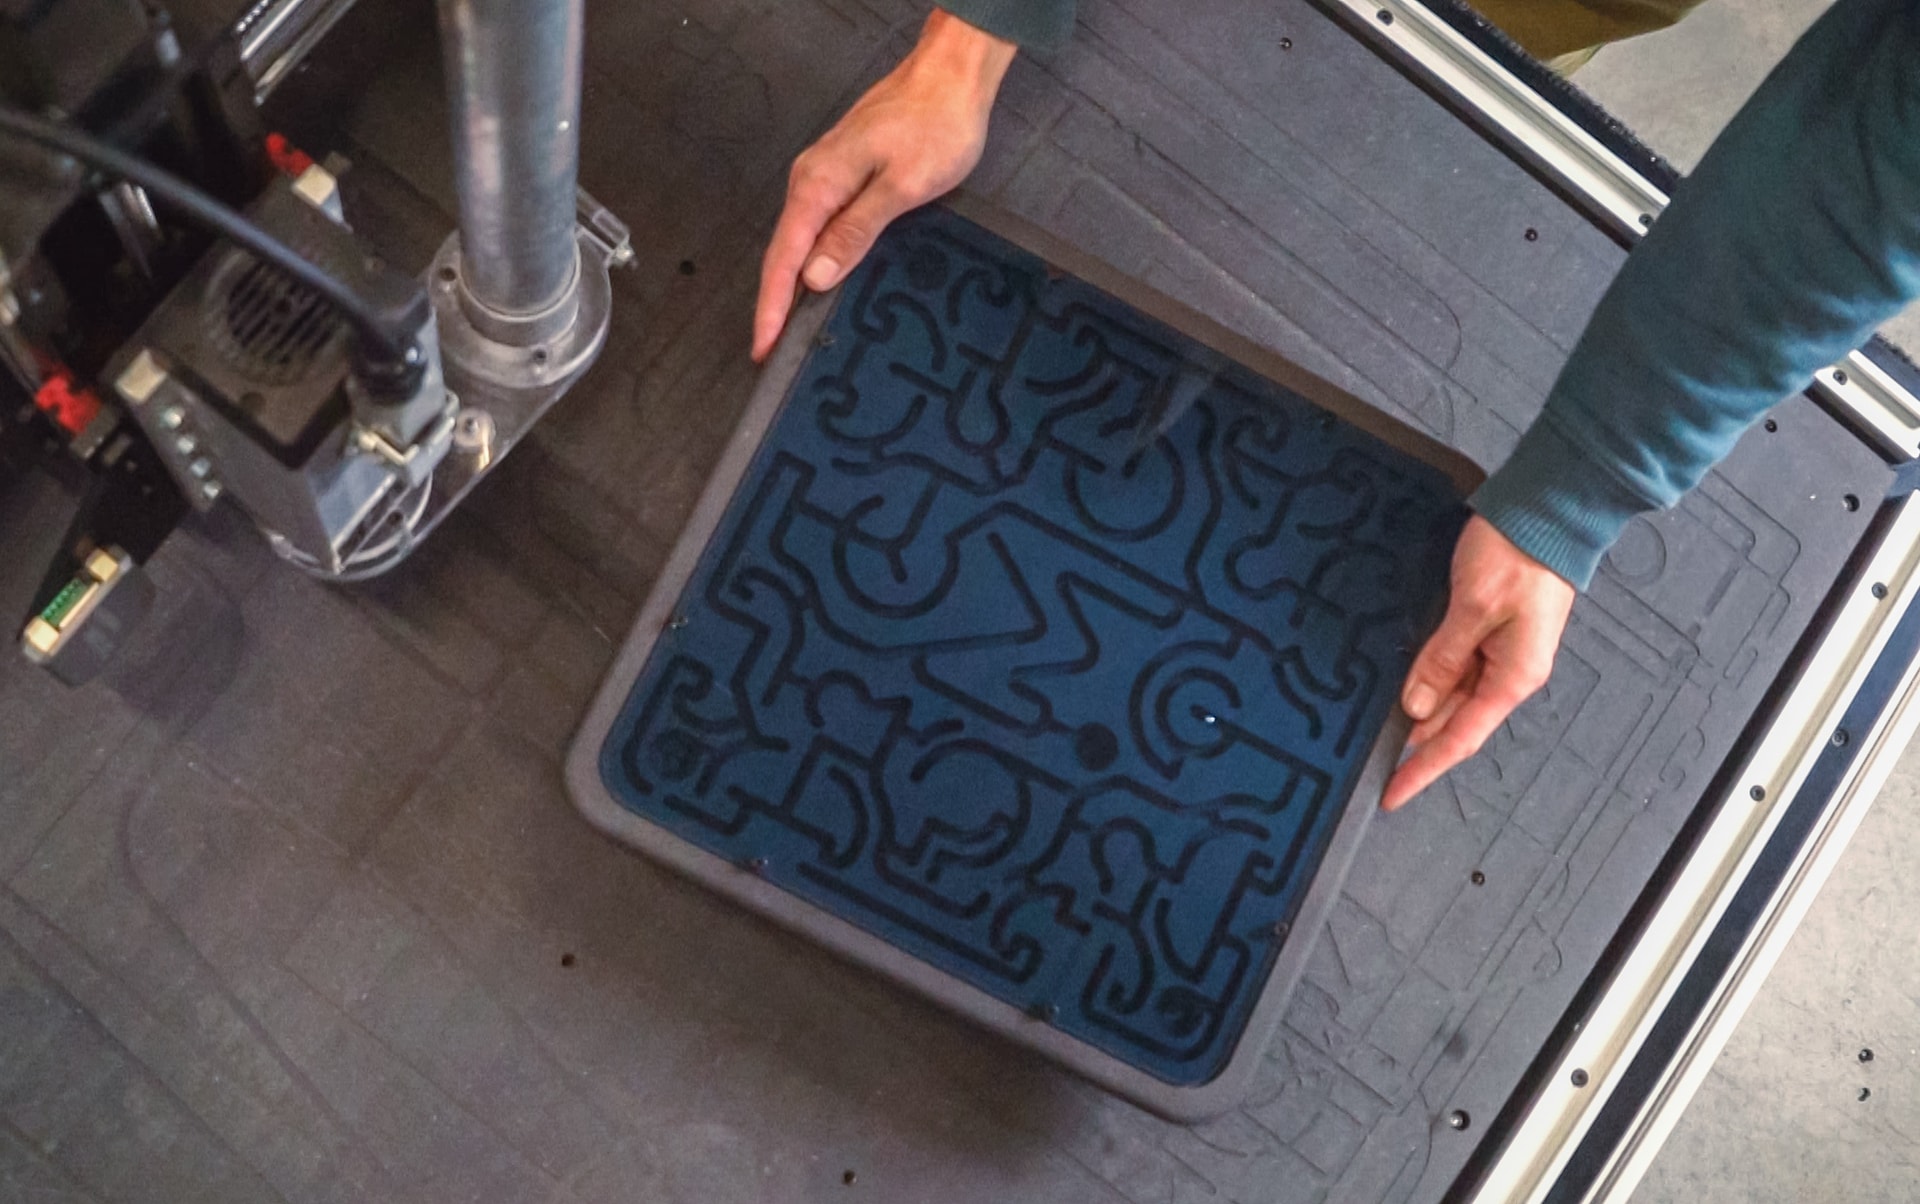
Learn CNC Basics by Making a Marble Maze
A guide to create a marble labyrinth made of wood and learn some basic CNC milling operations. This is an easy project to get started with your CNC.

Quentin Liard
Community Manager
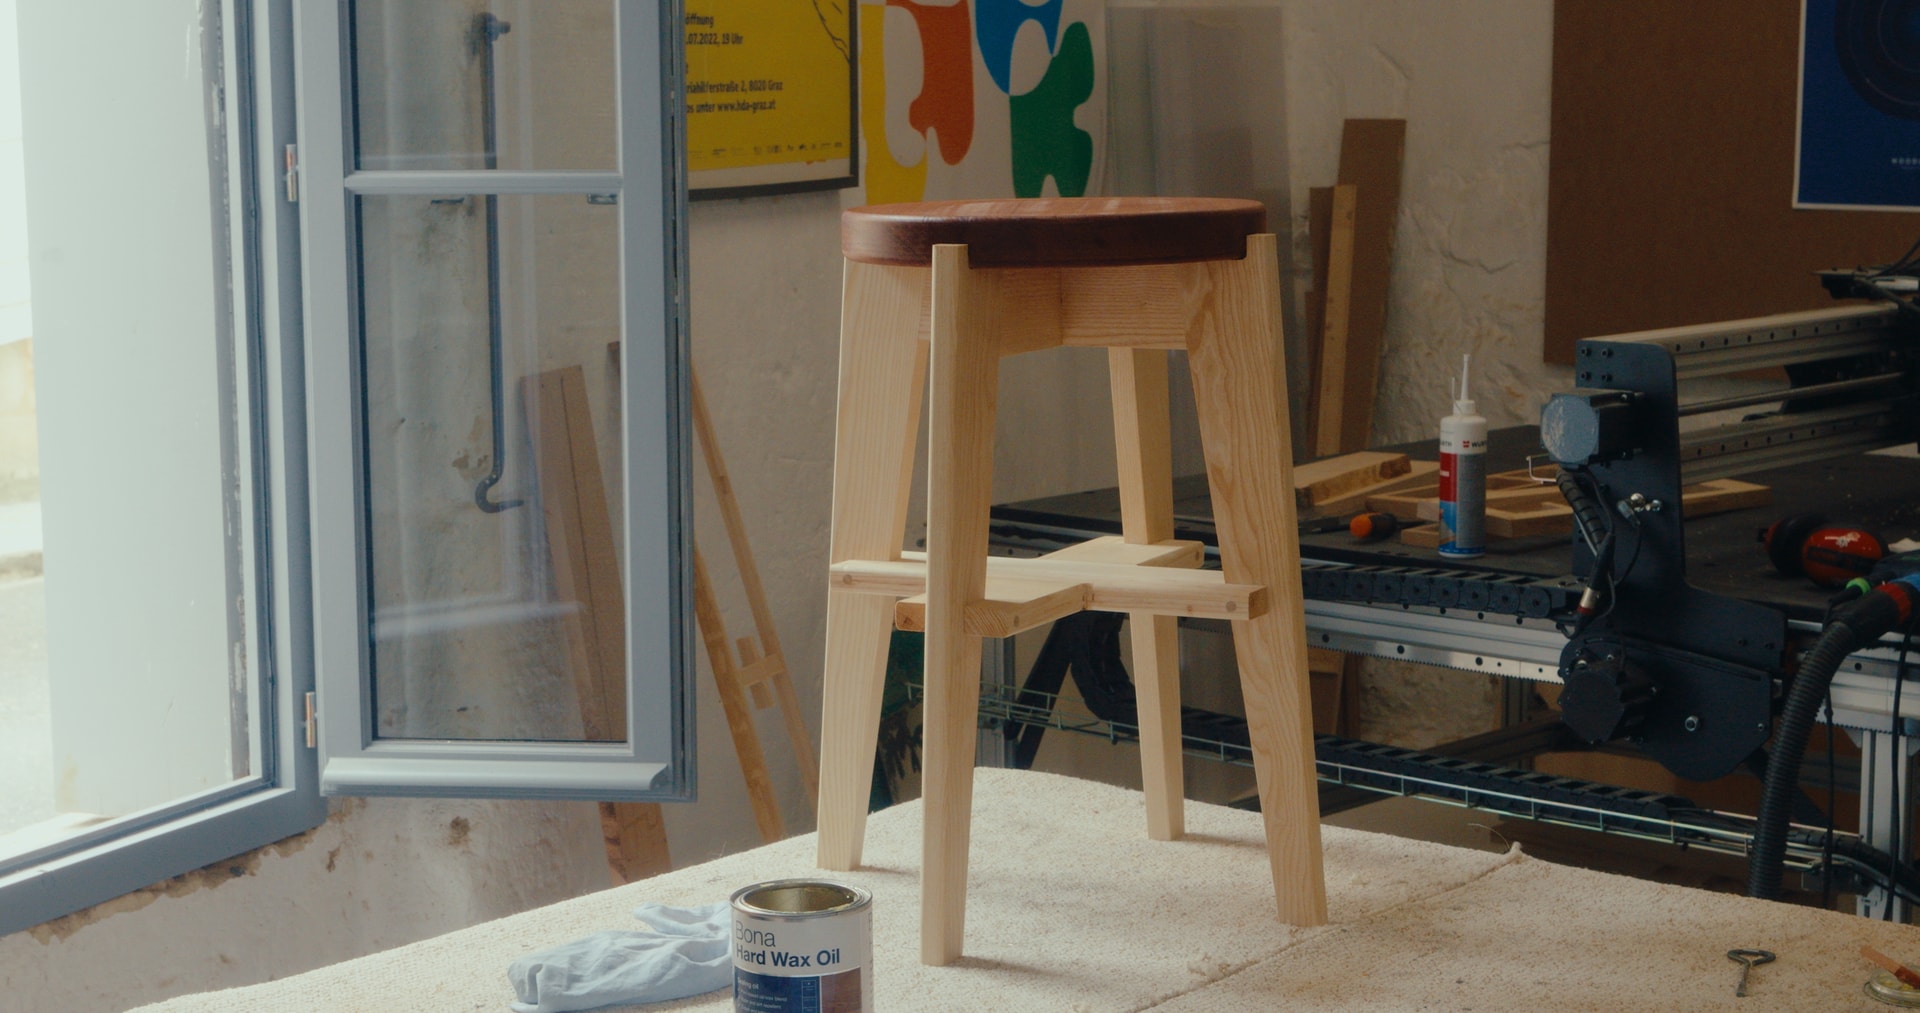
David is the woodworker behind Haddock Menuiserie, a workshop near Bordeaux specialising in solid wood furniture. Winner of the Meilleurs Artisans de France award for joinery in 2026, he produces his pieces on a Mekanika Fab CNC, including his Easy Armchair collection, inspired by mid-century design.
David is now sharing the plans for the stool from this collection with the Mekanika community. It is inspired by the model Pierre Jeanneret designed for the city of Chandigarh. The Autodesk Fusion file is free and open source: download it, mill it, adapt it.
In this tutorial, you'll find his six main build steps, his machining settings and the tips he has collected over the years. To discover his workshop and approach, read his portrait too.
"It's a fairly simple piece to make. You need to focus and not rush, but it's quite easy for something that looks this good." David, Haddock Menuiserie
| Level | Intermediate: some prior experience with CNC and solid wood is recommended |
| Time | About 2 days, including glue drying time |
| Wood | Solid ash for the legs, sipo (utile) for the seat, or any other species |
| Thickness | 25 mm, or 24.9 mm (see step 2) |
| File | Autodesk Fusion model (.f3d) |
| Parts to mill | 4 legs, 2 leg connectors, the central cross brace, 1 seat |
For David, the CNC doesn’t do everything. What really streamlined his solid wood furniture production is the combination of two things: fast, repeatable cuts on the CNC router, and assembly jigs that let him put pieces together without second-guessing. He uses 12 of them for his Easy Armchair. He shows you his jig with its locking key in the video.
He assembles with a Domino or with pegs. No Domino in your workshop? A Lamello or dowels will do the job too.
Not comfortable with joinery? You can also go for an alternative version, with parts cut in one piece. It uses more wood, but it’s easier to assemble.
Choose your wood for its physical and aesthetic qualities. David recommends ash: you can keep its natural light tone or oil it brown, black, etc. For the seat, he reused sipo from a previous project. Any other species works.
This is the key step for everything to fit together. The stool combines bridle joints and half-lap joints: your wood must be exactly the thickness in the Autodesk Fusion file, 25 mm.
David planes “just under 25”, so closer to 24.9 mm: one tenth of a millimetre under is enough for the parts to fit perfectly, without forcing.
For your first build, start with the parts that fit into each other: the central cross brace and the leg connectors. Dry-fit them. If the fit is good, your stock preparation is validated: launch the legs and the seat.
To anchor the solid wood firmly to the spoilerboard, David uses double-thread screws (he gets them from Würth), but you can use the workholding method of your choice.
Important: square the joint corners. The end mill leaves a small radius in the inside corners, which prevents the parts from fitting together. Remove it with a router and a flush-trim bit (fastest and cleanest) or with wood chisels.

Square the first parts while your CNC mills the next ones.
When dry-fitting, don’t push the joints all the way in: once seated, they’re very hard to get out.
Avoid passes that are too shallow (1 or 2 mm): you always wear the same area of the bit, which dulls very quickly. With an 8 mm bit, David never goes below 4 mm per pass, even in ash.
Each leg frame has 3 parts to glue, 6 parts in total. On paper, it’s the simplest step. In practice, it’s where a slight misalignment can creep in: really take your time.
Tip: cut wooden blocks that compensate for the angle of the leg frame. They give you optimal clamping pressure.

Once the glue is dry, run a light roundover with the router on all outside edges. Break the inside edges with a sanding block. Round over the edges of the seat too.
You now have a cross brace, a seat and two leg frames, glued, sanded and chamfered.

If the leg frames were glued correctly, the stool sits perfectly flat. If there’s a slight offset, trim the legs: your CNC’s spoilerboard is an excellent reference surface. Prefer to avoid traditional trimming? Simply stick a very thin felt pad under the leg or legs concerned.
David's settings for milling solid wood:
| Setting | David’s recommendation |
| End mill for solid wood | Ø 8 mm in most cases, 30, 32 or 35 mm cutting length |
| Thick stock | Ø 10 mm |
| Minimum depth of cut | 4 mm with an Ø 8 mm bit, even in a dense wood like ash |
| Depth of cut range | From half the diameter to the full diameter, depending on wood density |
| Compression bit | Plunge deep enough to benefit from both the upcut and downcut sections |
| Workholding | Double-thread screws into the spoilerboard |
David shares these open source plans for free. Open the model in Autodesk Fusion to check your wood thickness and adapt the toolpaths to your end mill and machine.
David will soon share the plans for the Easy Armchair, a slightly more complex project built around his set of 12 assembly jigs.
Share your photos and variations with the Mekanika community on Discord or tag us on Instagram: we’ll be happy to repost them.
Thanks to David from Haddock Menuiserie for sharing!
Mekanika is a Belgian company based in Brussels whose ambition is to make local production more accessible thanks to a 100% open-source approach.
We design and produce high quality machines for CNC milling and screen printing, which have been recognized for their reliability and ease of use. Our tools are delivered as kits and fully documented, allowing to easily adapt them to specific needs.
Visit our shop to find out more, or check out our online resources and tutorials to continue learning.
A guide to create a marble labyrinth made of wood and learn some basic CNC milling operations. This is an easy project to get started with your CNC.
Quentin Liard
Community Manager
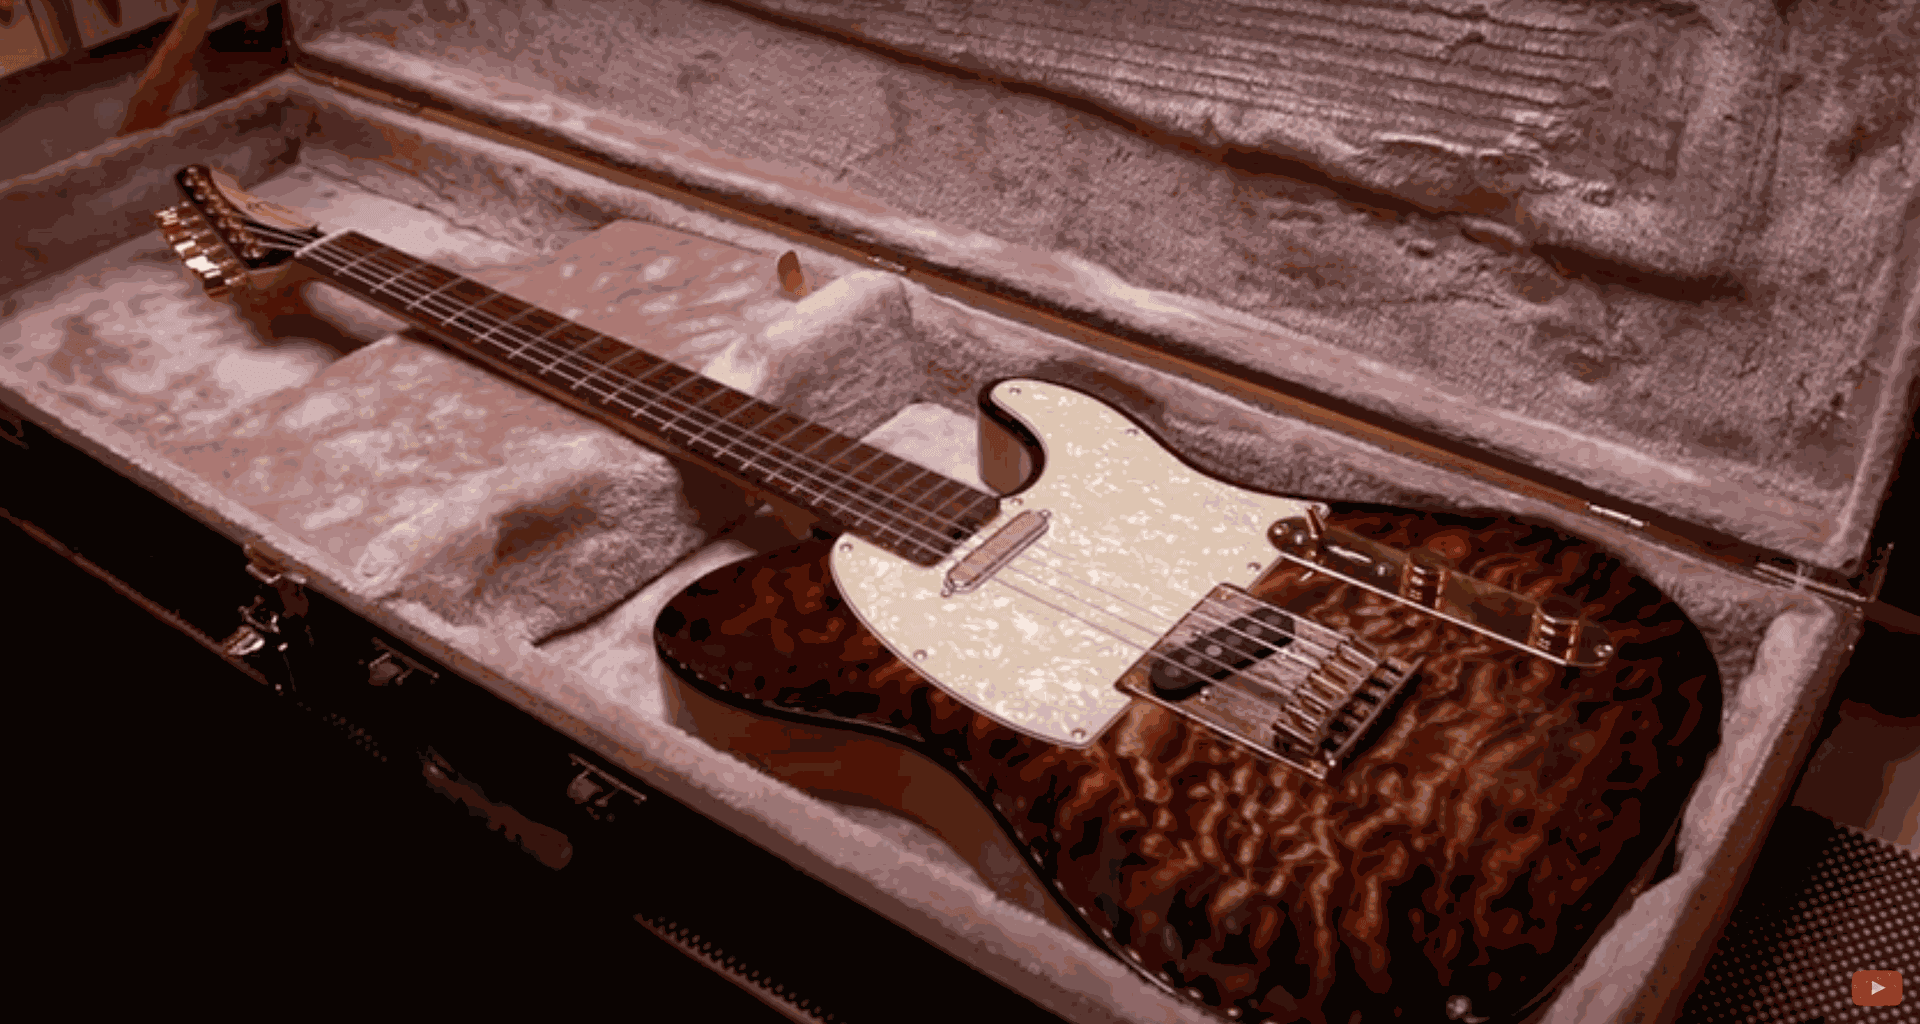
This guitar was imagined and designed by Hussein of Barada Guitars, with the help of his friend Austin, who lent his expertise to the design of the CAD files.

Roldan Descamps
CEO
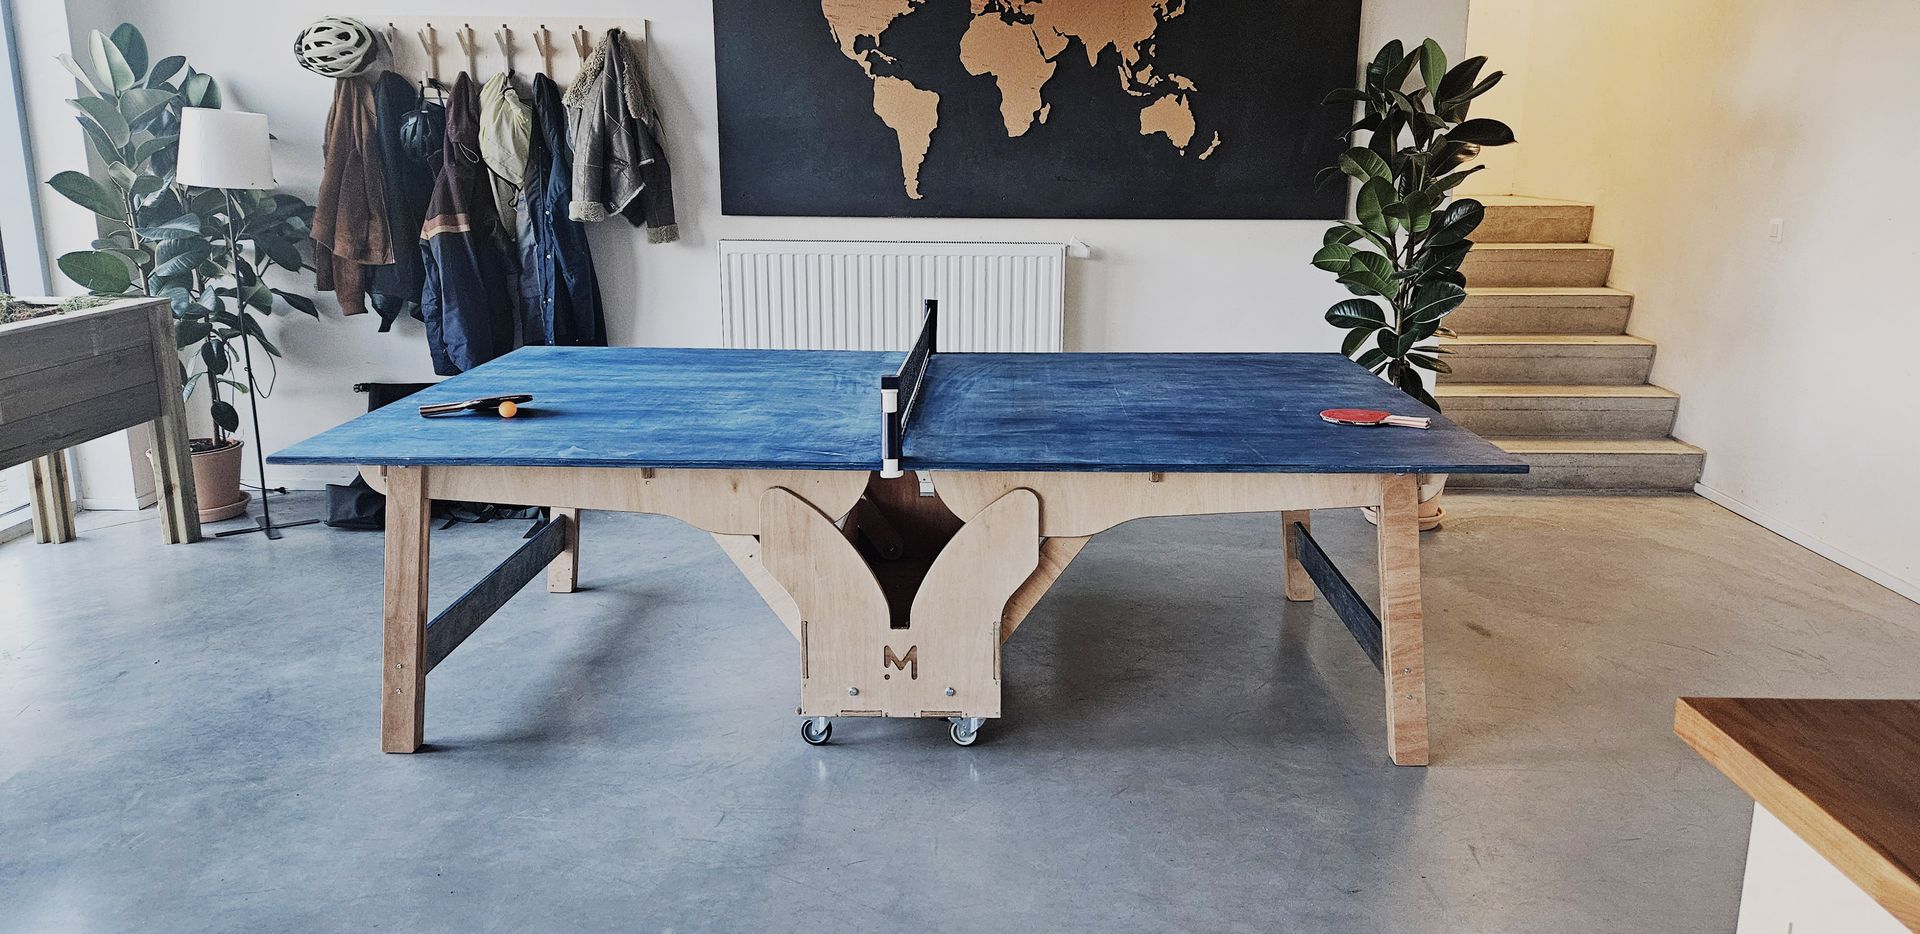
This project will guide you through the creation of a fully functional folding ping pong table entirely made of CNC cut wood panels.
Quentin Liard
Community Manager