Hallo zusammen, ich bin Martin von Mekanika. In diesem Video spreche ich über die Belichtungsphase. Die Belichtung ist der Schritt, mit dem Sie Ihr Design auf den Bildschirm bringen und dann drucken können.
Sobald Ihr Rahmen beschichtet und getrocknet ist, ist die Belichtung der entscheidende Schritt bei der Erstellung einer schönen Schablone und bestimmt die Feinheit und Qualität Ihres zukünftigen Drucks.
Bei der Belichtung wird die Emulsion mit einer Lichtquelle bestrahlt, aber nicht mit irgendeiner Lichtquelle. Es sind die UV-Strahlen, die die Emulsion zum Reagieren bringen.
Für diesen Schritt verwenden professionelle Siebdrucker Belichter mit speziellen, teuren UV-Lampen.
In unserem Fall bieten wir Ihnen eine alternative Lösung auf der Grundlage eines leistungsstarken 500-Watt-Hochleistungs-Halogenstrahlers, der tatsächlich genug UV-Strahlung aussendet, um Ihre Emulsion zum Reagieren zu bringen.
Sobald Ihr Belichtungskit zusammengebaut ist, müssen Sie es nur noch in die Presse einbauen. Die gesamte Einrichtung ist fertig, wir können nun mit der Belichtung fortfahren.
Exposition
Wir können nun mit der Belichtung fortfahren. Beginnen Sie, indem Sie Ihren Rahmen mit der Außenseite des Siebs nach oben auf die Druckplatte setzen.
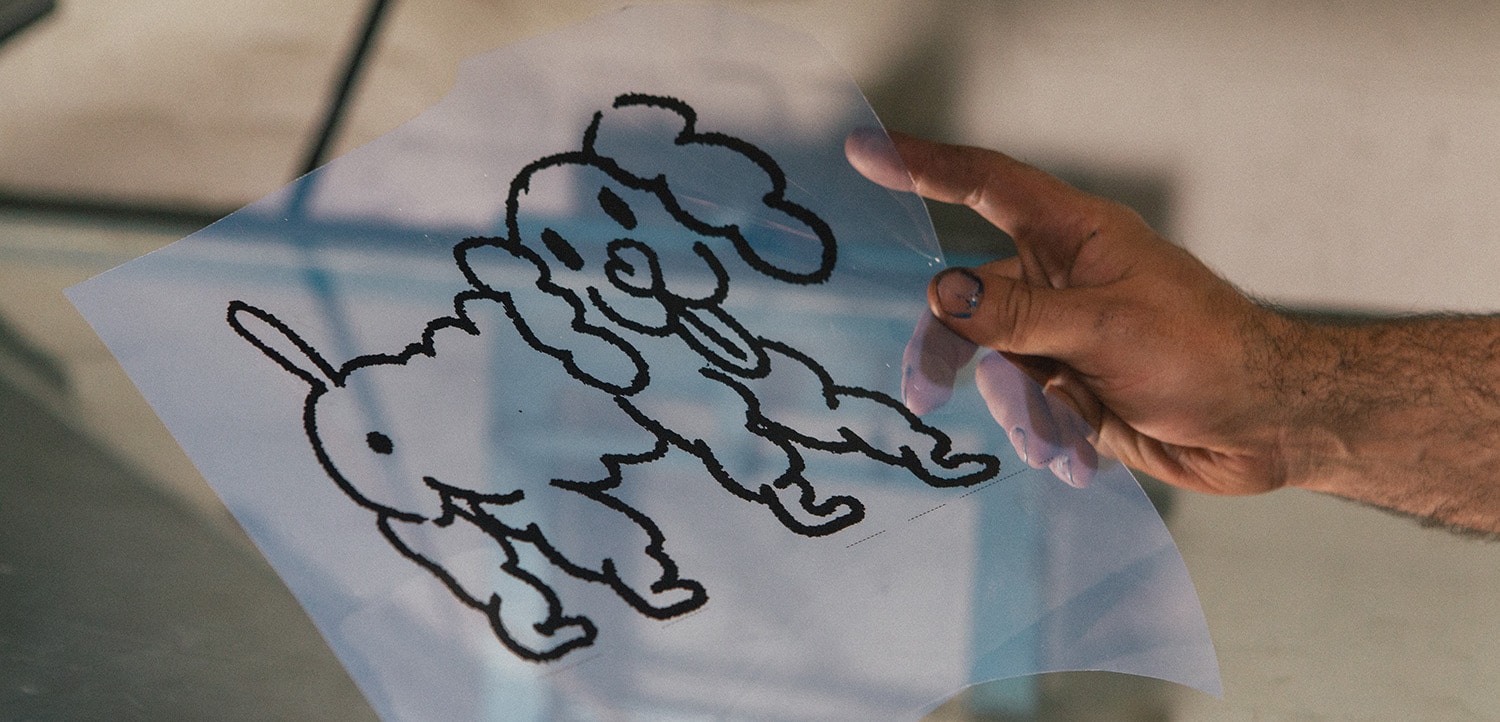
Dann legen Sie Ihre Schablone auf die Emulsionsschicht und achten darauf, dass das zu druckende Bild in umgekehrter Richtung platziert wird.
Als Nächstes legen Sie eine Glas- oder Plexiglasplatte auf, um sicherzustellen, dass die Schablone auf der Emulsionaufliegt, damit die Belichtung scharf und präzise ist.
Wenn Sie keine Glas- oder Plexiglasplatte haben, können Sie auch Klebeband verwenden, aber seien Sie vorsichtig mit transparentem Klebeband.
Wenn alles an seinem Platz ist, können Sie Ihre Lichtquelle einschalten. Die Belichtungszeit hängt von mehreren Parametern ab:
der Art der verwendeten Emulsion
der verwendeten Lichtquelle
dem Abstand zwischen Rahmen und Lichtquelle.
Für diejenigen, die unser Mekanika-Kit verwenden, beträgt die optimale Zeit für eine 1+1-Beschichtung 4 Minuten.
Abisolieren
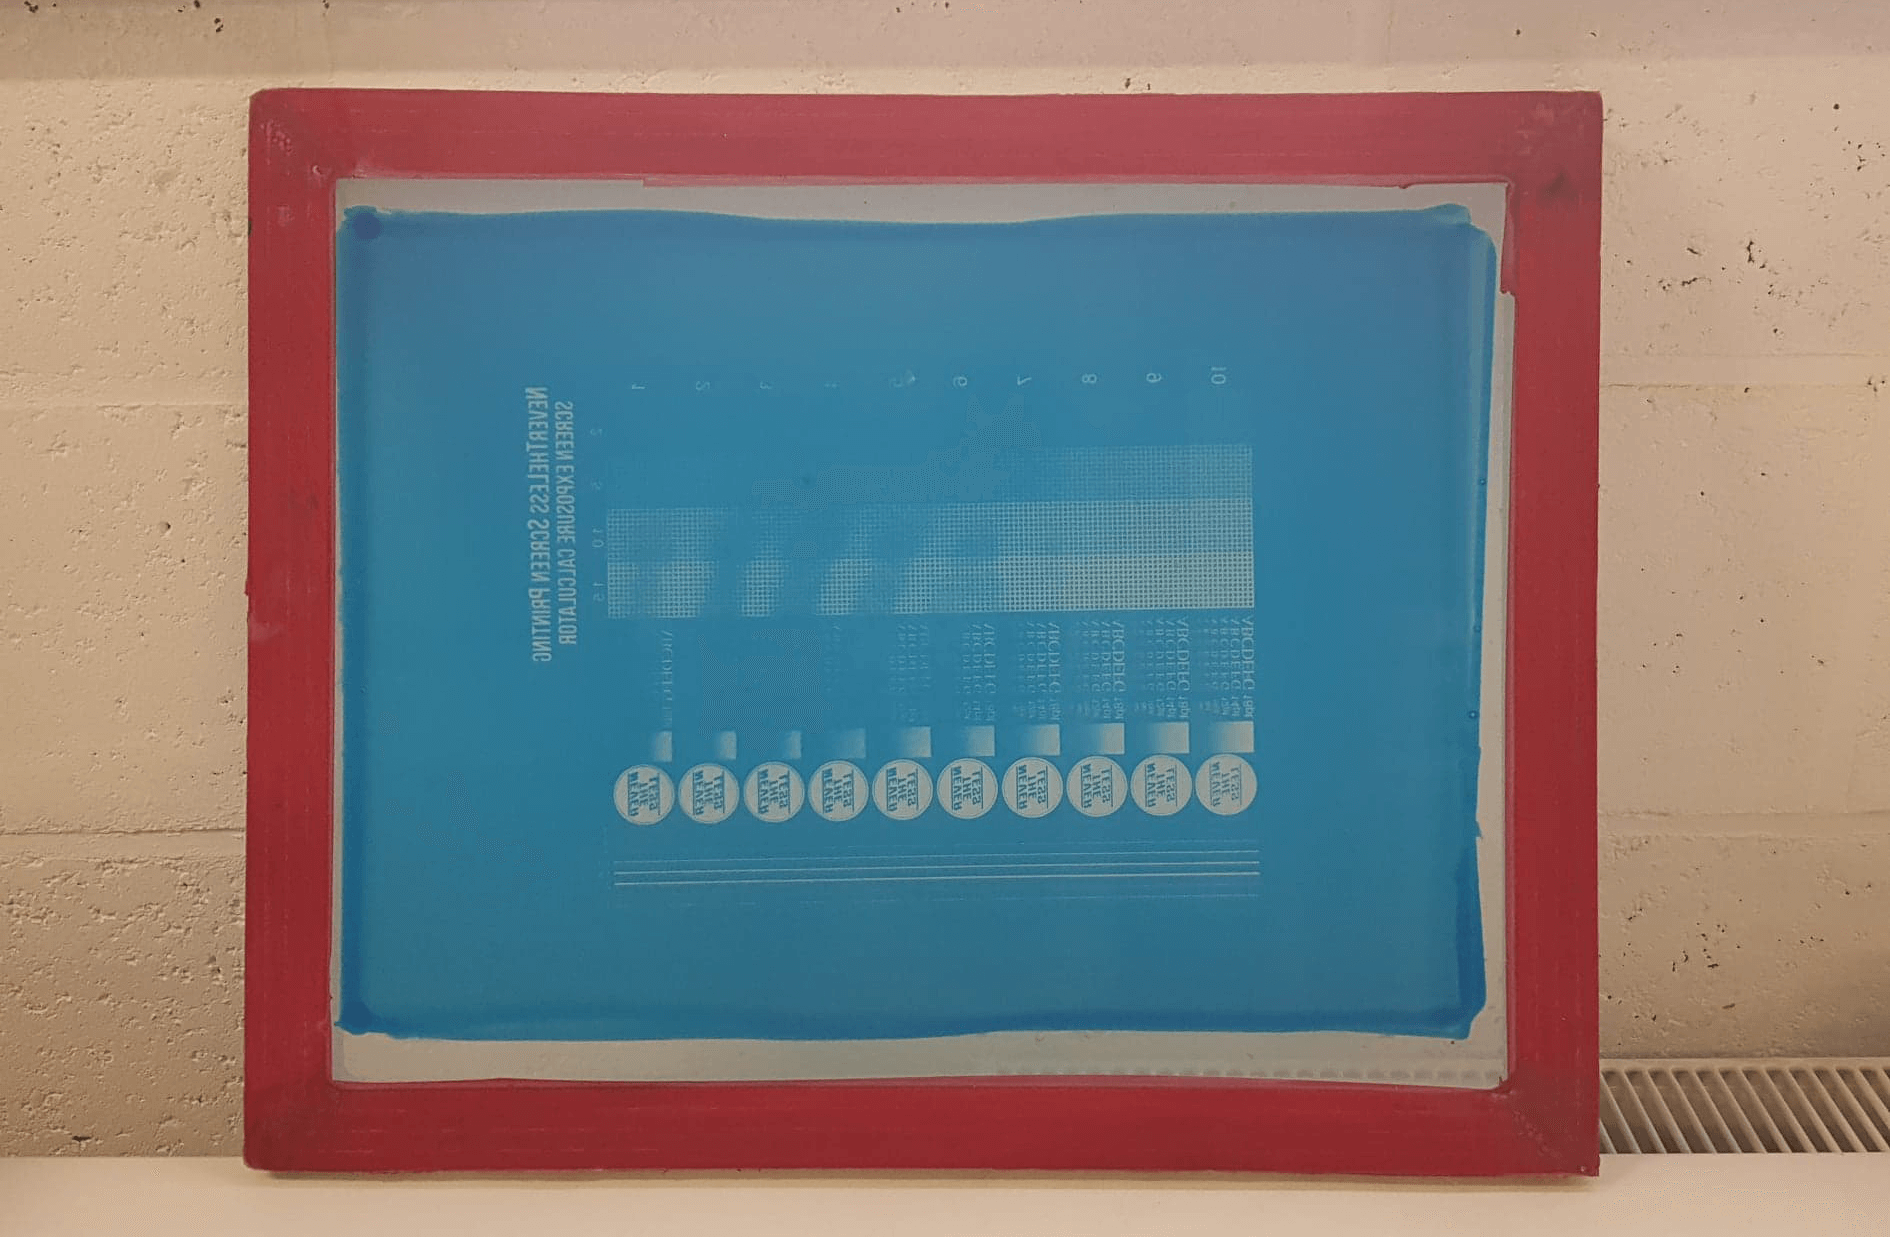
Die 4 Minuten sind um, also verlieren Sie keine Zeit. Beim Ablösen wird der Rahmen nach dem Belichten einfach unter Wasser gehalten, um das Logo freizulegen.
Richten Sie den Wasserstrahl aus Ihrem Waschbecken oder Ihrer Handbrause auf den Rahmen und lassen Sie das Wasser einige Sekunden lang über das Design laufen, damit Ihr Bild erscheint.
Ein Schwamm ist in dieser Phase nicht unbedingt erforderlich, aber wenn Sie ihn vorsichtig verwenden, kann er Ihnen helfen, die gesamte Emulsion ordnungsgemäß zu entfernen. Überprüfen Sie Ihren Rahmen unter dem Licht, um sicherzugehen.
Tipps
Nach dem Entfernen können noch einige kleine Unebenheiten auf Ihrem Rahmen vorhanden sein. In Wirklichkeit handelt es sich dabei um Löcher in der Emulsion, durch die die Tinte beim Drucken hindurchfließt. Und es gibt einen Trick.
Sobald Sie alle Löcher identifiziert haben, tupfen Sie mit einem Wattestäbchen etwas Emulsion hinein.
Denken Sie dann daran, Ihre Emulsion mindestens vier Minuten lang erneut zu erhitzen.
Wenn Sie eine große Anzahl von Drucken anfertigen möchten, zögern Sie nicht, Ihr Sieb erneut zu belichten. Dadurch wird Ihre Emulsion verstärkt.
Nachdem Ihr Rahmen nun belichtet und entschichtet wurde, können Sie mit dem Drucken fortfahren.
Nächster Schritt
Es ist Zeit, mit dem Drucken zu beginnen. Besuchen Sie unseren Artikel „Wie man großartige Drucke erstellt“, um alle unsere Tipps und Tricks für erfolgreiche Erstdrucke zu erfahren.
Über Mekanika
Mekanika ist ein belgisches Unternehmen mit Sitz in Brüssel, dessen Ambition es ist, die lokale Produktion dank eines zu 100 % Open-Source-Ansatzes zugänglicher zu machen.
Wir entwerfen und produzieren hochwertige Maschinen für CNC-Fräsen und Siebdruck, die für ihre Zuverlässigkeit und Benutzerfreundlichkeit bekannt sind. Unsere Werkzeuge werden in Kits geliefert und sind vollständig dokumentiert, sodass sie leicht an spezifische Bedürfnisse angepasst werden können.
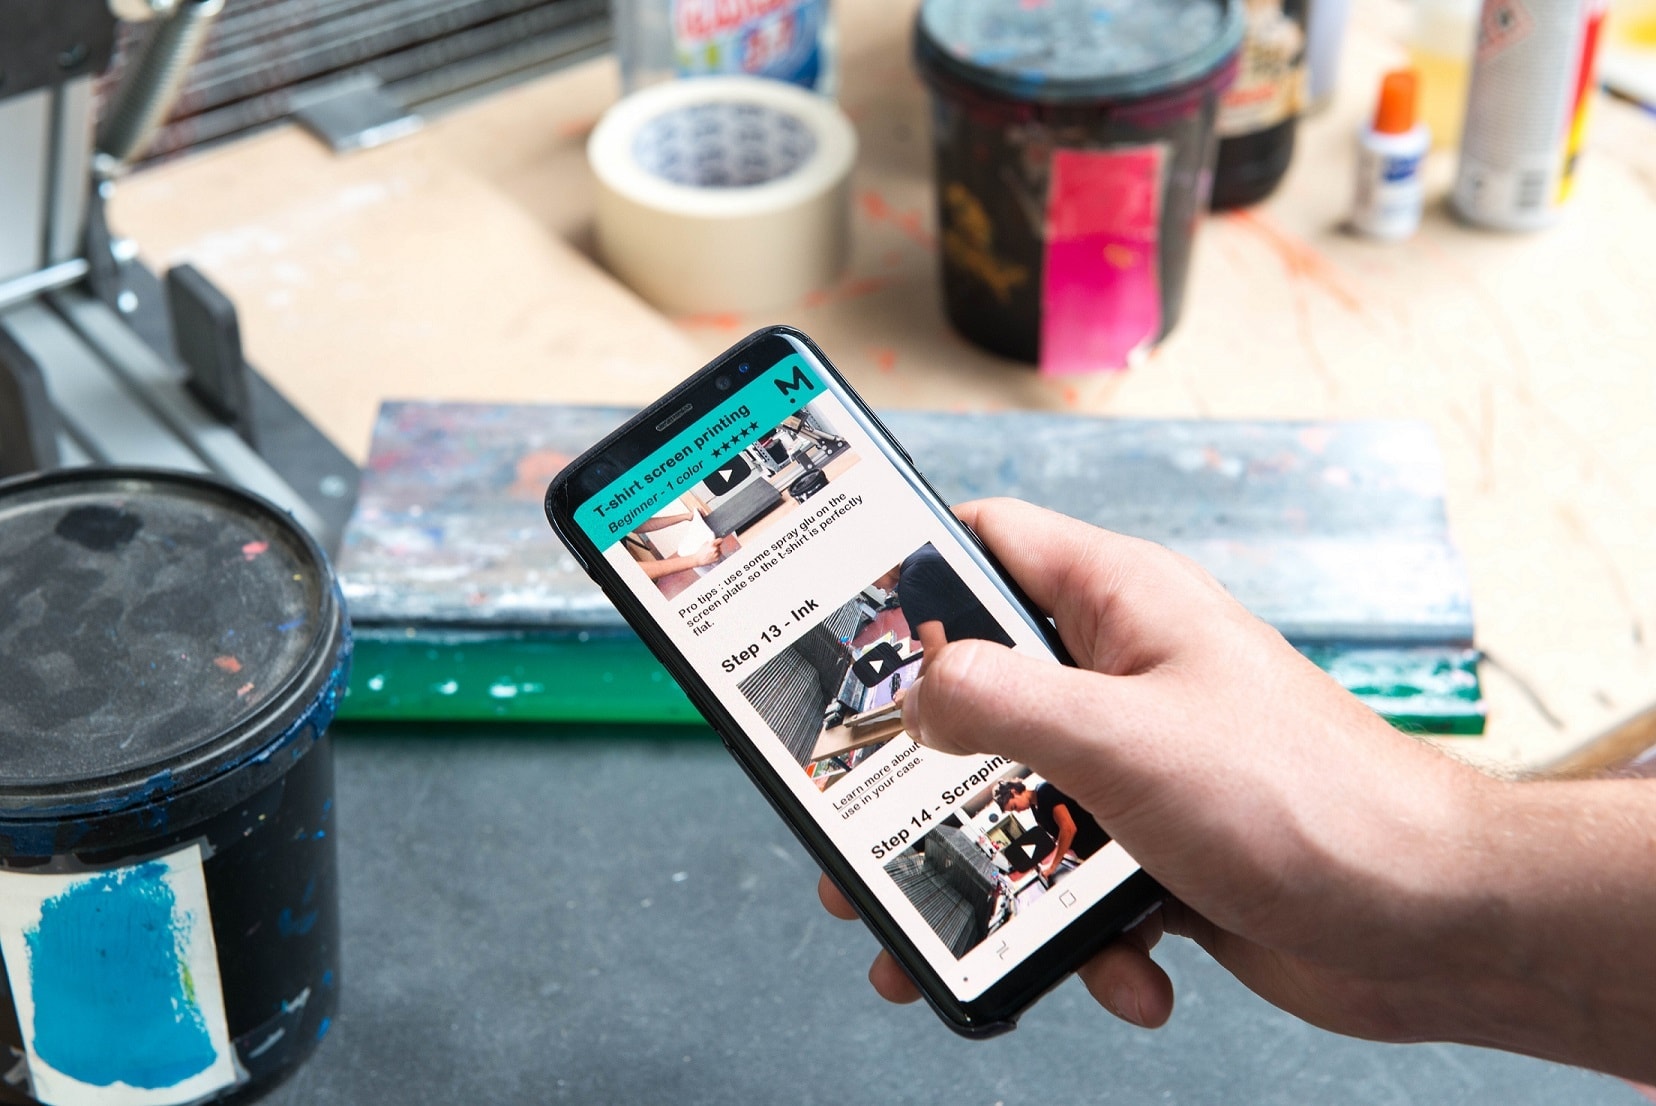
Hier sind 10 häufige Fehler, die Anfänger im Siebdruck machen, und wie man sie vermeidet, mit einer Reihe von Video-Tutorials, die Sie Schritt für Schritt durch Ihren ersten erfolgreichen Druck führen.
Sie sind sich nicht sicher, ob Sie sich für einen Tintenstrahl- oder einen Laserdrucker entscheiden sollen? In diesem Artikel erfahren Sie mehr über die Vor- und Nachteile und erhalten Empfehlungen für Drucker.