Fraiseuses numériques
Mekanika propose une gamme de fraiseuses numériques pour tout type d’usinage, que tu débutes ou que tu sois professionnel confirmé. Evo est le choix idéal pour hobbyistes, Pro est une machine robuste et puissante, et Fab s’attaque à n’importe quel matériau en forme de panneau. Choisis la machine qui te ressemble pour donner forme à tes idées.
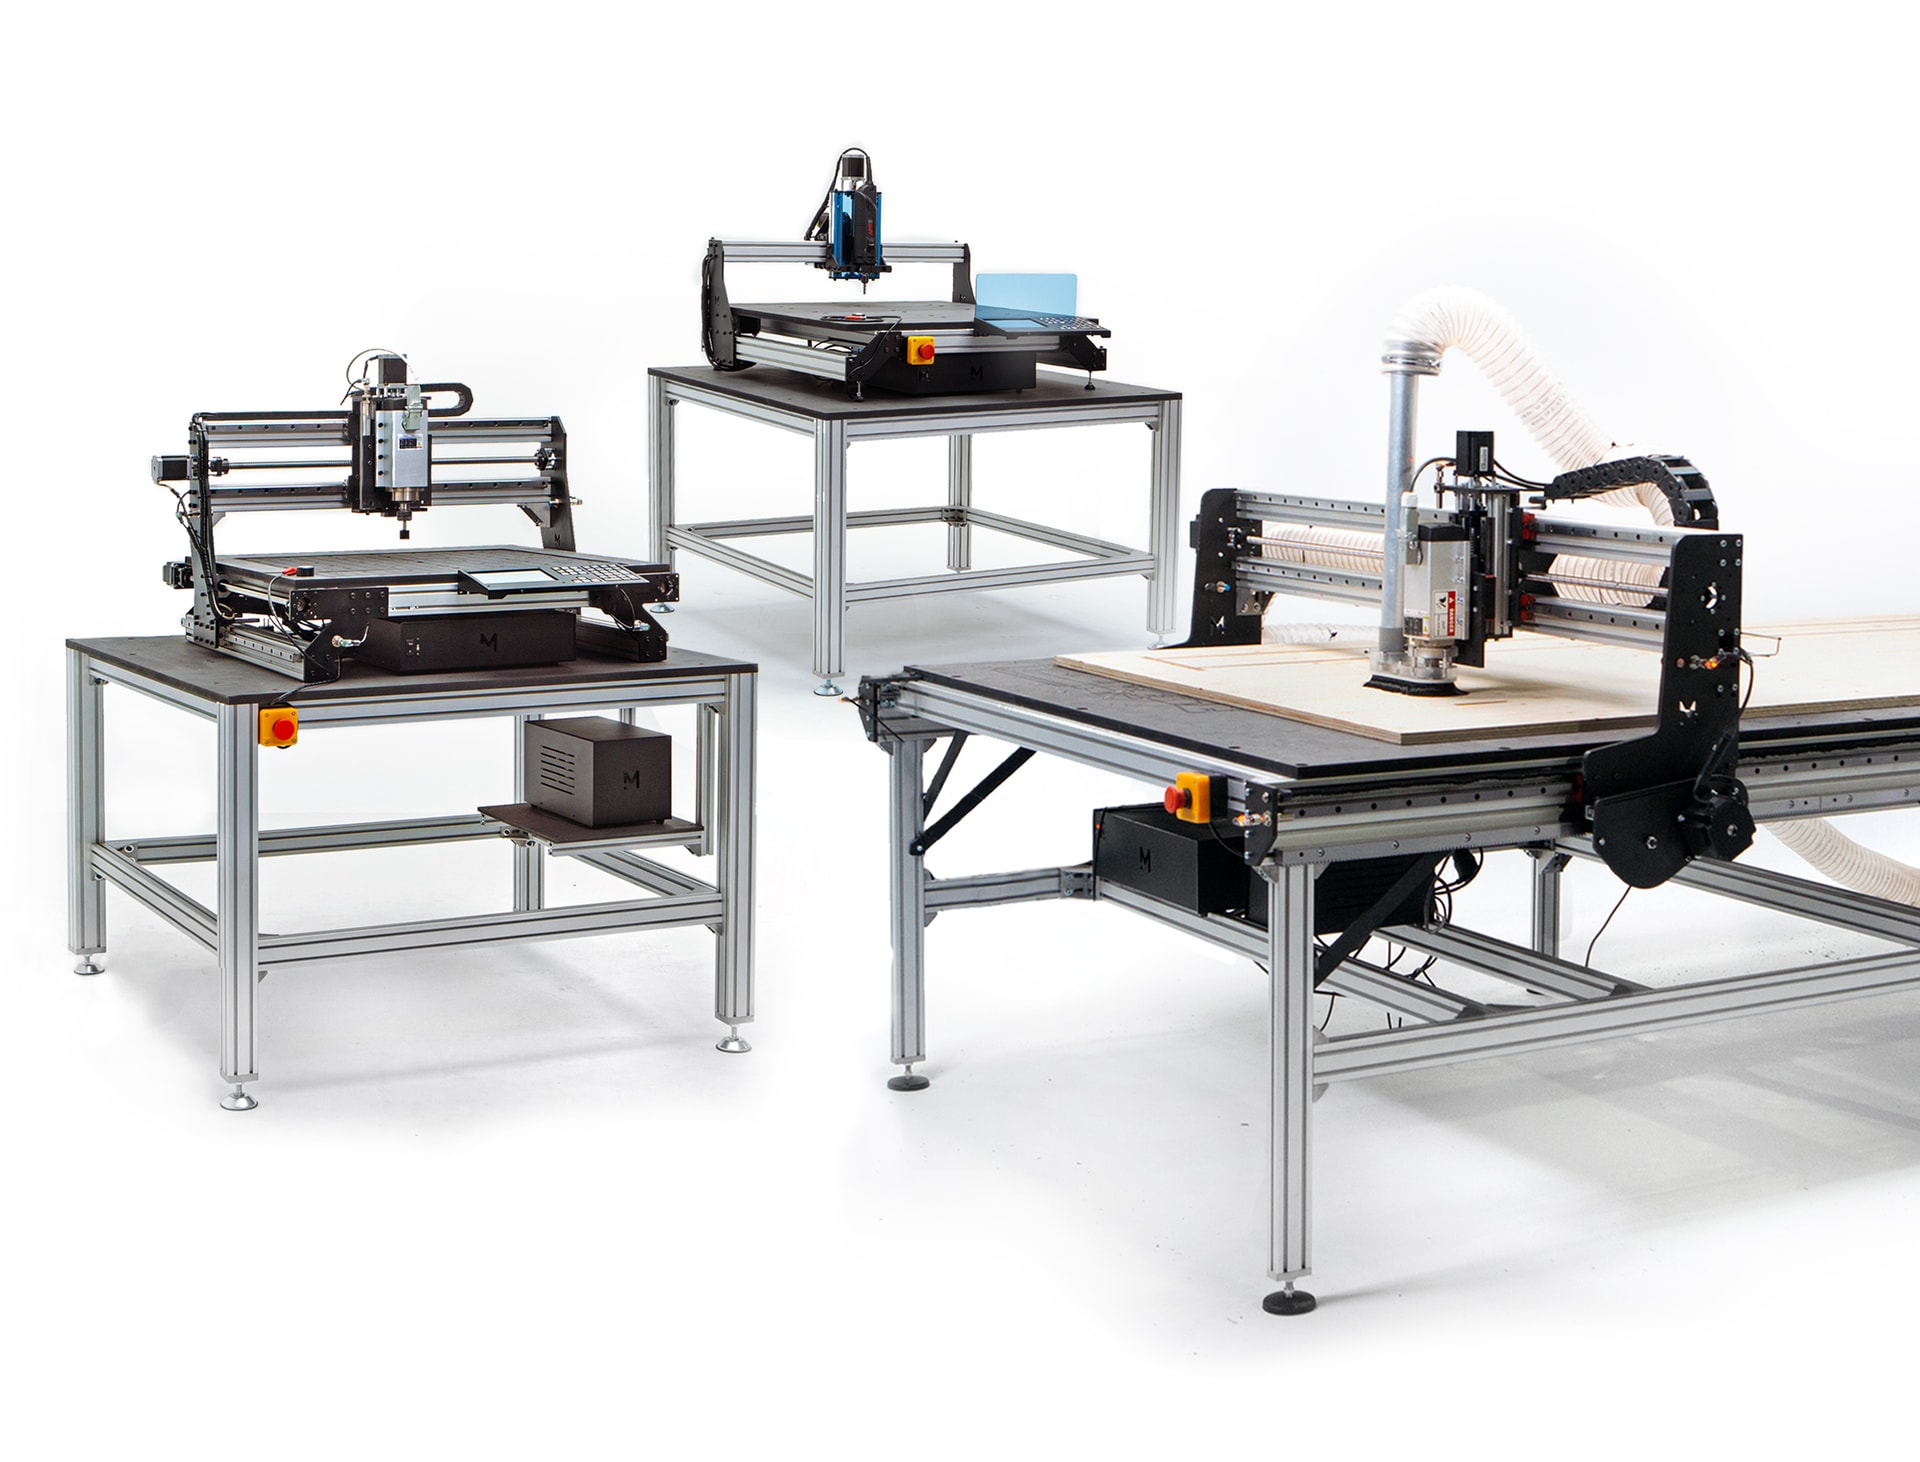
Du hobby à la production
Evo
La meilleure machine pour démarrer
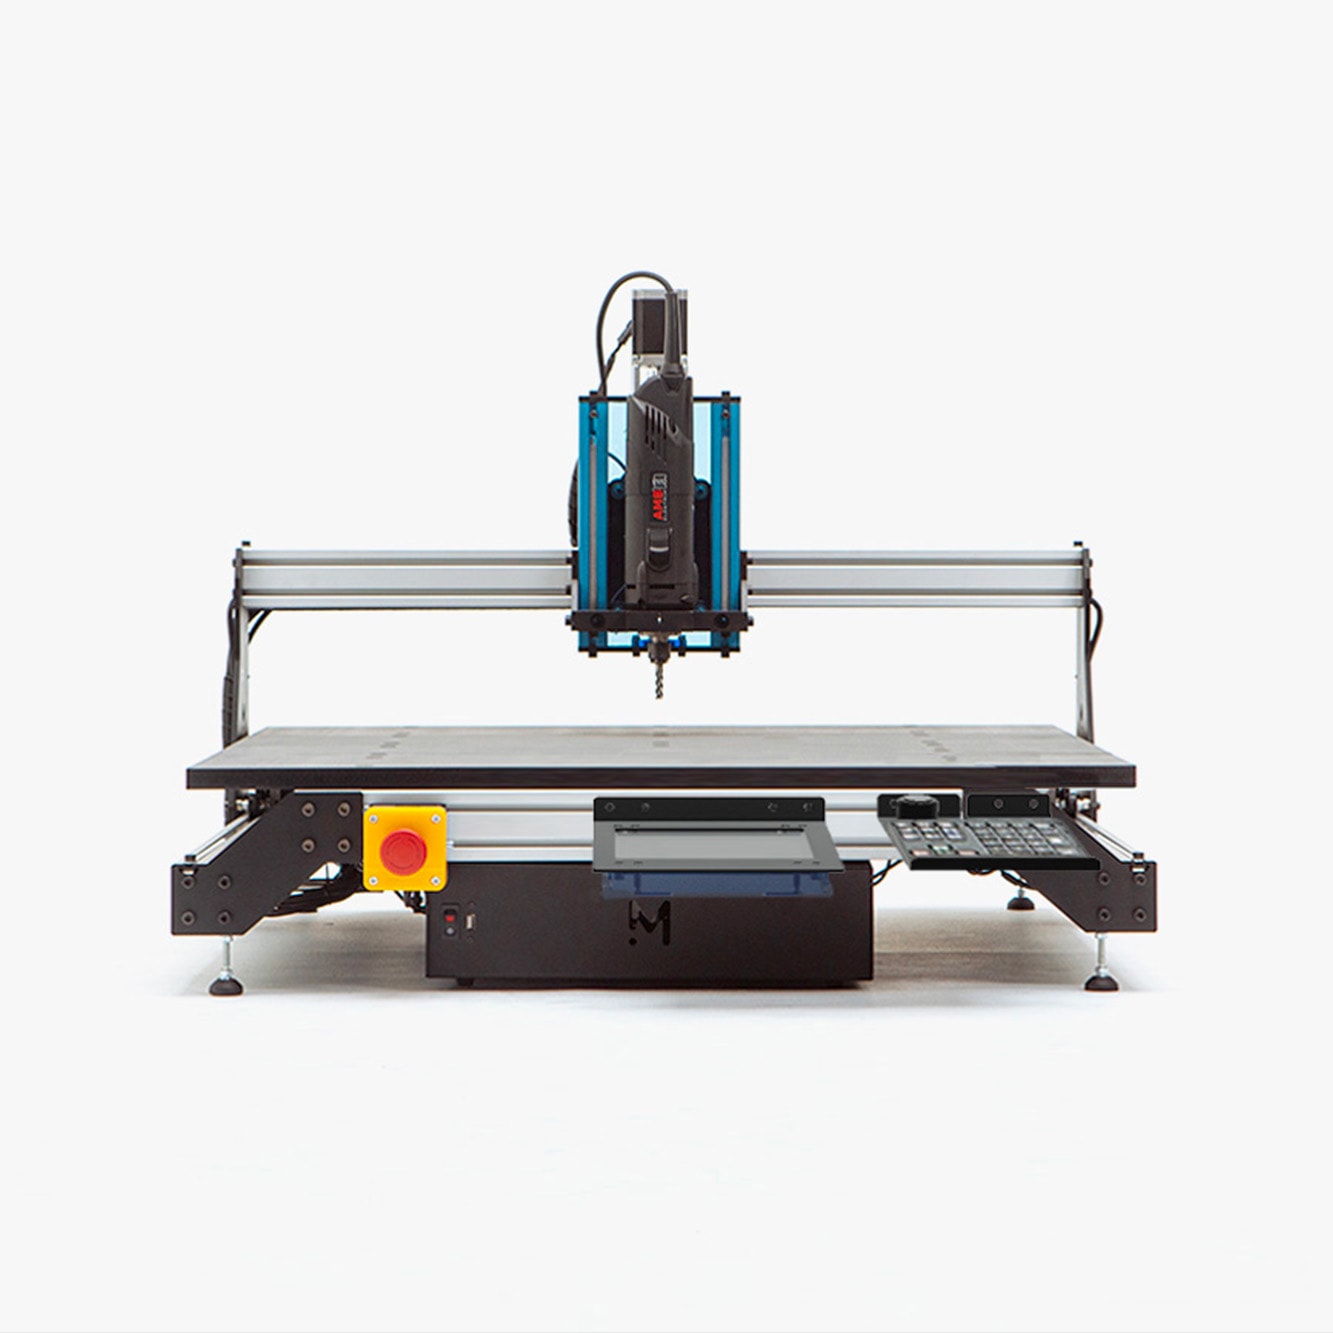
| Utilisation | Hobby & semi-pro |
| Fréquence | Occasionnelle |
| Matériau | Plastique à bois durs |
| Zone de travail | Jusqu'à 1030x1030mm |
| Garantie | 5 ans |
Pro
Une machine puissante et compacte
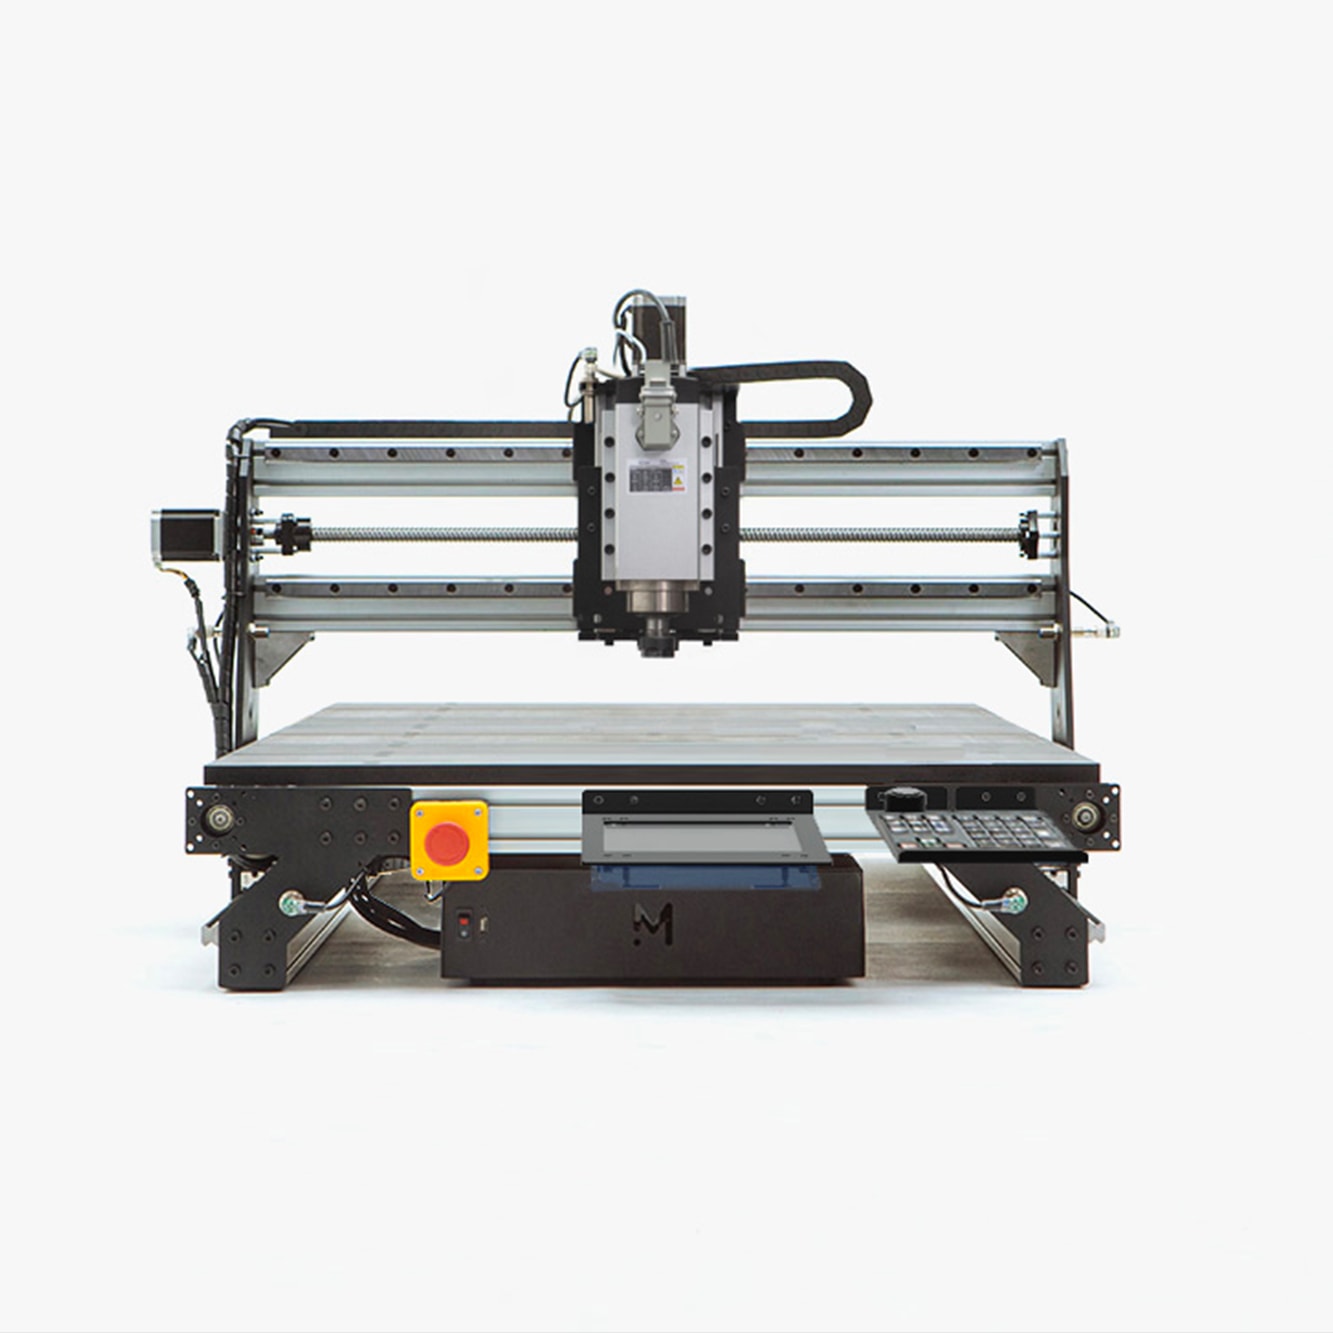
| Utilisation | Semi-pro & pro |
| Fréquence | Quotidienne |
| Matériau | Bois durs à métaux non-ferreux |
| Zone de travail | Jusqu'à 1030x1030mm |
| Garantie | 5 ans |
Fab
Une fraiseuse numérique grand format
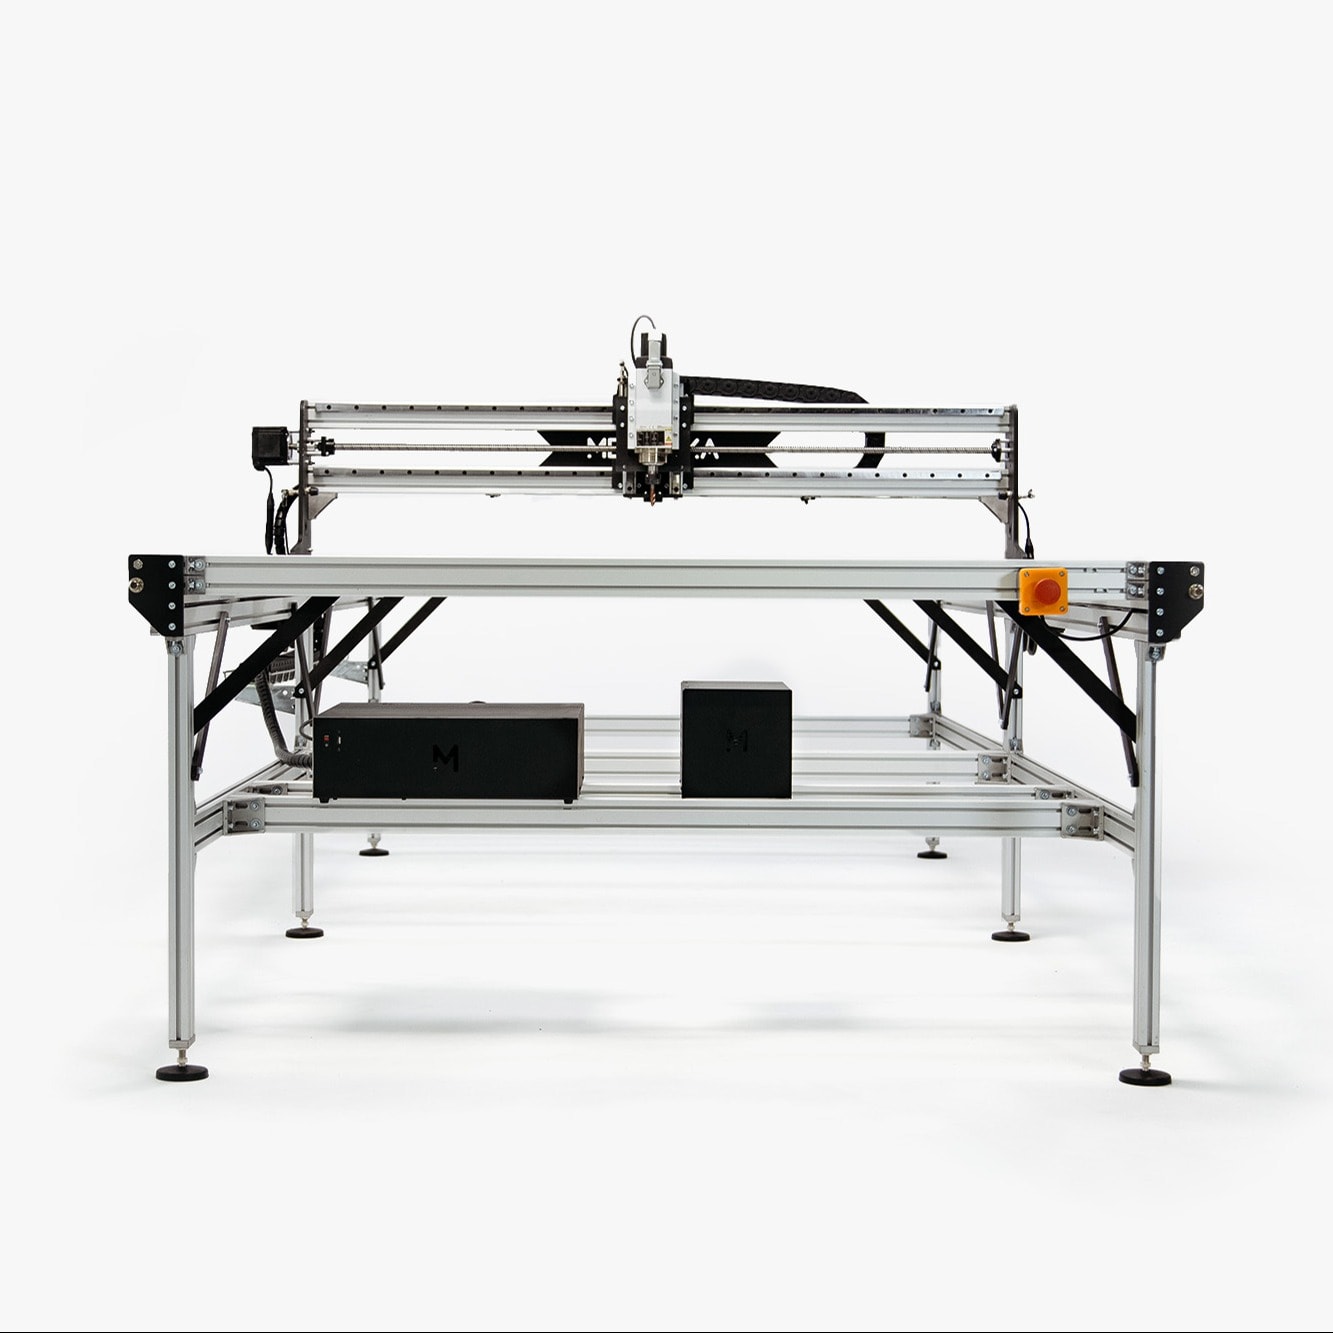
| Utilisation | Pro |
| Fréquence | Quotidienne |
| Matériau | Bois durs à métaux non-ferreux |
| Zone de travail | 1330x2700mm |
| Garantie | 5 ans |
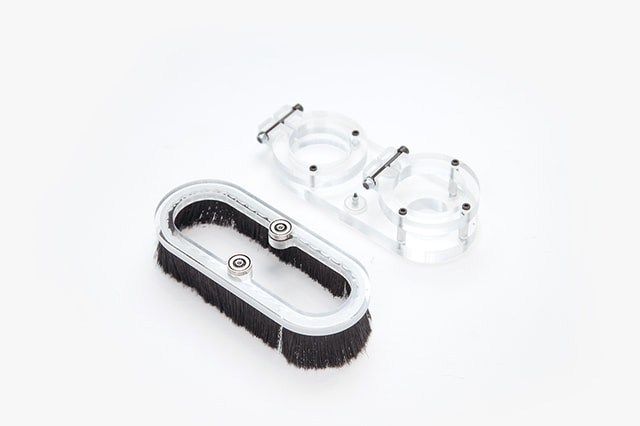
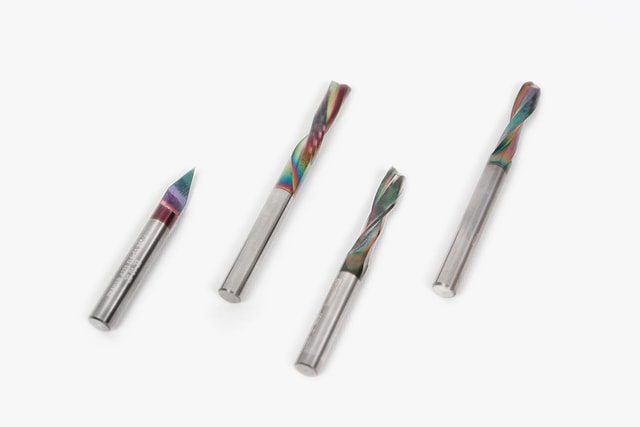
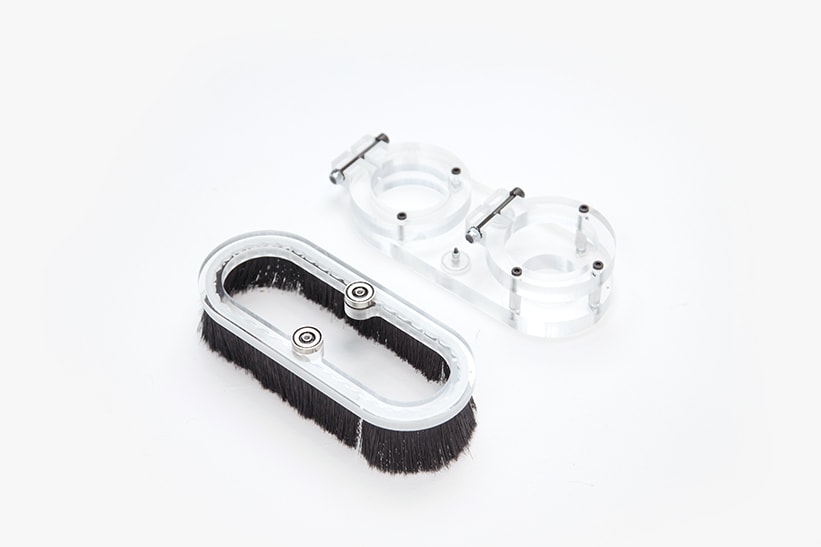
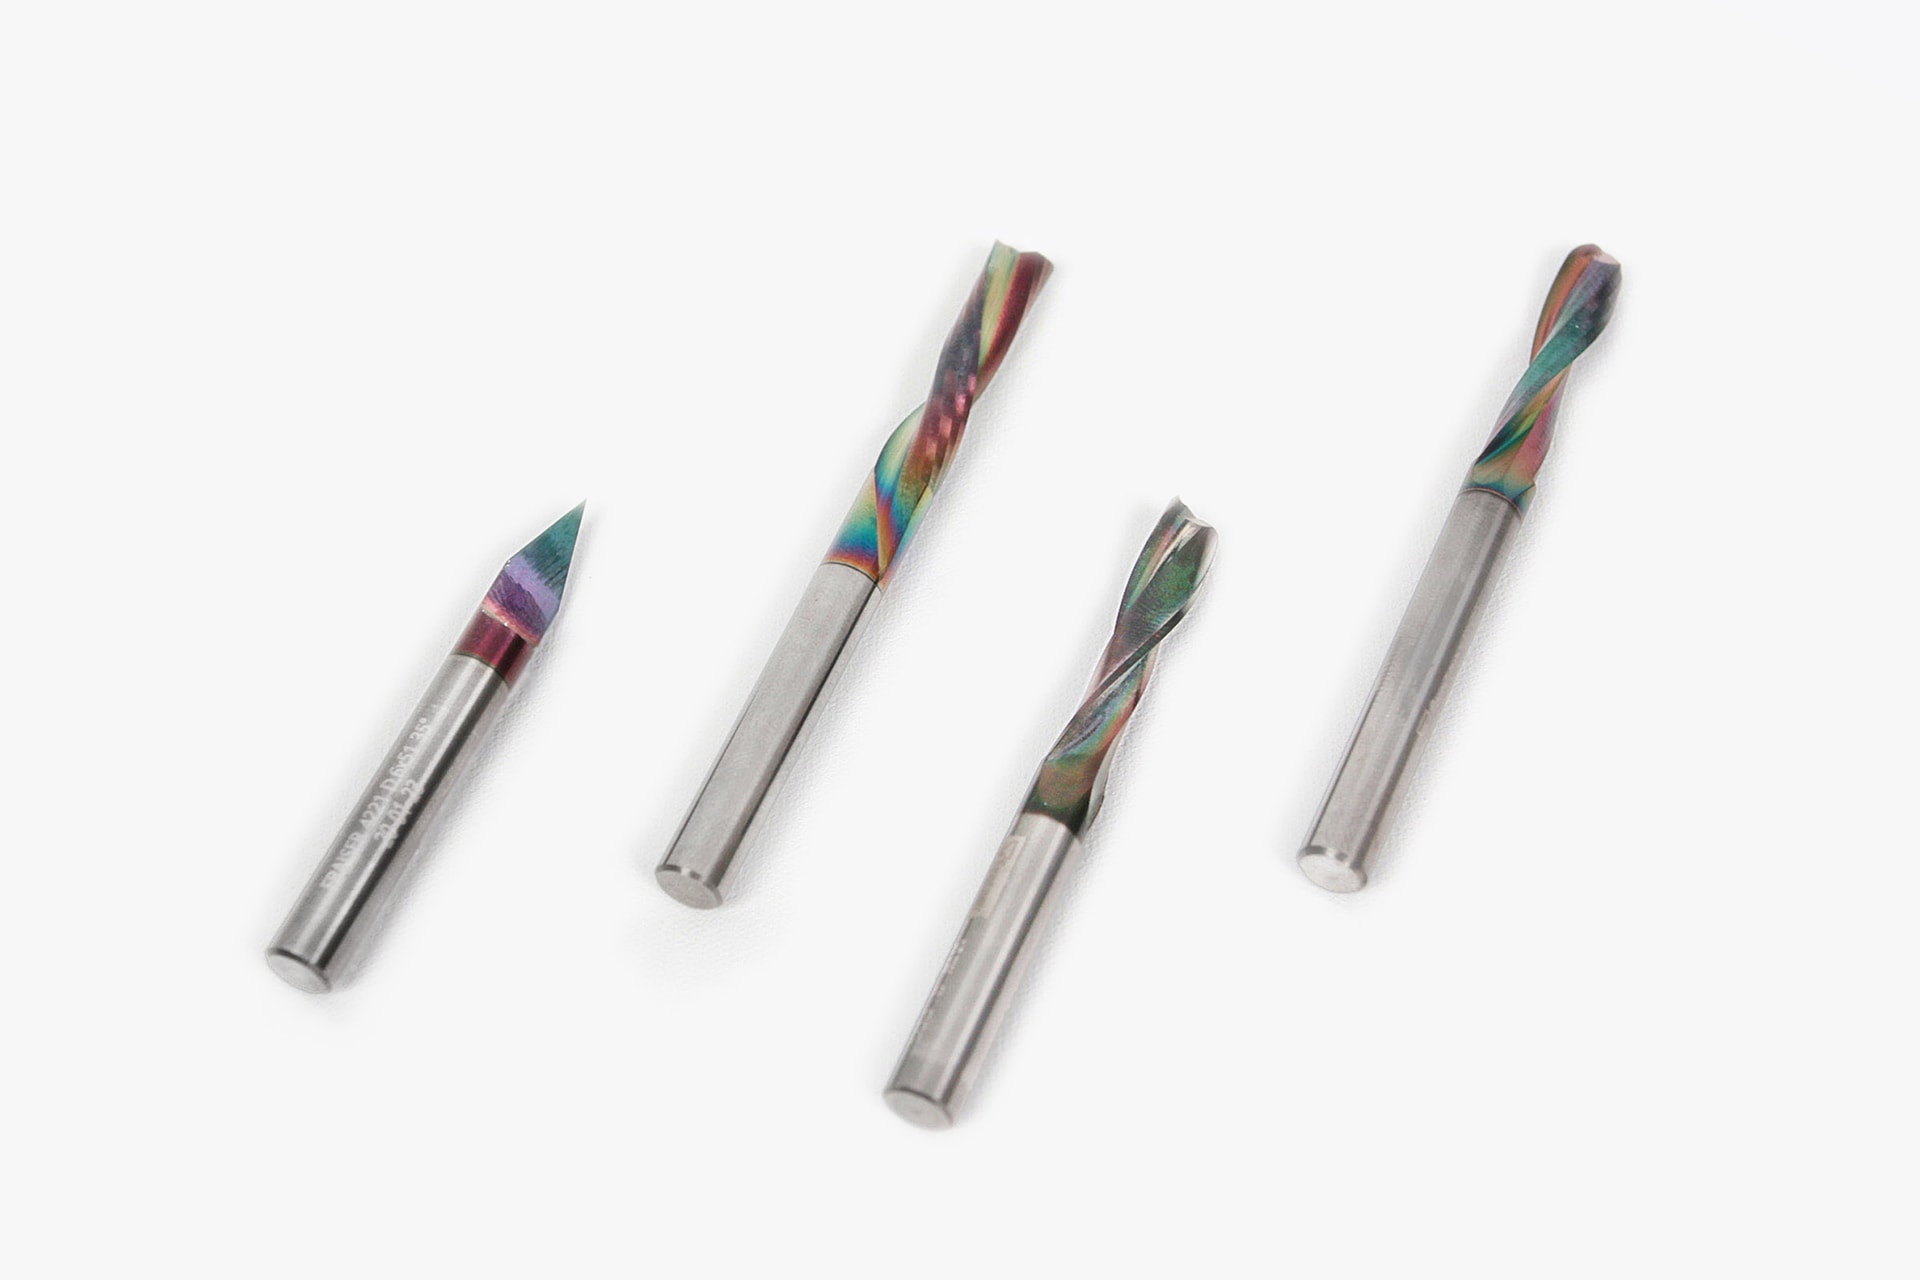
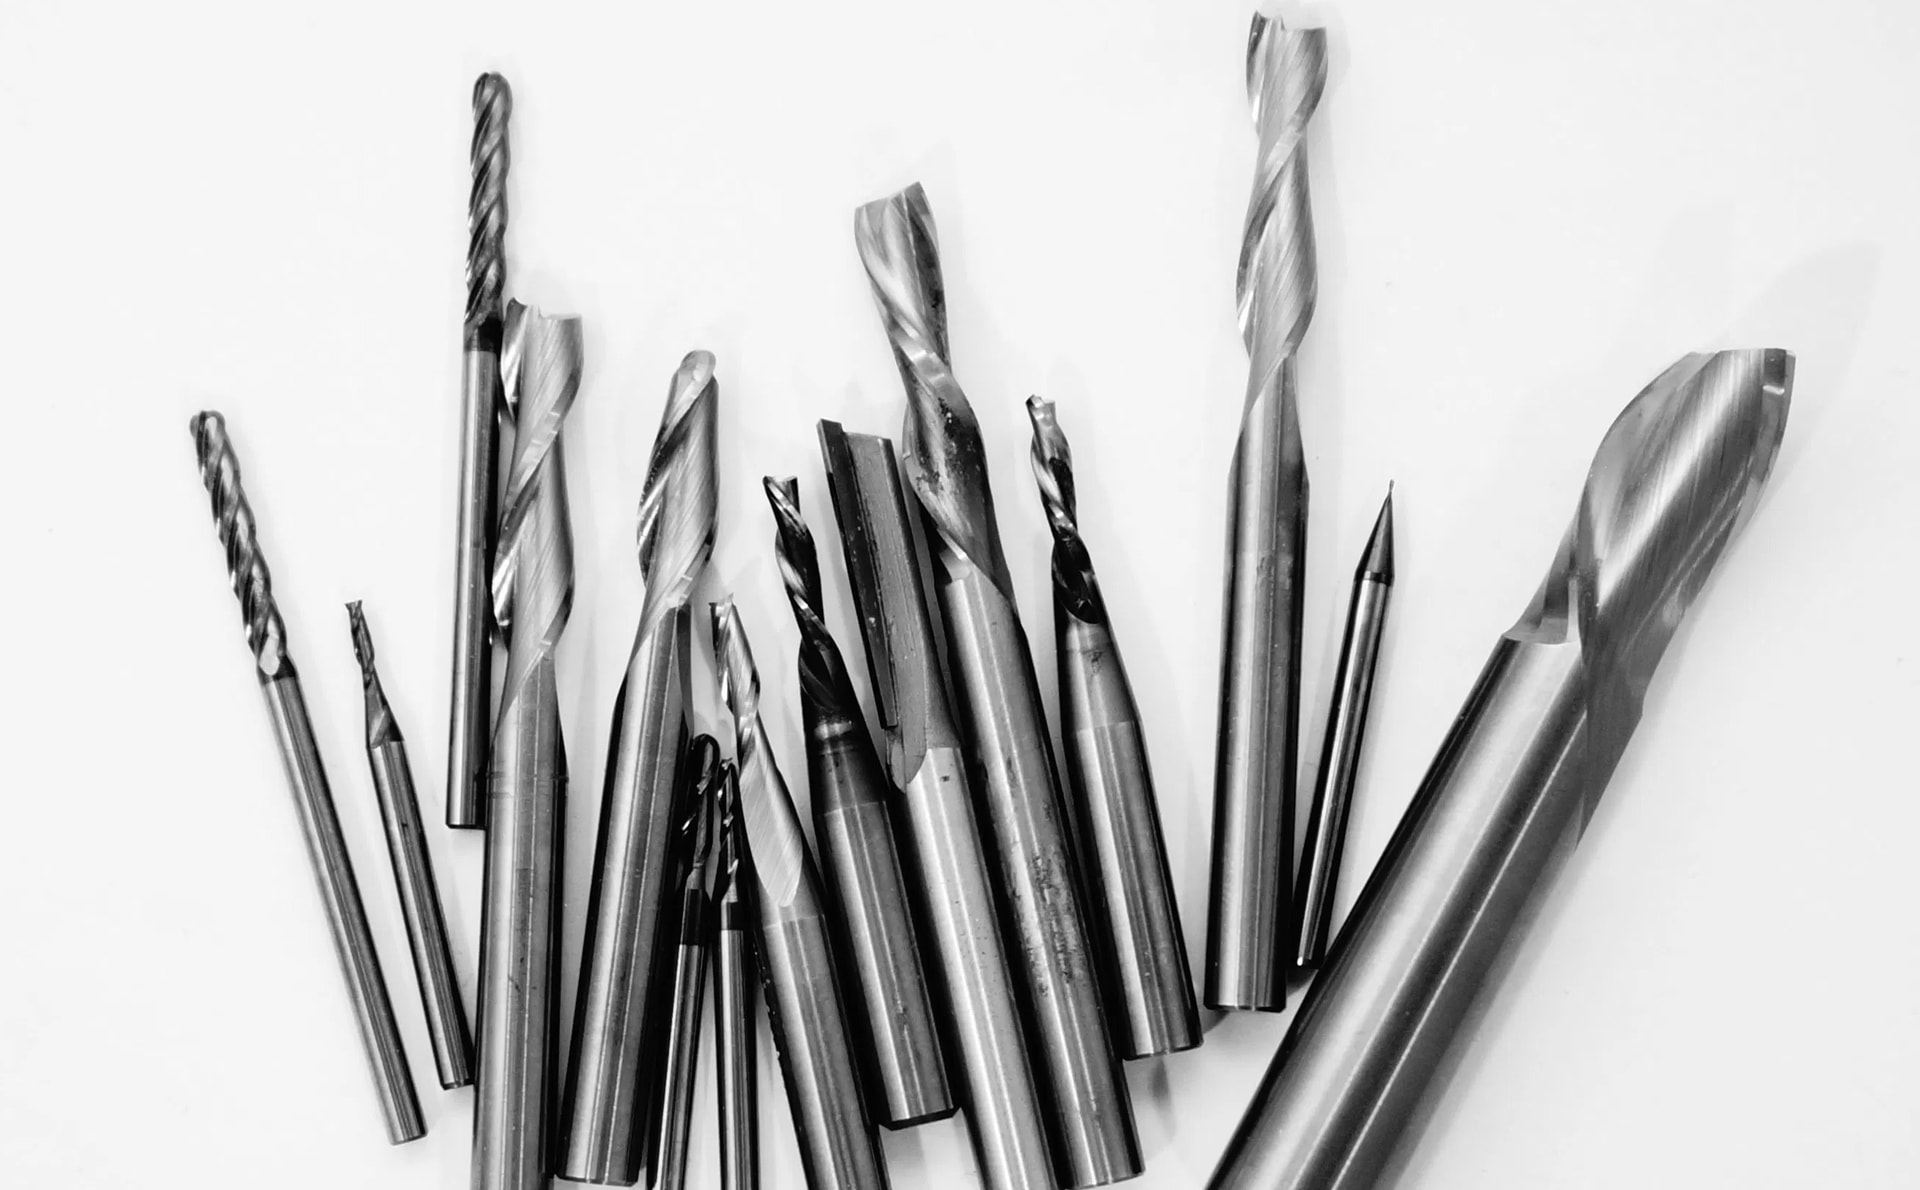
Une large gamme d' accessoires
Complète ta machine Mekanika avec notre sélection d’accessoires conçus pour maximiser sécurité, précision et confort d’usinage. Choisis la configuration idéale pour tes besoins.


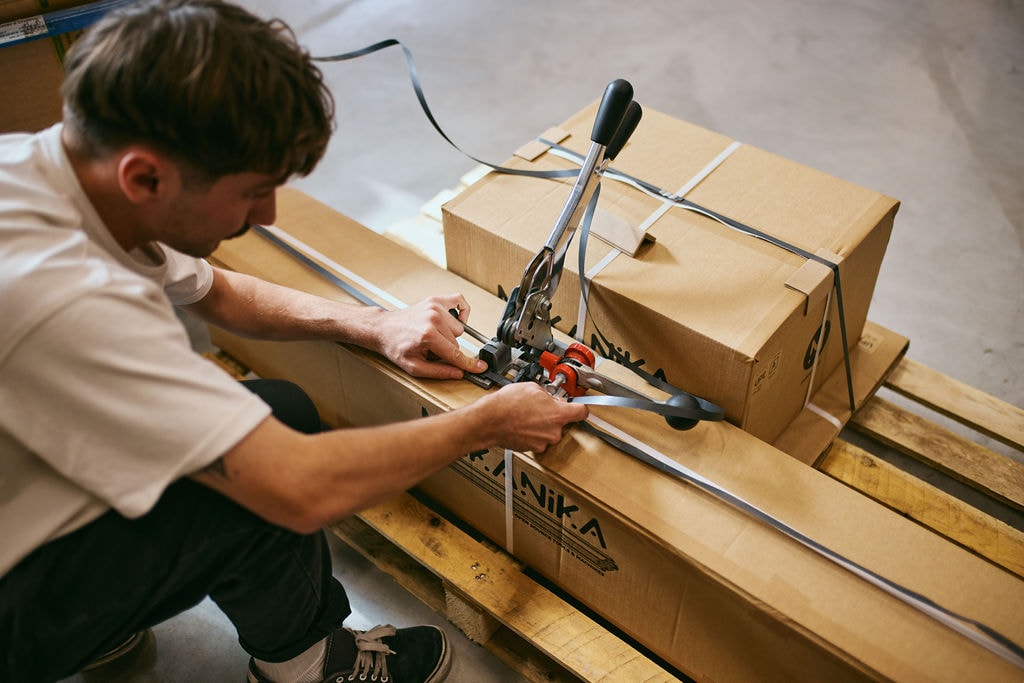
Livraison en kit
Le design des machines Mekanika est basé sur une approche ouverte et modulaire, c’est le principe open-source. Nous concevons toujours nos produits en gardant à l'esprit la modularité et le démontage : rien n'est collé ou soudé, nous utilisons des pièces standards dans la mesure du possible et tout composant peut être facilement remplacé ou réparé.
En assemblant ta machine, tu acquières de précieuses connaissances sur son fonctionnement et son entretien. Cela te permettra d’avoir une machine pour la vie.
Nos ressources CNC
On construit ton aventure CNC avec toi
Laisse-toi guider pas à pas
Notre équipe a prévu des ressources pensées spécialement pour toi : une suite de tutos pour apprendre les bases du fraisage numérique de ton côté, et une série de formations pour un accompagnement plus structuré et progressif.
Le coin des makers !
Un blog inspirant et des projets CNC gratuits
Chez Mekanika, on est passionnés de fabrication numérique, et on adore partager. Dans notre blog, tu trouveras de nombreuses informations sur les techniques CNC. Et comme la meilleure façon d’apprendre, c’est en faisant, nous avons préparé des projets de fraisage CNC inspirants que tu peux télécharger immédiatement.
Plus tu comprendras ta machine, plus tu iras loin.
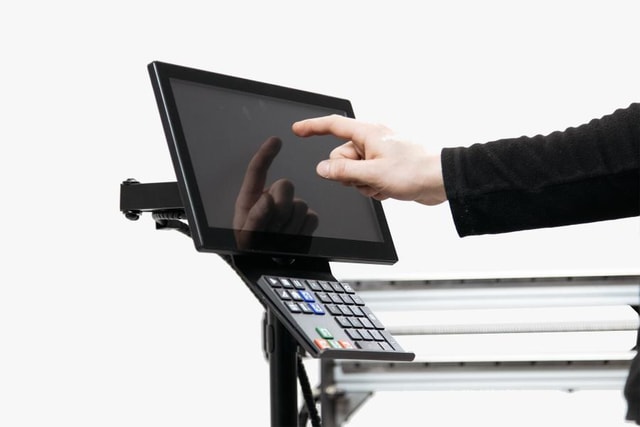
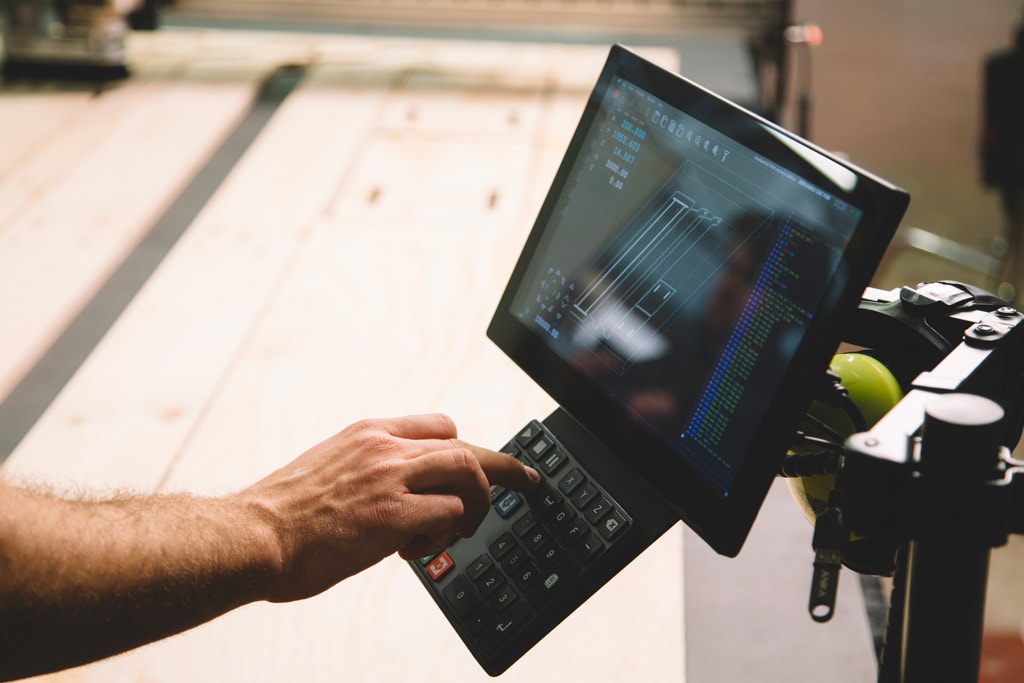
Un software intuitif
Pour faciliter la prise en main
Le logiciel Planet CNC est un logiciel complet conçu pour améliorer le fonctionnement des machines CNC. Ce logiciel est polyvalent et prend en charge un grand nombre de formats de fichiers et de fonctions afin de garantir l'efficacité et la précision des opérations CNC.
Finance ton investissement
Mekanika Financing est notre solution de financement pour professionnels, en partenariat avec Grenke. Il s'agit d'un programme de financement qui te permet d'acheter des machines Mekanika avec de faibles mensualités fixes. Le montant minimum du financement est de 500€ HTVA. Uniquement valable en France et en Belgique pour le moment.
- Le montant minimum de financement
- 500€
- Le nombre de mois maximum d'étalement
- 60
- Le temps pour analyser votre demande
- 48h
C'est vous qui le dites
Quentin Dubar
2 days ago
SAV efficace!!! (Translated by Google) Efficient customer service!
Charles-Edouard Mériaux
2 weeks ago
Nous avons acquis la Mekanika Fab en avril. Son montage est très facile grâce aux vidéos explicatives et à une assistance en ligne très réac…
étienne pinsky
2 weeks ago
Super projet. Super Produit. Super service. Bien joué! (Translated by Google) Great project. Great product. Great service. Well done!
Hans Tomme
3 weeks ago
Verry good product and support!
Normunds Vitols
a month ago
Very responsive support team. Takes in feedback too.
Sylvie Mahaut
a month ago
Très pro, très sympa. Service hyper rapide et efficace. Je recommande vivement. (Translated by Google) Very professional, very friendly. Ex…
modwebby
a month ago
Bought a Mekanika Pro (s) smartpack. the assembly documentation and support is great. The included computer and software is very easy to un…
Robert Zegwaard
a month ago
I’ve had my Mekanika PRO MK2 for about three weeks now. Assembly went smoothly thanks to the clear instructions and helpful animations. The…
Manu T
2 months ago
(Translated by Google) Mechanic, top! (Original) Mekanika au top!
samuel haillot
2 months ago
top!
Brice A.
2 months ago
Le SAV de MEKANIKA est de loin le plus professionnel avec lequel j'ai traité jusqu'à présent. A l'écoute, très réactif, compétent et agréabl…
leon
2 months ago
(Translated by Google) Very satisfied with the Mekanika Fab CNC – highly recommended! I am thrilled with the Mekanika Fab CNC machine! The…
Brian Luque Marcos
2 months ago
Quick and effective! Excellent as usual!
Damien Léonard
2 months ago
Quelques soucis à la livraison, mais un support technique au top :) Merci pour l'attention que vous mettez au SAV. (Translated by Google) A…
Carlos Ferreira
2 months ago
Service tres reactif!
Eric HOUDARD
2 months ago
Le support de Mekanika va bien au delà de supporter les machines qu’ils vendent. Ils assistent également les utilisateurs à corriger leurs u…
brice bonmarin
2 months ago
Un grand merci à toute l'équipe Mekanika pour votre sérieux et votre approche client à la fois directe et humaine. En tant qu'utilisateur d…
david boisdevesys
2 months ago
Une assistance au top ! Réactive, efficace (Translated by Google) Top-notch support! Responsive and efficient.
Sylvain Parrino
3 months ago
L’équipe Mekanika m’a envoyé un sachet manquant de vis bien qu’il ne soit plus officiellement disponible. Merci à eux pour s’être malgré tou…
JC Pamart
4 months ago
J’ai acheté ma CNC chez Mekanika et je suis vraiment ravi de mon choix. La machine est de très bonne qualité, précise et agréable à utiliser…
Alexis Benoit
4 months ago
Très bonne expérience, l'outil est agréable à utiliser, les instructions sont claires et précises même pour un novice et l'équipe est très r…
Frederic Verdelet
4 months ago
Il y a peu j'ai franchi le pas pour acquérir une CNC. Apres plusieurs recherche la philosophie de Mekanika m'a plu. Nous avons donc franchi…
Eddy
4 months ago
Des gens très à l'écoute en service après-vente, réactif et investit pour noua aider à régler nos problèmes ou améliorer notre prise en main…
Daniel Van Camp
4 months ago
❤️ love them!
Cocon D’ébène
5 months ago
Machine très bien conçu et abordable Le service client et super à l’écoute joignable Et réactif et la communauté et très agréable Je recomma…
Xavier Vanden Bemden
5 months ago
Merci pour votre aide et votre réactivité . Vous avez été jusqu'à présent toujours d'une grande aide et de bons conseils. J'espère pouvoir e…
Harald Burgsteiner
5 months ago
(Translated by Google) Excellent support! We had a problem with one of the delivered parts, which was defective. After a brief consultation,…
Stefan Friedli
5 months ago
(Translated by Google) Fantastic service! We purchased a FAB and had a few technical questions during installation/commissioning and at the…
Simone Palumbo
5 months ago
(Translated by Google) Customer service is quite knowledgeable, although I've sometimes waited days for a response, even for trivial, easily…
Frank Merieau
5 months ago
Rapide et efficace (Translated by Google) Quick and efficient