Which printer should you choose for Screen Printing Stencils?
Not sure which criteria should make you go for an inkjet or a laser printer? Check this article, understand the pros and cons and get printer recommendations.

Roldan Descamps
CEO
Getting started on a new screen printing adventure?
Here are 10 common mistakes that beginner screen printers make, and how to avoid them.
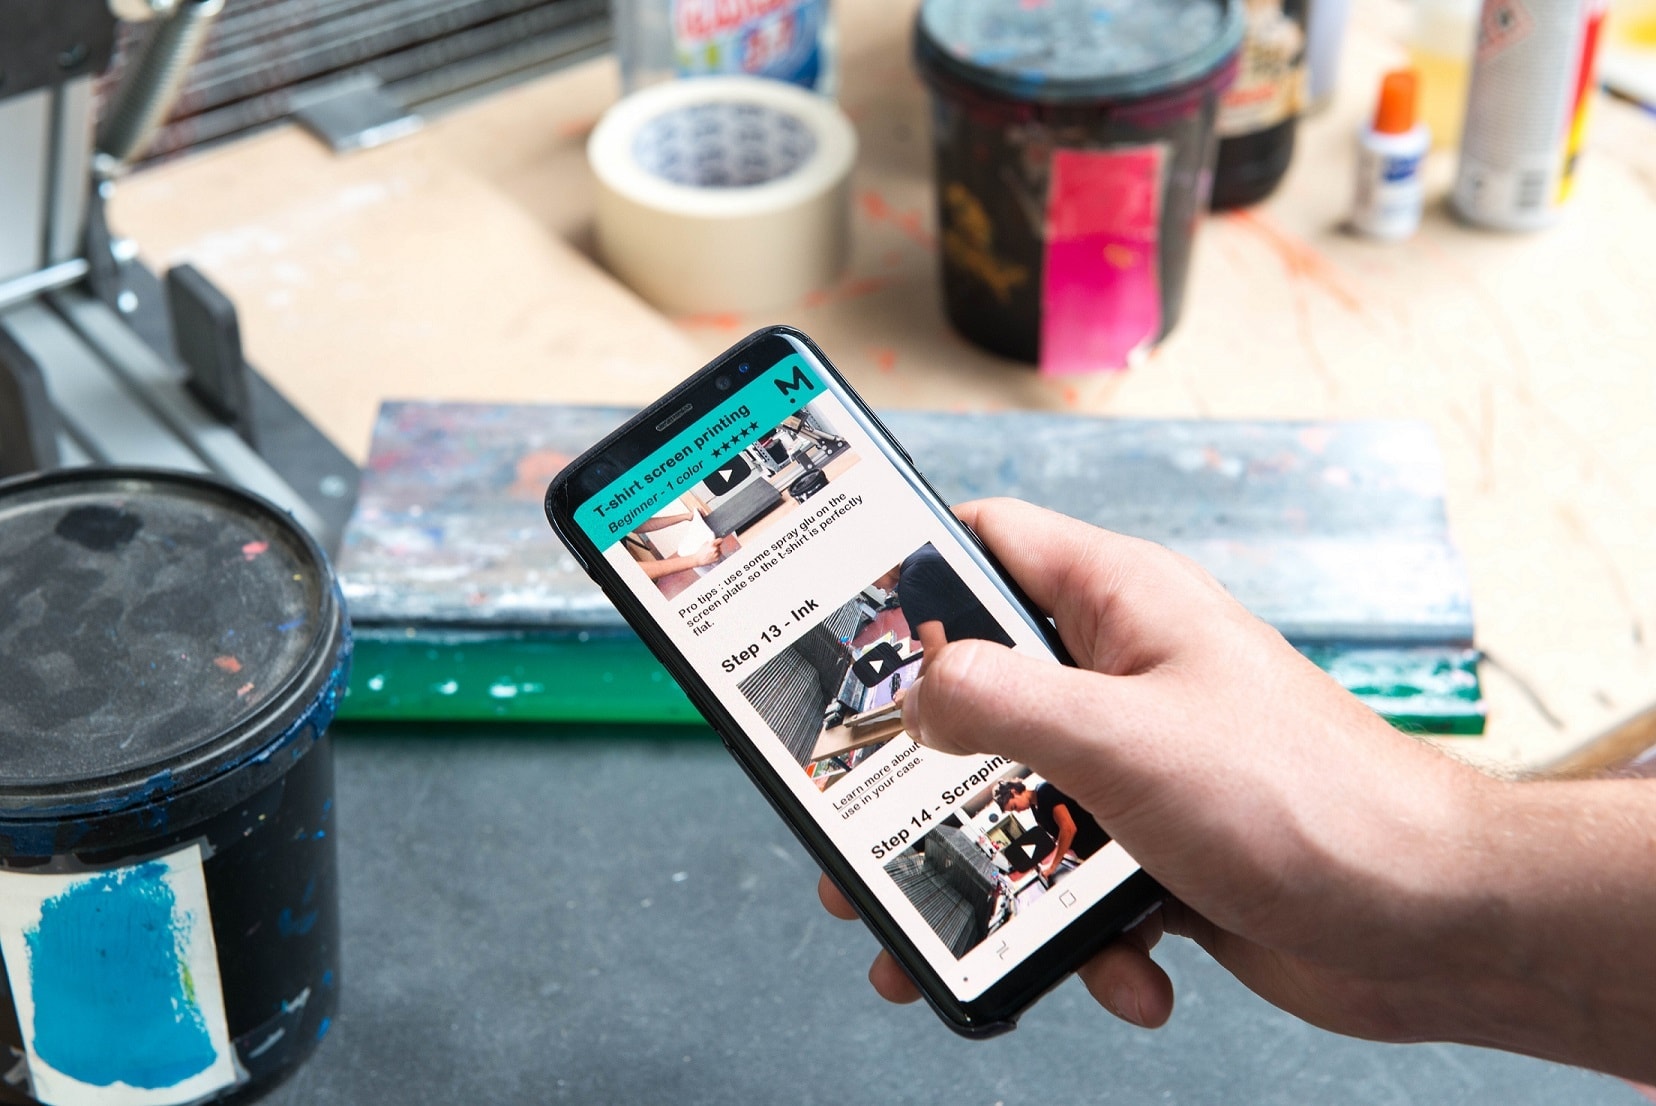
Or you can also watch our screen printing video tutorials, which will take you through your first successful print, step by step, using all the essentials provided with the Mekanika screen printing bundle.
Screen printing (also called serigraphy) is a printing technique used to create designs on a variety of materials, such as fabrics, paper, glass, and plastic.
The process involves using a stencil, or “screen,” made of mesh or fabric, and a squeegee to transfer ink onto the material. The ink is forced through the mesh onto the material, creating the desired image. The process can be done manually or with a machine.
Screen printing is a great way to create unique designs on t-shirts, hats, bags, and other items.
For example, here’s how a roller derby team sponsored their tournament travels by creating custom t-shirts on their own screen printing press.
One of the advantages of this technique is its ability to produce high-quality prints with vibrant colors and crisp lines.
It is also a cost-effective method for mass production, as the setup process can be time-consuming, but the actual printing process is relatively quick once the screens are prepared.
However, it is also possible to use screen printing for small scale, one-of-a-kind projects, making it a versatile option for a variety of printing needs.
If you’re new to screen printing, learning the whole process can be a bit overwhelming.
To help you get started, here are 10 common mistakes that beginner screen printers make, and how to avoid them, with a focus on fabric and paper as the base printing surfaces.
And if you'd rather watch me talk about the mistakes, rather than read about them, here's the link to the companion YouTube video.
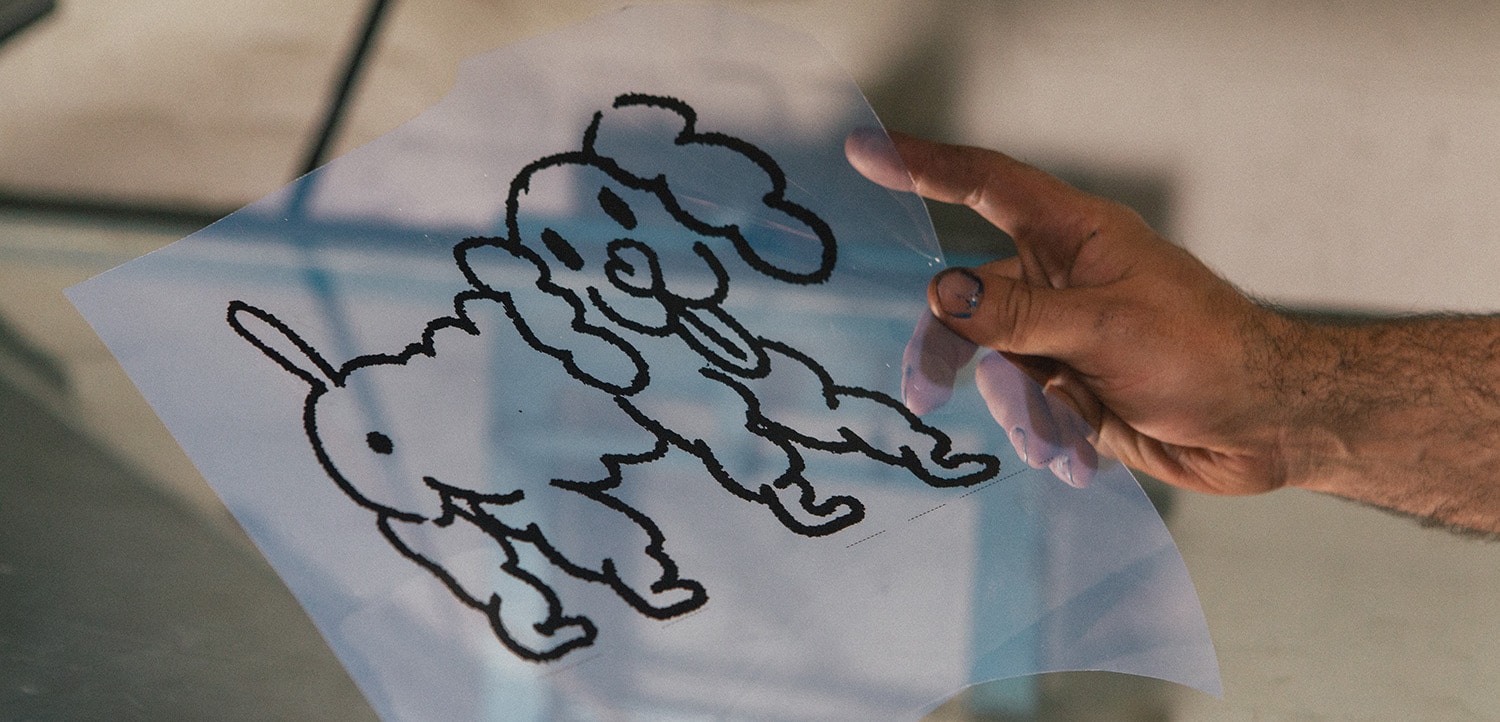
If you’re getting started with screen printing, make sure you choose a simple design for your first project. Ideally, it should be monochrome and the shape should not be too complex. Also, if you’re creating your stencil using transparent film and a lower-end printing machine, a small trick is to print it twice, and to tape both prints together to increase its opacity.
Many beginners want to spare their emulsion, and don't put enough of it in the coater before applying it. Don't worry, you'll be able to put back in the bottle whatever you haven't used once you're done ! Just make sure the coat you leave on your screen is thin and uniform.
In order to make a quality print, make sure the surface on which you want to print (fabric, paper, etc.) is clean and regular. For example, if the fabric is wrinkled, it will cause the ink to spread unevenly. Before you start printing, you may also want to use a special adhesive spray on your printing press to ensure your base material won’t move at all once it’s placed on the press.
No matter the type of ink you’re using (water-based or solvent-based), test the colors on a sample piece of fabric or paper before you start printing. This will ensure that the colors come out the way you want them to. If you’re using water-based inks, take the time to mix it thoroughly for a few minutes, so the texture becomes almost creamy.
Another rookie mistake is applying not enough or too much pressure when printing. Too much pressure can cause the ink to spread unevenly and create a blurry image. To avoid this, make sure to use a steady pressure when pulling the squeegee across the screen. Don’t get discouraged if your first print is not ideal, practice makes perfect.
When it comes to screen printing, air bubbles are your enemy! They can cause the ink to spread unevenly and create a blurry image. To avoid this, make sure to check for air bubbles before printing and remove any that you find.
You should spend about 2 to 3 minutes “cooking” your design with a hair dryer or heat gun. Curing the ink will ensure that it will adhere to the fabric and won’t run or smear. This will also prevent the ink from fading over time, especially when the t-shirt you printed ends up in the washer.
After each use, make sure to clean the screen with a cleaning solution and a soft cloth or sponge. This will help keep the screen from becoming clogged with ink. Depending on how long you spent printing, and the quantity of ink you used, it might be more difficult to clean the mesh of the screen. You can then pass it under a spray of water while scrubbing with your sponge.
Traces of your design may remain on the screen, but this will not affect your future prints. It is just the ink having stained the mesh.
Inspect the screen regularly to ensure that it is free of tears or any other damage. Additionally, store the screen in a cool, dry place to prevent the mesh from becoming brittle and cracked. When you no longer need to print an image that is already on a screen, you can reclaim the screen to get a brand new one, and reuse the same screen several times over a period.
With a little practice and attention to details, you can avoid these most common screen printing mistakes and create beautiful, professional-looking designs. With this guide and its companion video tutorials, which will take you through each step of the screen printing process, you’ll be well on your way to becoming an expert screen printer. So, what are you waiting for?
Mekanika is a Belgian company based in Brussels whose ambition is to make local production more accessible thanks to a 100% open-source approach.
We design and produce high quality machines for CNC milling and screen printing, which have been recognized for their reliability and ease of use. Our tools are delivered as kits and fully documented, allowing to easily adapt them to specific needs.
Visit our shop to find out more, or check out our online resources and tutorials to continue learning.
Not sure which criteria should make you go for an inkjet or a laser printer? Check this article, understand the pros and cons and get printer recommendations.
Roldan Descamps
CEO
Learn how to use an exposure calculator to best expose your screen with this step-by-step tutorial.

Martin Duchêne
Head of Product Design

When you no longer need to print an image that is already on a screen, you can reclaim the image to get a brand new one.
Martin Duchêne
Head of Product Design