The exposure stage is where your screen printing project truly comes to life. This is the step that allows you to flash your design onto the screen and then print it.
Once your frame is coated and dry, exposure is the crucial step in creating a high-quality stencil and will determine the precision and quality of your future prints.
Exposure involves flashing the emulsion with a light source, but not just any light source. It is the UV rays that cause the emulsion to react and harden.
For this stage, professional screen printers use exposure units with specialized, expensive UV lamps. In our case, we offer you an alternative solution based on a high-powered 500-watt halogen spotlight, which actually emits enough UV to make your emulsion react.
Once your exposure kit is assembled, simply install it on the press. With the setup complete, we can now move on to exposure.
Exposure
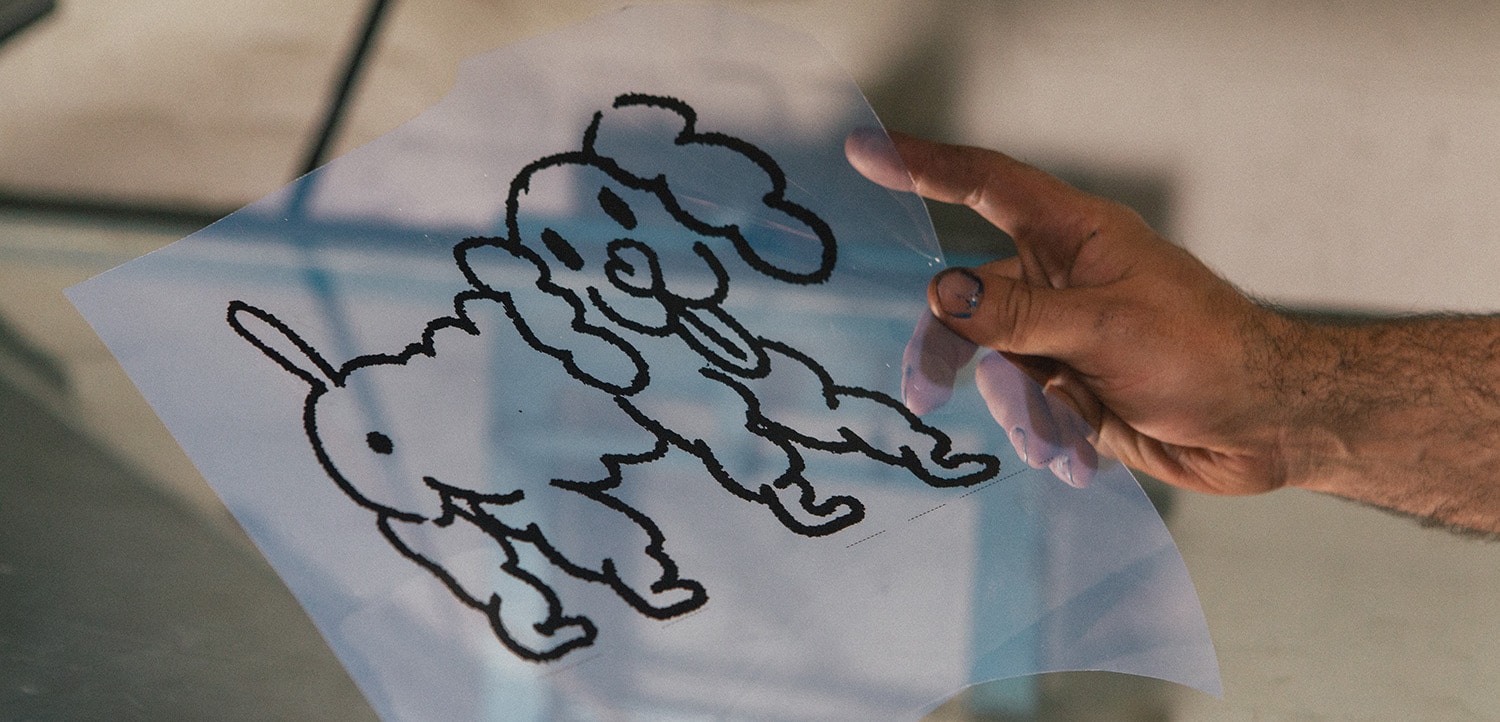
Start by placing your frame on the printing plate with the outside of the screen facing upwards. Then place your stencil on the emulsion layer, taking care to position the image in reverse.
Next, place a sheet of glass or Plexiglas to press the stencil firmly against the emulsion, ensuring that the exposure is sharp and precise. If you don't have a glass or Plexiglas plate, you can use transparent tape, but apply it carefully.
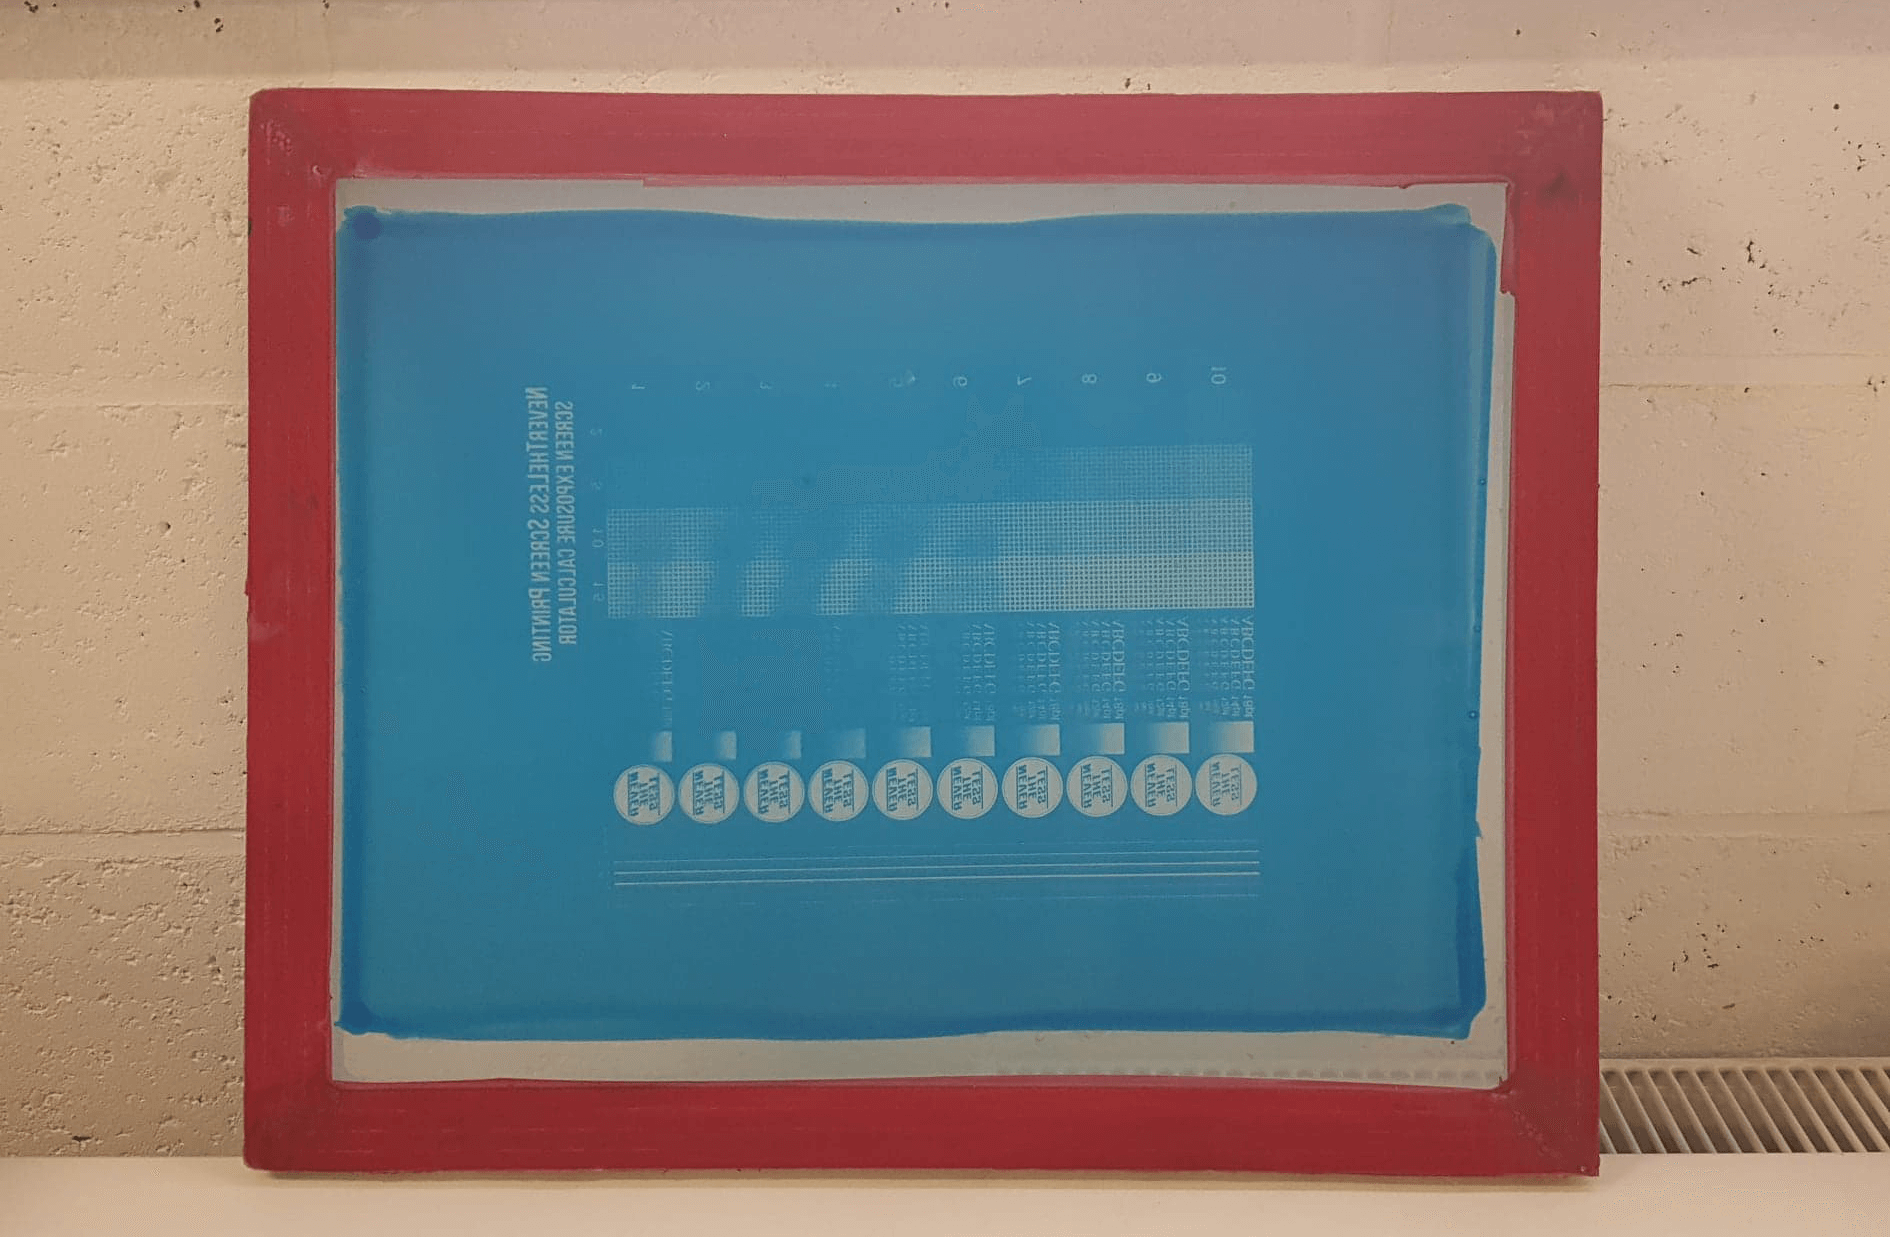
Once everything is in place, it's time to switch on your light source. Exposure time varies according to several parameters:
the type of emulsion used
the light source used
the distance between the frame and the light
For those using our Mekanika kit, the optimum time for 1+1 coating is 4 minutes.
Washout
After 4 minutes, work quickly. Washout is the process of rinsing the frame with water after exposure to reveal your design.
Direct the water stream from your sink or hand shower at the frame and let the water flow over the design for a few seconds—your image will appear. A sponge isn't essential at this stage, but if used carefully, it can help remove unexposed emulsion completely. Inspect your frame under good lighting to ensure proper washout.
Tips
After washout, there may still be small imperfections in your frame—these are pinholes in the emulsion that will allow ink to pass through during printing. Here's a solution:
Once you've identified all the pinholes, use a cotton swab to dab a small amount of emulsion into them. Then re-expose your emulsion for at least 4 minutes.
If you're planning a large print run, consider giving your screen an additional exposure. This strengthens the emulsion and extends stencil life.
Now that your frame is exposed and washed out, you can move on to the printing phase.
Next Step
It's time to start printing. Visit our article "How to Make Great Prints" to discover all our tips and tricks for successful first prints.
About Mekanika
Mekanika is a Belgian company based in Brussels whose ambition is to make local production more accessible thanks to a 100% open-source approach.
We design and produce high quality machines for CNC milling and screen printing, which have been recognized for their reliability and ease of use. Our tools are delivered as kits and fully documented, allowing to easily adapt them to specific needs.
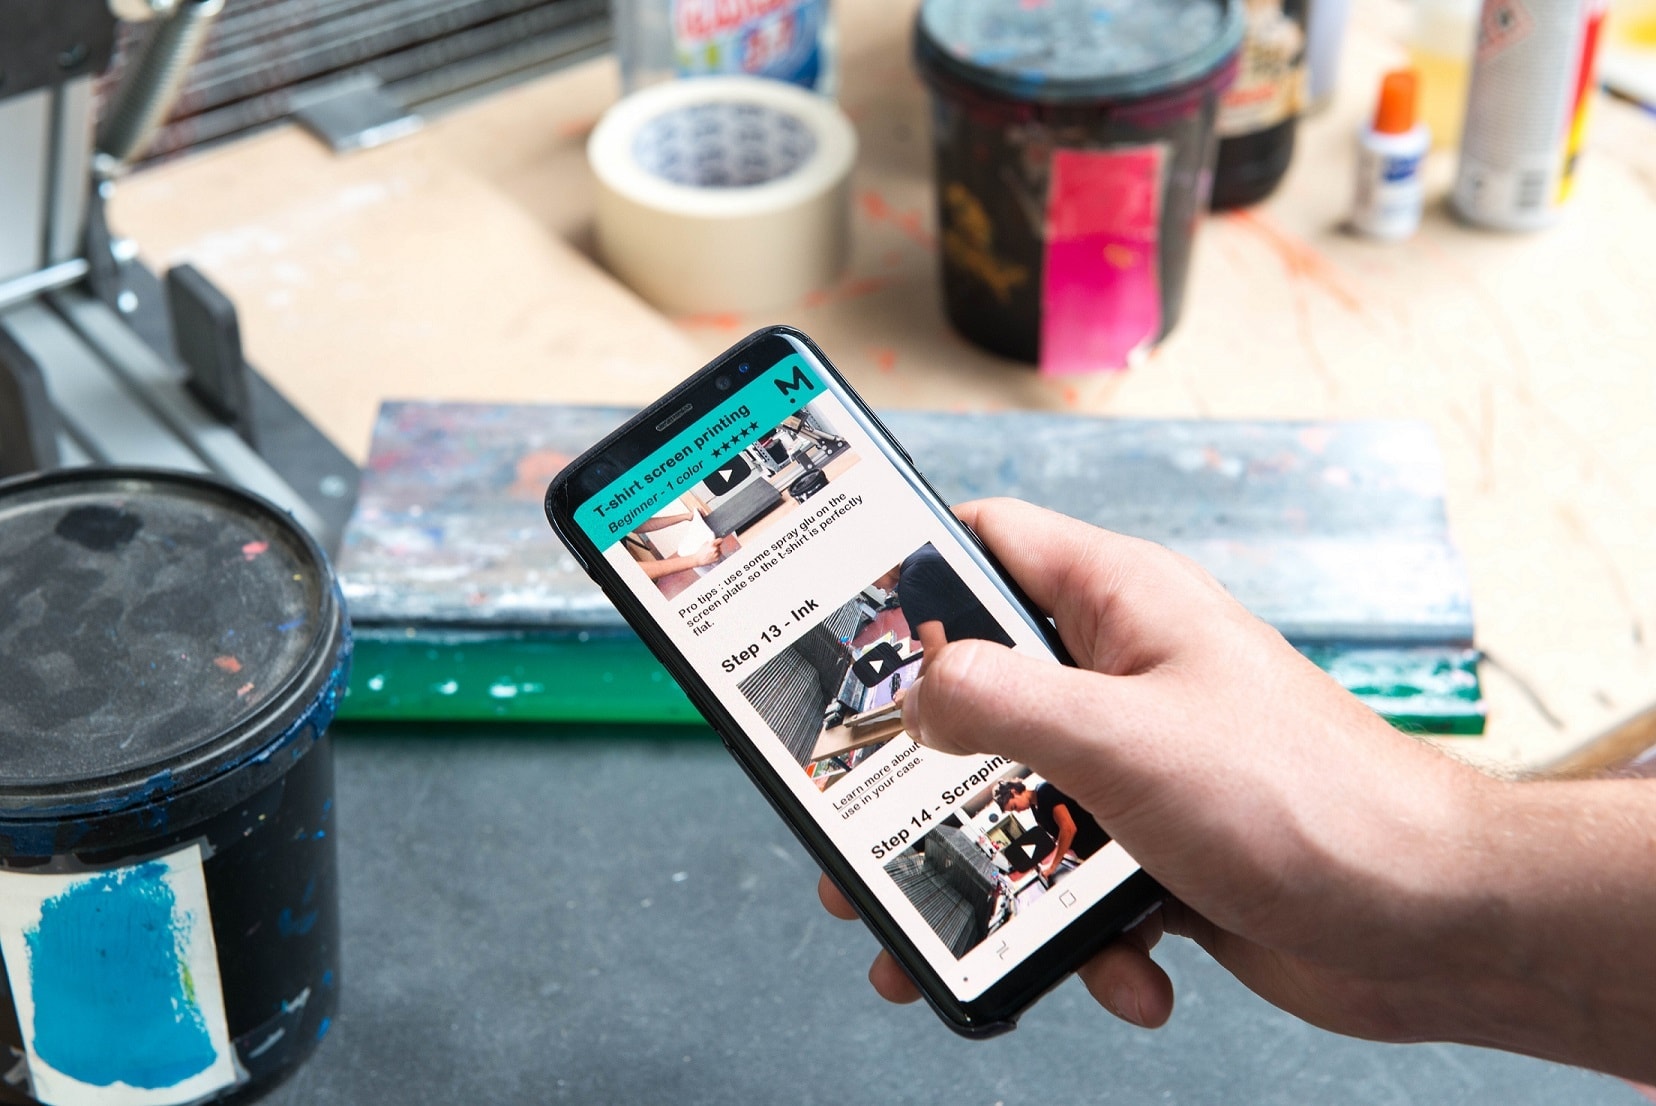
Here are 10 common mistakes that beginner screen printers make, and how to avoid them, with a set of video tutorials to take you through your first successful print, step by step.
Not sure which criteria should make you go for an inkjet or a laser printer? Check this article, understand the pros and cons and get printer recommendations.