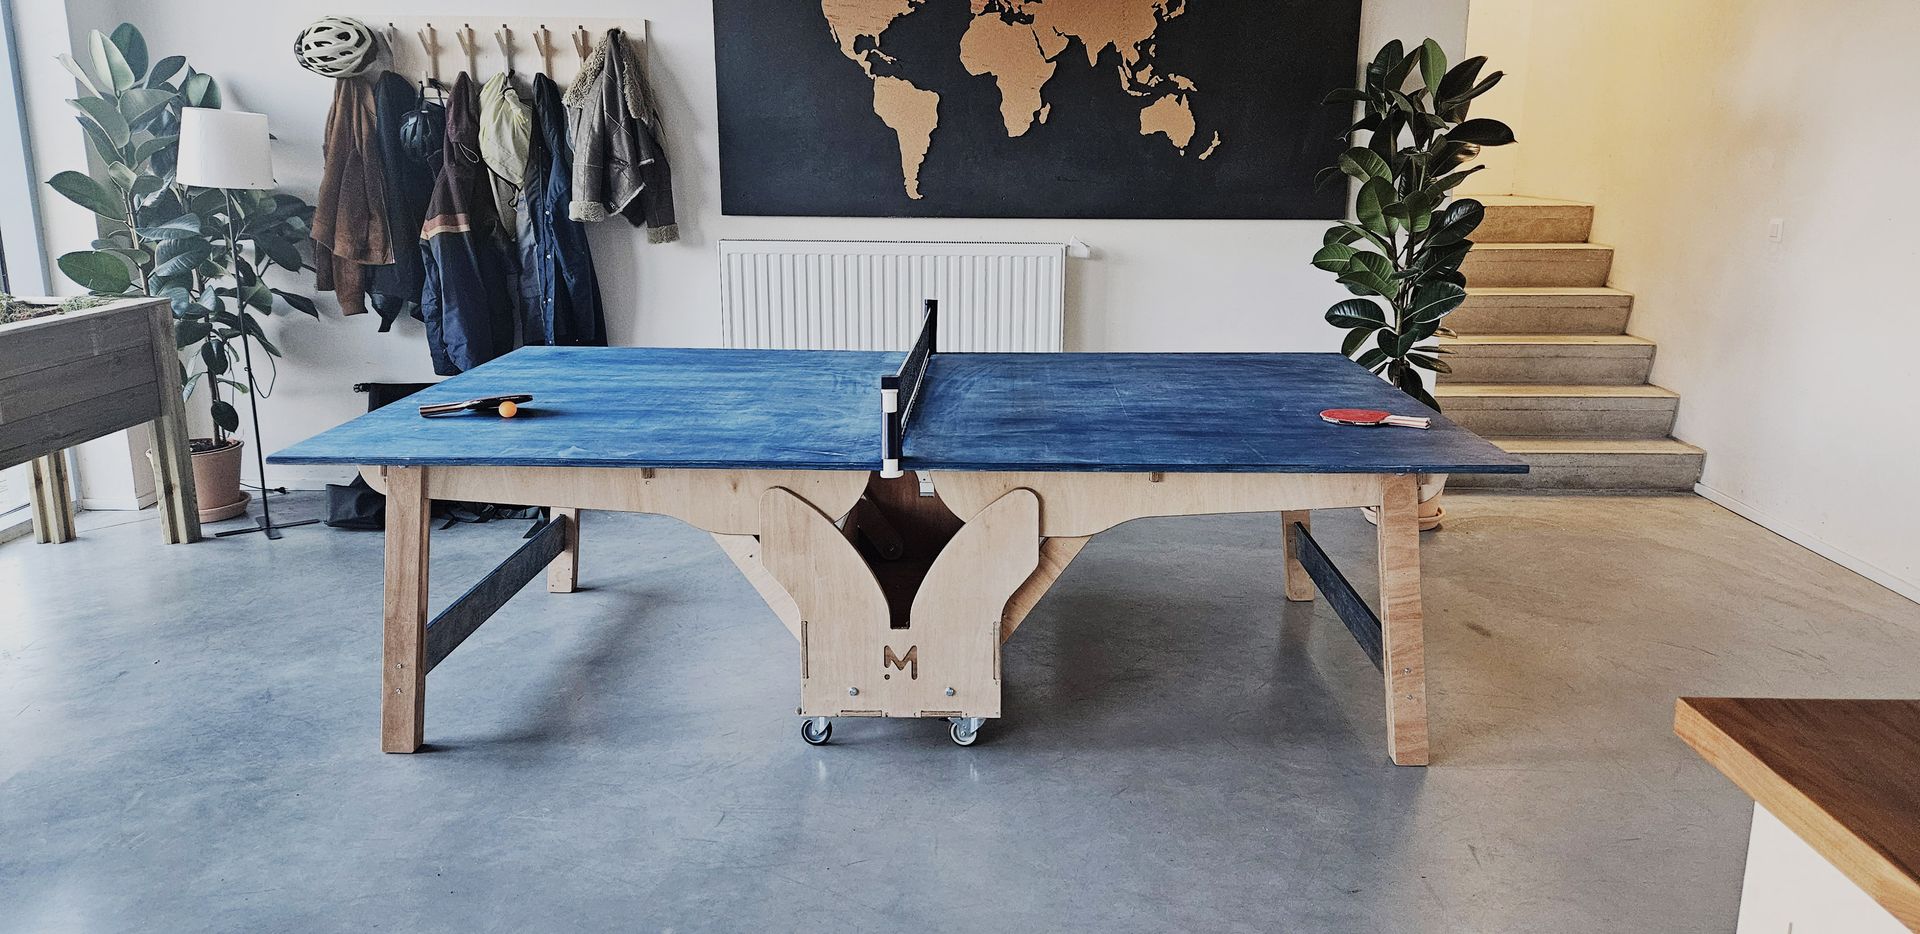
Dit artikel leidt je door de creatie van een volledig functionele opvouwbare pingpongtafel die volledig gemaakt is van CNC-gesneden houten panelen.
Het is een geavanceerd project en veel basis CNC frees- en houtbewerkingstechnieken worden hier niet beschreven omdat we ervan uitgaan dat je ze al kent.
Het project is bedoeld om gefreesd te worden op een volledig formaat CNC machine zoals het Mekanika FAB model, omdat veel van de onderdelen te groot zijn voor desktop modellen.
Hoewel het mogelijk is om deze onderdelen op kleinere modellen te snijden met behulp van de freestechniek, zouden er veel aanpassingen aan het bestand nodig zijn en deze handleiding behandelt deze techniek (nog) niet.
De tutorial is ook beschikbaar als video:
Downloads
Download de bestanden die in het project zijn gebruikt:
Hiermee kun je heel snel zagen en ruwe afwerkingen zijn hier geen probleem omdat alle onderdelen toch met de hand geschuurd en afgewerkt moeten worden.
Als je een betere afwerking wilt, kun je een compressiebit gebruiken of beginnen met een downcut voor de eerste gang en dan een upcut gebruiken voor een betere spaanafvoer (maar dan moet je de G-code veranderen).
Elke 8 mm bit kan worden gebruikt voor de meegeleverde G-codes, maar de voedingen en snelheden moeten mogelijk worden aangepast. We raden je ten zeerste aan om het Fusion360 bestand te openen en elke bewerkingsparameter aan te passen aan de mogelijkheden van je frees en machine. Je kunt het ook aanpassen voor bijvoorbeeld 6 of 10 mm frezen...
CNC-frezen
Paneel 1 bevat de eenvoudigste delen van de structuur, ze hebben basisbewerkingen.
De bewerkingen zijn als volgt geordend: (als je het bestand wijzigt, raden we je aan de volgorde van de bewerkingen aan te houden)
Boren: Gaten van 12 mm boren voor verbindingen.
2D-pocket: Gaten frezen in onderdelen voor assemblage
2D contour: uitsnijden van onderdelen
Paneel 2 bevat onderdelen voor de structuur, waaronder gegraveerde onderdelen (donkeroranje). Zorg ervoor dat deze onderdelen met een downcut bit worden gesneden om een mooie afwerking van de logo's te krijgen.
De bewerkingen zijn als volgt gerangschikt: (Als je het bestand aanpast, raden we je aan om de volgorde van de bewerkingen aan te houden)
Logo 2D pockets: Diepe zak
Boring: Gaten van 12 mm boren voor verbindingen
2D Pocket: Zakken frezen in onderdelen voor assemblage
2D schets: De onderdelen uitsnijden
Plaat 3 (moet twee keer uitgesneden worden!) Dit zijn de tafelbladen. Het zijn grote stukken en de afmetingen zijn een paar centimeter kleiner dan de officiële tafeltennismaten om in de Mekanika FAB te passen (1320 x 1508 mm).
Pas deze afmetingen gerust aan voor je machine. Je kunt ze ook handmatig zagen met een decoupeerzaag. Als je dit doet, moet je ook de pennen van de randen van de structuur verwijderen, omdat er dan geen uitsparingen in het tafelblad voor zijn.
De bewerkingen zijn als volgt gerangschikt: (als je het bestand wijzigt, raden we je aan de volgorde van de bewerkingen aan te houden)
2D Pocket: Inlassen voor montage frezen
2D Uitsparing: Onderdeel uitsnede
Afwerkingen
Voer voor de assemblage de nodige afwerking uit op de onderdelen:
Maak de randen van de lipjes schoon en breng afschuiningen of fillets aan om ze mooier en veiliger te maken.
Alles schuren tot minstens korrel 120 is ook een goed idee aangezien er bewegende delen zijn (geschuurde oppervlakken maken verbindingen soepeler door de wrijving te verminderen).
Daarna kun je je favoriete kleur/lak/afwerking op alle onderdelen aanbrengen.
Montage
Voorvoeten bestaan elk uit 3 delen. De binnenste en buitenste delen zijn verschillend (een met een volledig hol gedeelte, een met een gedeeltelijk hol gedeelte ) en het middelste deel heeft een richting. Ik raad je aan om alle voetjes blanco te monteren voordat je ze bevestigt. Zorg ervoor dat de uitlijning van de onderdelen perfect is en lijm/schroef ze aan elkaar.
Plaats de dwarsbalk met het logo tussen de voorste voetjes. Zorg ervoor dat de voetjes in dezelfde richting staan, ze zijn niet symmetrisch (er is een hoek aan de onderkant). Het past in de uitsparingen in de voetjes (er moet misschien een beetje gehamerd worden, afhankelijk van de toleranties van je paneel). Je kunt dan schroeven gebruiken om de dwarsbalk aan de voeten te bevestigen.
De binnenste voeten/articulaties zijn eenvoudiger (geen richting). Lijn uit en lijm/schroef 2 stukken aan elkaar voor elk van de 4 gewrichten. Het kleine ronde stukje is een afstandhouder die niet echt aan de rest bevestigd hoeft te worden (de verbinding houdt het wel).
Zet het onderstel van de tafel in elkaar, aarzel niet om er een flinke hoeveelheid lijm/schroeven in te doen, want het kan tijdens het gebruik flink gaan wringen. Voeg de 4 zwenkwielen toe aan elke hoek van het onderstel.
Monteer de 2 bovenstructuren die bestaan uit 2 lange armen die met elkaar verbonden zijn door 2 dwarsbalken. De dwarsbalk met de pinnen bovenop gaat naar de binnenkant (de grotere kant van de armen). Schroef de dwarsbalken stevig vast aan de armen.
Daarna kun je beginnen met de volledige montage van de structuur:
Alle verbindingen worden op deze manier vastgezet: schroef / sluitring / stalen buis / sluitring / borgmoer Het moet niet te strak worden aangedraaid om rotatie mogelijk te maken, maar genoeg om wiebelen te voorkomen.
Gebruik de 72mm buizen waar de schroef door 4 panelen gaat (onderste verbindingen) en de 54mm waar hij door 3 panelen gaat (bovenste verbindingen). Het is mogelijk dat je je buizen/schroeven in andere maten moet laten zagen dan deze theoretische maten, afhankelijk van je paneeldikte, afwerking, enz. Het is mogelijk om geen stalen buizen te gebruiken, maar de verbindingen zullen moeilijker te bewegen zijn en waarschijnlijk minder duurzaam.
We gaan nu het pianoscharnier aan de tafelbladen bevestigen. Plaats de twee tafelbladen op elkaar. Zorg ervoor dat de 2 horizontale uitsparingen op beide panelen aan dezelfde kant zitten (zodat de speelzijden naar elkaar toe wijzen).
We raden je aan om tijdelijk een afstandhouder van 4 mm tussen de twee panelen te plaatsen om wat ruimte voor het scharnier te creëren. Eenmaal voorbereid, lijn je de twee panelen perfect uit, zet je ze tijdelijk vast met klemmen en schroef je het pianoscharnier vast aan de randen die het dichtst bij de 2 horizontale uitsparingen zitten.
Je hebt wat vriendelijke handen nodig voor de volgende stap: je moet de zware tafelbladen op de structuur plaatsen:
Doe wat lijm op alle bovenranden van de structuren en ga verder met het plaatsen van de panelen met de hulp van een vriend. Mijn techniek om deze lastige stap aan te pakken was om het gevouwen aan een kant van de structuur te leggen en dan het tweede deel uit te vouwen (zoals te zien op de animatie). Wees voorzichtig, want het tafelblad is de sleutel die alles bij elkaar houdt, dus totdat het vast zit, kan de structuur wiebelen en bewegen (daarom helpen 3 of 4 veel).
Als je een grote werkplaats hebt, is het misschien makkelijker om deze stap voor de vorige te doen. Het hangt echt af van je techniek, beschikbare gereedschappen en persoonlijke voorkeur...
Daarna kun je het tafelblad vastschroeven: afhankelijk van je gereedschap kun je: - Lange schroeven vanaf de onderkant in de dwarsbalken steken (om schroeven op het oppervlak te vermijden). - Gebruik een mal op de dwarsbalken om schroeven diagonaal in het tafelblad te steken (let op dat ze niet door het oppervlak gaan). - Gebruik metalen beugels om het tafelblad aan de armen en dwarsbalken te bevestigen.
Draai ze stevig vast, want elke keer dat je de tafel opklapt komt er veel spanning op deze bevestigingen te staan.
En klaar is kees! Je kunt een snel te bevestigen net kopen bij elke sportwinkel en een paar rackets en ballen.
Wacht tot de lijm droog is voordat je het opvouwt. Het moet gemakkelijk opvouwen. Je kunt ook wat was op de bewegende delen doen om te helpen met de wrijving als die te hoog is.
Veel plezier met het spelen en voel je vrij om ons foto's te sturen van je creatie en/of verbeteringen aan dit open source project!
Over Mekanika
Mekanika is een Belgisch bedrijf gevestigd in Brussel dat als ambitie heeft om lokale productie toegankelijker te maken dankzij een 100% open-source benadering.
We ontwerpen en produceren CNC frees- en zeefdrukmachines van hoge kwaliteit die een reputatie hebben opgebouwd voor betrouwbaarheid en gebruiksgemak. Onze gereedschappen worden geleverd in volledig gedocumenteerde kits, zodat ze gemakkelijk kunnen worden aangepast aan specifieke behoeften.
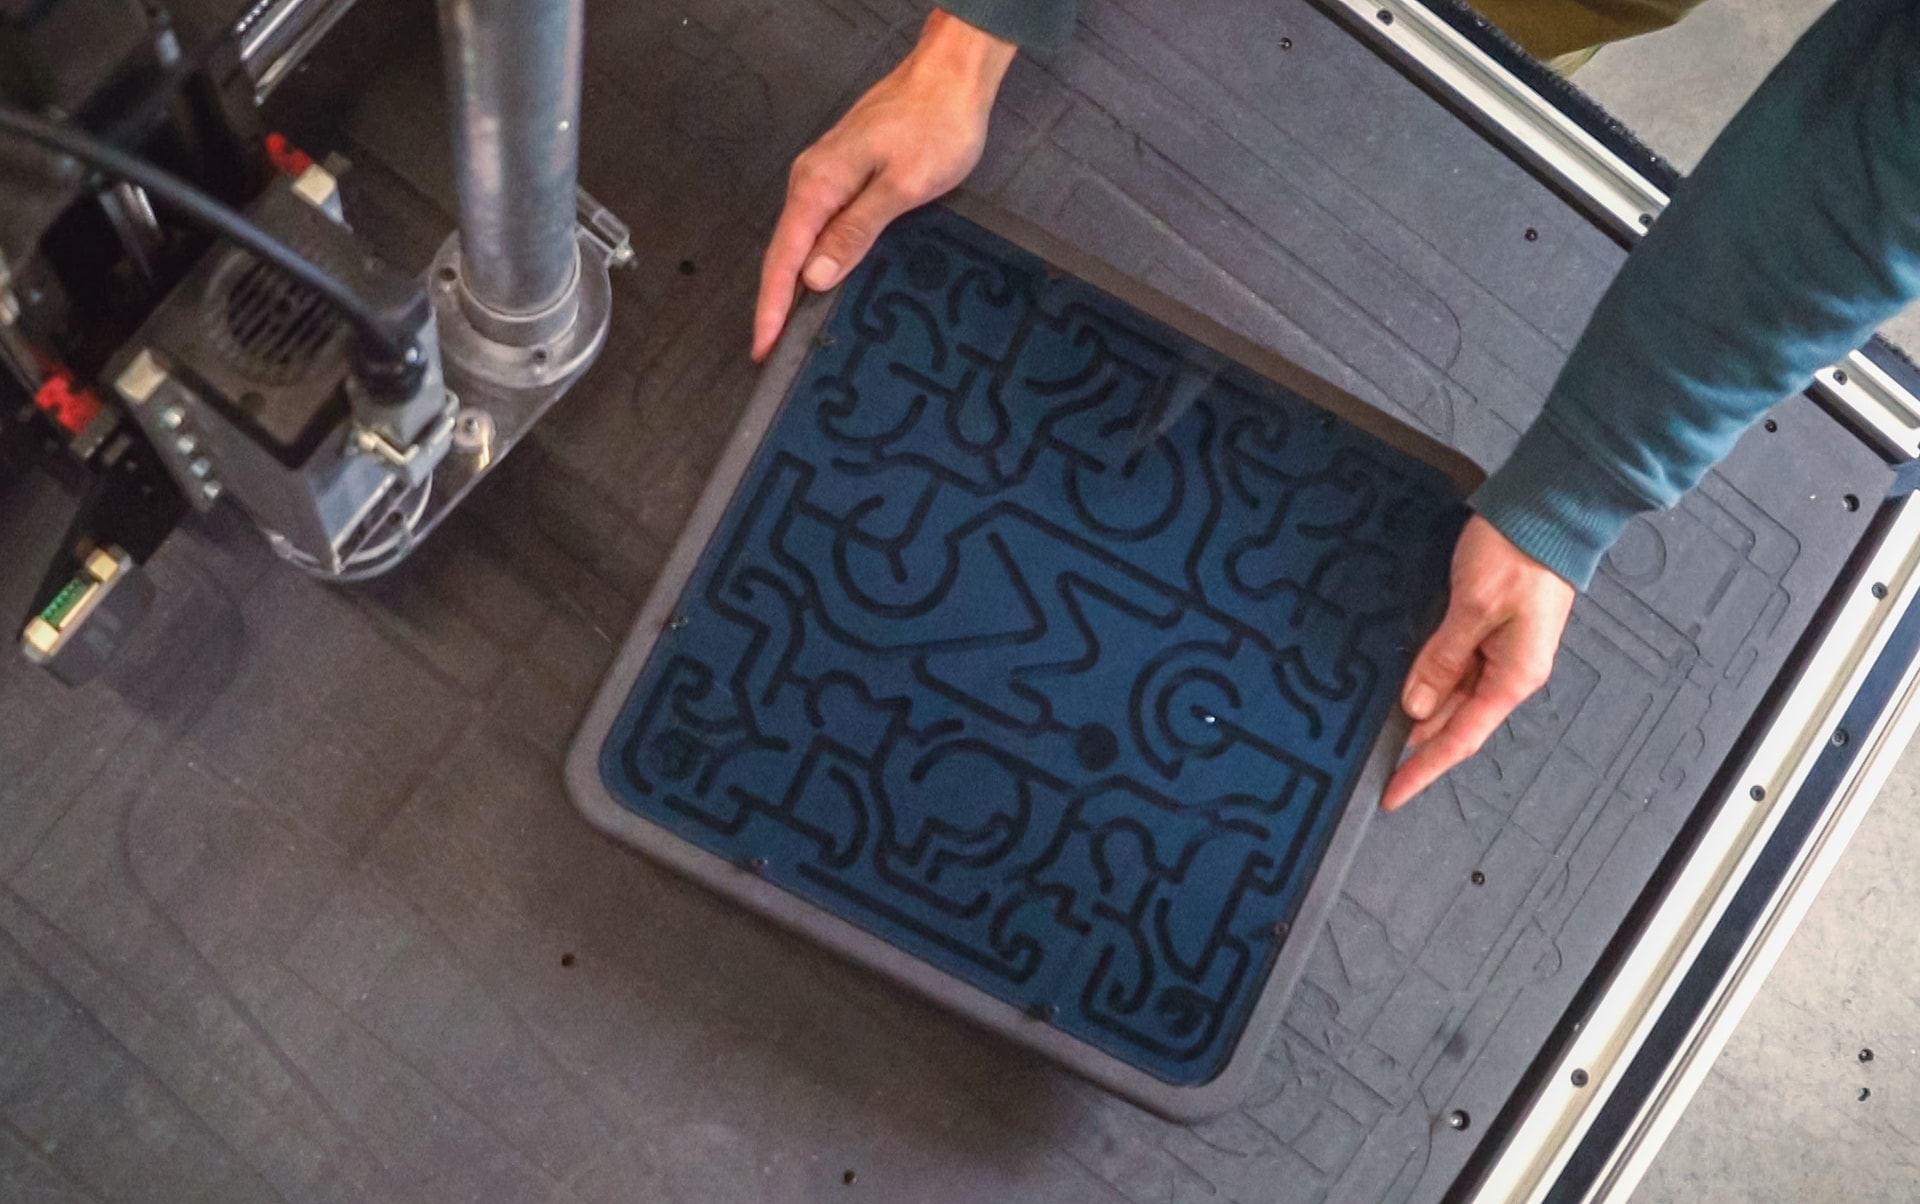
Een gids om een knikkerlabyrint van hout te maken en wat basis CNC freesoperaties te leren.
Dit is een makkelijk project om te leren hoe je je CNC gebruikt.
Deze gitaar is bedacht en ontworpen door Hussein van Barada Guitars, met de hulp van zijn vriend Austin, die zijn expertise leende voor het ontwerp van de CAD-bestanden.
We besloten een aantal akoestische panelen te ontwerpen met behulp van onze eigen Fab CNC om zowel de akoestiek te verbeteren als onze vergaderruimte te verfraaien.


 Het bestand is voorbereid voor een 8mm Upcut 3 flutes freesbit uit de Boss Ultimate kit van Fraiser.