This guide will enable you to program machining operations larger than your machine using the “Tiling” technique. We cover both the CAD and CAM aspects in Autodesk Fusion as well as machining.
Xavier Klein
CNC Training

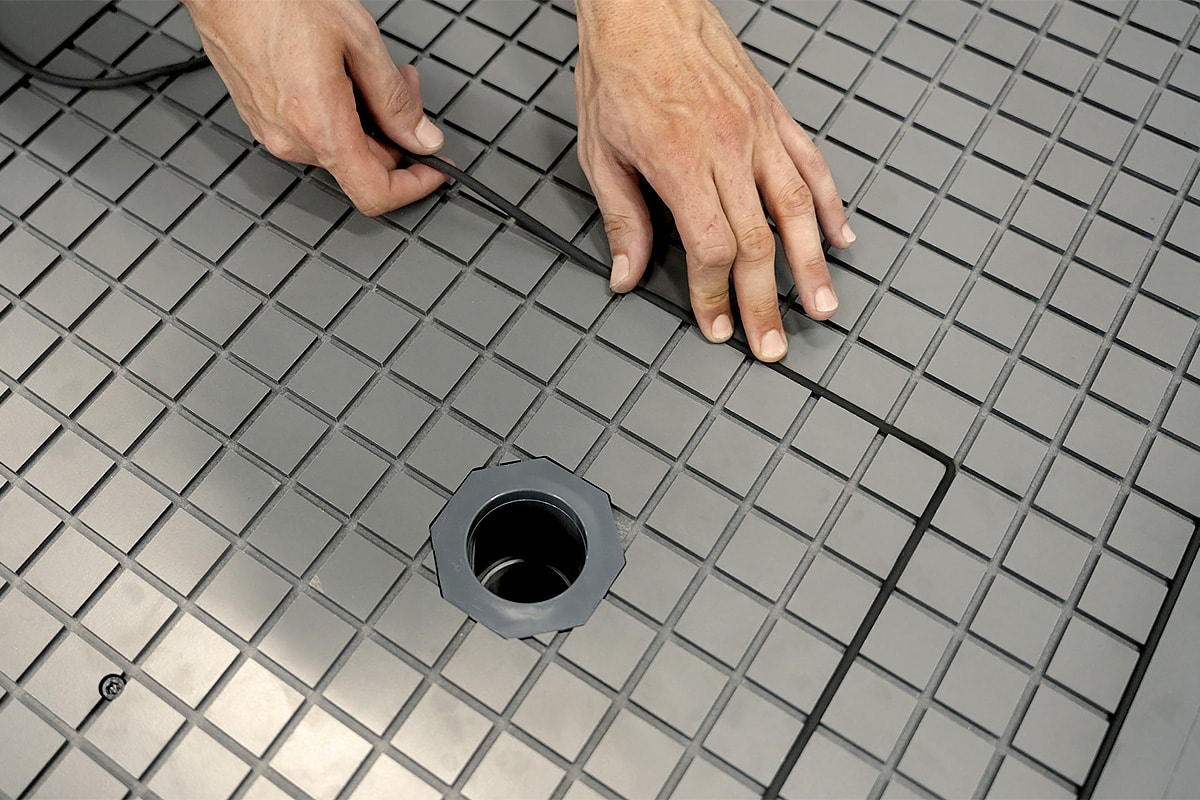
Getting started with a vacuum table on your CNC milling machine can feel overwhelming. There's a lot to learn, and the difference between a properly optimized setup and a poorly configured one can mean the difference between secure workholding and parts flying off your table mid-cut.
This guide will walk you through everything you need to know, starting with the most critical concepts that directly impact safety and cut quality, then moving to advanced optimization techniques for those who want to squeeze every bit of performance from their system.
Note: This guide is specifically intended for users equipped with a vacuum setup that includes an MDF spoilerboard and a high-airflow pump (side channel blowers or BlackBox-style vacuum pumps). These systems are essential when working with a spoilerboard, because the porous nature of the MDF allows air to leak through, something a traditional vacuum pump (which prioritizes pressure over flow) can't compensate for effectively. High-airflow systems, on the other hand, can maintain sufficient suction by continuously moving a large volume of air, making them ideal for CNC routers working with larger workpieces and zoning systems.
Remember, vacuum workholding relies on atmospheric pressure pushing down on your workpiece. Your vacuum pump removes air from beneath the part, creating a pressure differential. The larger the surface area and the better the seal, the stronger the hold.

The golden rule: Any part smaller than 500 cm² (e.g. 22×22 cm square or 5-inch diameter circle) will not hold reliably with vacuum alone.
This isn't a suggestion, it's a safety requirement. Small parts simply don't have enough surface area for atmospheric pressure to create sufficient holding force. For these parts, you must use:

Your spoilerboard plays a critical role in vacuum performance and often needs to be checked. Over time, grooves and porosity reduce effectiveness, but other variables play a role here.

Air leaks are the enemy of vacuum workholding. Here's where to focus:

Your tooling and cutting approach directly impact workholding success:
Not all materials behave the same:
Tip: Use straightened/planed stock when possible, especially for hardwoods.

A common mistake: forgetting that the dust shoe applies lateral force, especially on small parts. It can cause shifting, even if the vacuum hold is good.
Your workshop environment significantly affects vacuum performance:
This section will be specific to the Black Box vacuum pumps (Hurricane or Storm).

The first important point to bear in mind is that these high-airflow vacuum pumps use brush-style motors, which are consumable components, (think of them like brake pads on your car). Understanding how they work and wear will help you maximize their lifespan and avoid unexpected downtime.
The Hurricane system features two separate stages of motors, each controlled by its own power switch, allowing you to activate them independently or together. By design, the secondary stage increases airflow, not vacuum pressure, this extra flow compensates for increased air leakage as you cut through material.

Important note: The system is designed to work in one direction only, so you cannot run it using only the secondary motors. If the primary motors are off, air will leak through them, causing a loss of vacuum hold-down across the entire system.
Understanding when to use both stages helps optimize performance and motor life.
Primary motors only are sufficient for:
Primary + Secondary motors are recommended for:
One of the fastest ways to kill your vacuum motors is "deadheading", meaning running the system with minimal airflow. When motors can't move air, they overheat rapidly. This happens when:
As we mentioned earlier in this guide, minimizing leaks is important for maximizing hold-down force, especially for small or delicate parts. However, if your job allows it (i.e., if your material is large enough and well supported) leaving a controlled amount of airflow by uncovering a small area or slightly opening a zone can be beneficial. This helps the motors stay cool, extending their lifespan while maintaining enough suction for safe clamping.
This schedule is recommended if you use your vacuum pump daily. If you use it less frequently, you can space out the maintenance.
After every 60-90 minutes of continuous operation, allow a 15-20 minutes cooling period. This simple practice can extend motor life by 30-50%.
Organize the area where you install your machine and vacuum pump, so that you can easily access the filters (the blue foam filter and the canister filter).
Before complete failure, motors often give warning signs:
If a motor fails mid-project, you can often continue working:
If you're experiencing poor vacuum hold-down, check these essential points:
Perform this "deadhead test" to verify system health:
Plan your spare inventory based on usage to avoid long downtimes:
|
Workshop Type |
Weekly Usage |
Recommended Spares |
|
Hobbyist |
<10 hours |
1 motor |
|
Medium Production |
10-20 hours |
2 motors |
|
High Production |
40-50 hours |
4 motors |
Note: Motors in the same system tend to wear at similar rates. When one fails, others often follow within weeks.
Vacuum workholding is incredibly effective when properly implemented, but it requires attention to detail and regular maintenance. Start with the fundamentals: ensure parts are large enough, maintain your spoilerboard, and seal your system. As you gain experience, you'll develop an intuition for when to use advanced techniques and when to stick with simple solutions.
Remember: when in doubt, err on the side of caution. It's always better to add tabs or use alternative workholding than to have a part come loose during cutting.
Mekanika is a Belgian company based in Brussels whose ambition is to make local production more accessible thanks to a 100% open-source approach.
We design and produce high quality machines for CNC milling and screen printing, which have been recognized for their reliability and ease of use. Our tools are delivered as kits and fully documented, allowing to easily adapt them to specific needs.
Visit our shop to find out more, or check out our online resources and tutorials to continue learning.

This guide will enable you to program machining operations larger than your machine using the “Tiling” technique. We cover both the CAD and CAM aspects in Autodesk Fusion as well as machining.
Xavier Klein
CNC Training

Planet CNC offers the option of starting a G-code from a specific line instead of from the beginning. This can be useful for resuming a job that was stopped for various reasons, such as a program/computer crash, a power outage or an emergency stop.
Quentin Liard
Customer Support

Learn how to create your project and generate G-Code from VCarve Pro or Aspire to easily machine your parts on a CNC milling machine.
Xavier Klein
CNC Training