DXF, NC, STEP and More: Get Familiar with CNC File Formats
With this guide, discover how to use your DXF or STEP files and convert them. We deal with most frequent issues faced when learning CNC milling.
Roldan D.
Sales & Marketing

Effective signage plays a crucial role in a company's communication and marketing strategy.
Even before customers enter the establishment, a good sign gives a first impression that can be positive or negative, professional or unprofessional, make people curious and set the company apart from other businesses around it. As the saying goes, there's never a second chance to make a good first impression.
In this article, you'll learn just how easy it is to create your company's sign using a CNC machine. After an overview of the materials you can use for your signage, and which can be cut on a CNC milling machine, I'll take you through the steps involved in making a very large sign. You'll see that with a CNC, it's possible to make almost anything, and above all to personalize everything (choice of fonts, motifs, etc.).
First of all, it's important to know whether you want to make a sign for the interior or exterior of your establishment.
This choice will determine the type of material you'll use to make it.
For logos and interior signage, MDF (Medium Density Fiberboard) is a very interesting choice. Readily available from DIY stores in a variety of thicknesses, this material cuts quickly.
When it comes to coloring, the faces are easy to paint and a smooth finish is very easy to achieve. Only the edges need more work to be perfect, as they tend to drink paint.
Use a mixture of vinyl glue and water, applied to the edges, to obtain a cleaner surface finish. Always remember to use a little abrasive paper before painting to ensure a perfectly smooth finish.

Another solution for your signage is solid wood. If properly varnished, it can be used for outdoor signage, but it's best to use a species that can withstand humidity.

These materials are known for being “stable”, meaning they don't warp over time while still having the appearance of solid wood on the surface.

The number one choice for signs, Plexiglas is the number 1 choice. This material lasts for years, indoors and out.

When it comes to signage, aluminum and Dibond are also popular. The aluminum used for signs is generally a pure sheet of aluminum. Dibond, on the other hand, is a sandwich of two aluminum sheets around a polyethylene core.

Renozist is a composite panel made from a blend of wood fibers, expanded polymers and additives. It contains no hazardous or toxic substances, and is easy to work with. What's more, it can be thermoformed.

For each material, it's a good idea to look for the end-mill that will provide the best cutting results. Aluminum, for example, requires a 3-tooth cutter for better chip evacuation, and lubrication is recommended.
For an optimal choice, refer to our end-mill selection guide and CNC Milling Material Library which will guide you through all the necessary steps to get the best possible results.
External contribution by Nathalie Vogtmann

As with any work on a CNC milling machine, it's necessary to design the letters and generate adequate G-Code, but before that, let's get creative.
For this article, I'm making an outdoor sign for a friend's restaurant. After taking a photo of the front of the restaurant, I create a scaled simulation to determine the size of each letter.
To do this, I use Corel Draw software, which lets me import a photo and apply my lettering. I could also have used Inkscape, which has the advantage of being free.
The sign will be almost 8 m long. Each letter is 60 cm high and I will also include the logo's visual in the design.
As for the color, we decided on a dark gray, which will of course match the wood cladding planned for the restoration of the building.
Finally, the choice of material. As I wanted something light, easy to cut and above all long-lasting, I opted for Renozist.
Once my letters and logo are to scale, I DXF the whole thing and import it into Autodesk Fusion 360.
The steps are always the same on Fusion, and I've got into the habit of following a routine so as not to forget any steps. I based myself on the video “transforming a 3d file into G-code”, and here are the main points:


1. in the design section, I import my DXF and extrude my pattern to the thickness of my stock.
2. in the manufacturing section, I define my stock:

The “orientation definition” of the stock will enable the machine to know in which direction the part to be machined is located. In this case, indicate the Z and X or Y axis.

The “stock tab” is used to define the size of the stock. I enter its format and leave a margin around my letter of at least 10 cm to allow room for my fixtures.


Finally, I return to the “configuration tab” to indicate the block point. It's advisable to always choose this point in the bottom left-hand corner of the blank.
3. I move on to cutting, in this case a 2D contour

I select the contour of my design
I choose the tool (in this case, I've chosen a 2-tooth left-cut fishtail cutter 2 mm in diameter)

Adding tabs is important when you're cutting out a complete shape. If this step is forgotten, the part can be propelled out of the workspace and cause damage. I usually add them by hand, and tend to plan them fairly wide and thick (here 10 mm wide and 2 mm thick).


In the “pass” tab, I select multiple depth. I ask the machine to make several passes with a maximum depth of 1 mm, which corresponds to half the diameter of my cutter.
In the “link” tab, I delete the inputs and outputs
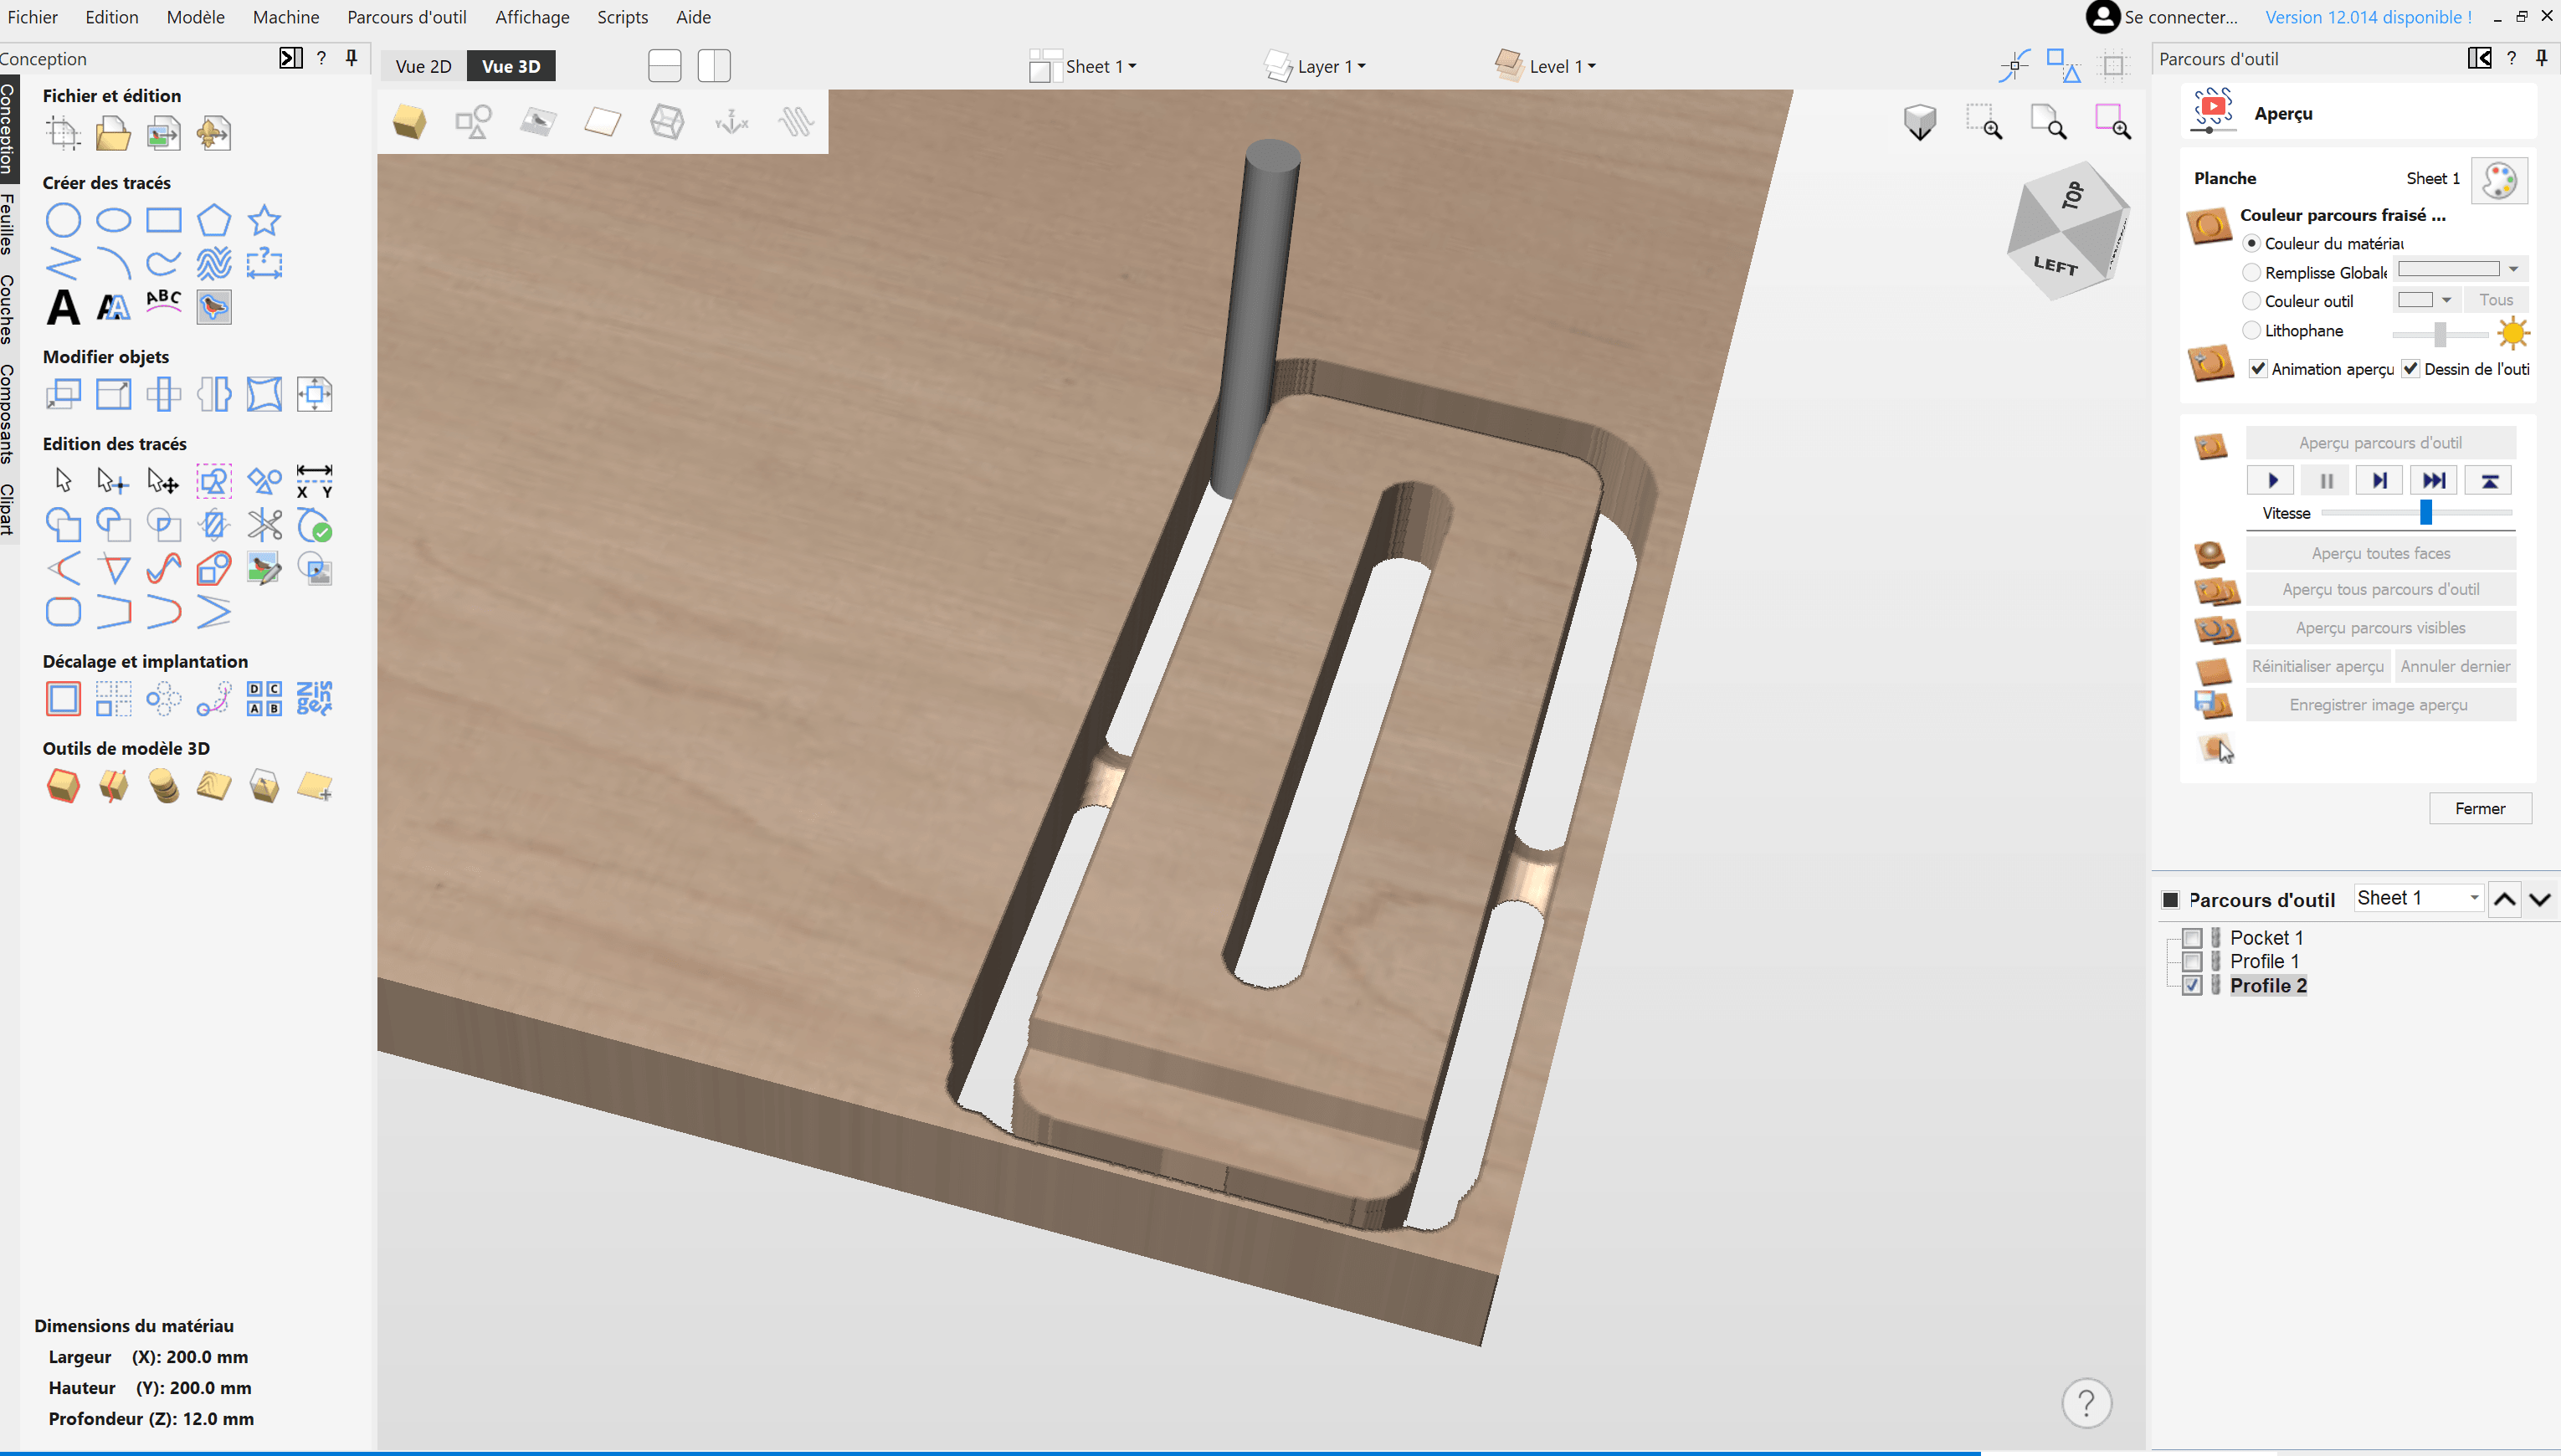
4. I always run a simulation to make sure there are no nasty surprises. When everything's OK, I go to the machine.

For this step, I always follow the same process. I use the ready-to-machine poster to make sure I don't forget anything.
The most important step for me is to ensure that the blank is securely attached to my martyr. Indeed, if it's not properly attached, it can come loose and injure you, but it can also vibrate under the passage of the tool, resulting in poor surface finish (the material seems to have been chewed rather than cut) and premature tool wear.
I fix my Renozist plate with screws to the inserts in my martyrdom. Check out a video on our YouTube channel detailing “The 6 Best Fastening Methods for CNC Milling!”
I start machining.

Renozist cuts perfectly, and the material is particularly pleasant to work with.The edges are clean, so all I have to do now is cut the tabs with a cutter, machine the other letters and move on to the next stage.
The choice of material means that, in terms of protection, there's no need for an extra step like varnishing. In fact, Renozist, unlike wood, is rot-proof, so a good coat of paint will suffice. I chose Zolpan exterior paint.
After lightly sanding and cleaning the letters, I apply an undercoat of the same brand, let it dry and then apply the color with a roller.

Together with the owner of the restaurant, we decided to leave the letters whole and drill the fixing holes on site, once all the letters had been positioned. To prevent the letters from being fixed directly to the wood, and to allow the wood to breathe, we chose to use metal spacers, leaving a gap of a few centimetres between the two materials.Each letter is simply fastened with screws. This is masked by a little paint, but it would also have been easy to machine plugs to mask the fasteners.
If the positioning of the fasteners can be determined beforehand, it is quite possible to add boring operations when creating the machining file.

The sign is now in place, and was designed quickly and easily. This tutorial can be applied to any shop or business. In addition to the sign, other signage elements such as directional signs, welcome signs, etc. can also be machined. Depending on the type of business, it's easy to let your creativity run wild and create a world of your own.
Doing it yourself with a digital milling machine means mastering all the possibilities!

Mekanika is a Belgian company based in Brussels whose ambition is to make local production more accessible thanks to a 100% open-source approach.
We design and produce high quality machines for CNC milling and screen printing, which have been recognized for their reliability and ease of use. Our tools are delivered as kits and fully documented, allowing to easily adapt them to specific needs.
Visit our shop to find out more, or check out our online resources and tutorials to continue learning.
With this guide, discover how to use your DXF or STEP files and convert them. We deal with most frequent issues faced when learning CNC milling.
Roldan D.
Sales & Marketing
Learn how to create your project and generate G-Code from VCarve Pro or Aspire to easily machine your parts on a CNC milling machine.
Xavier K.
CNC Training
Hot engraving, cold engraving, tools and tutorials: everything you need to know about wood engraving with your CNC machine.
Quentin L.
Content Creation