
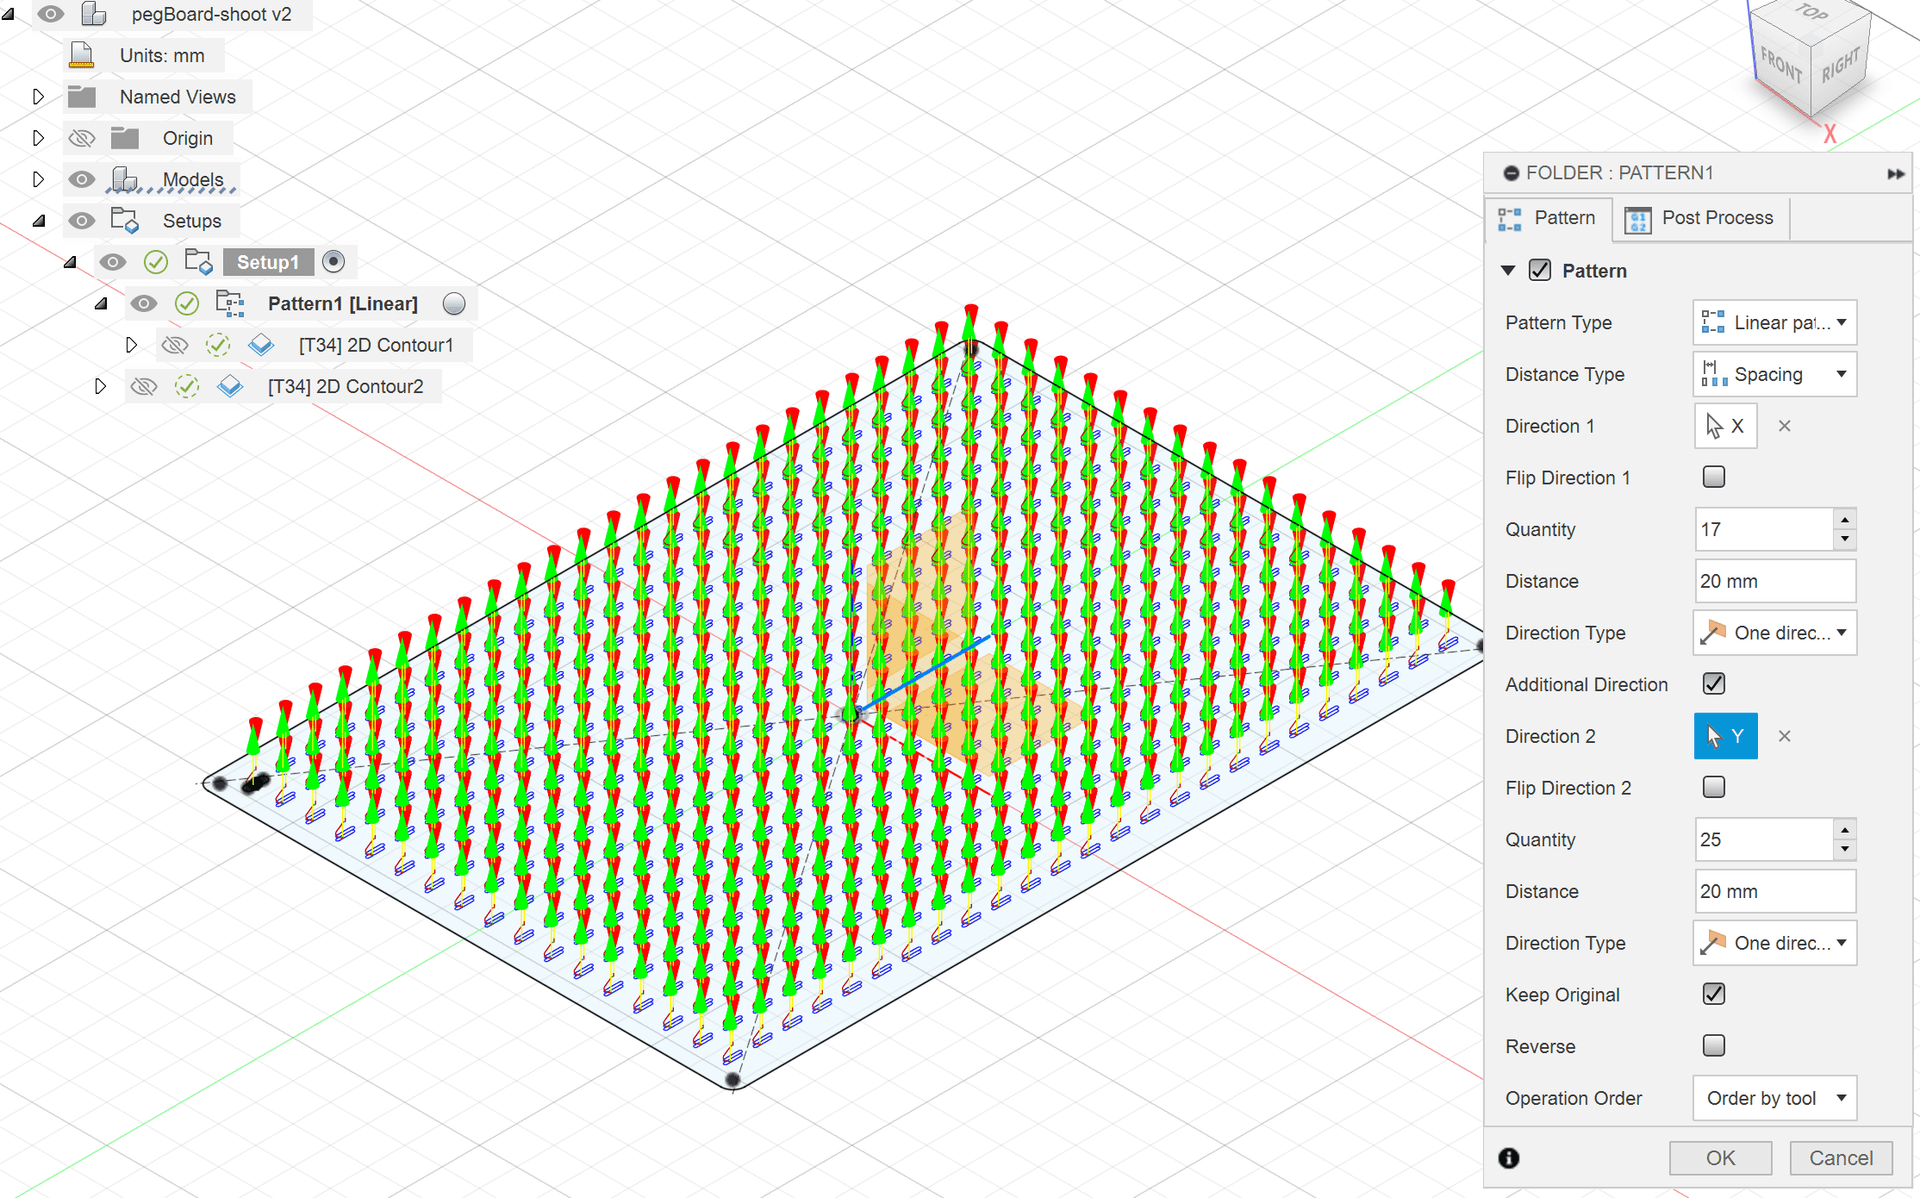
Using Toolpath Patterns in Fusion
Create and machine a parametric pegboard using a toolpath pattern. You will learn how to prepare the design and how to use the Pattern operation in the Manufacture workspace.

Xavier Klein
CNC Educator
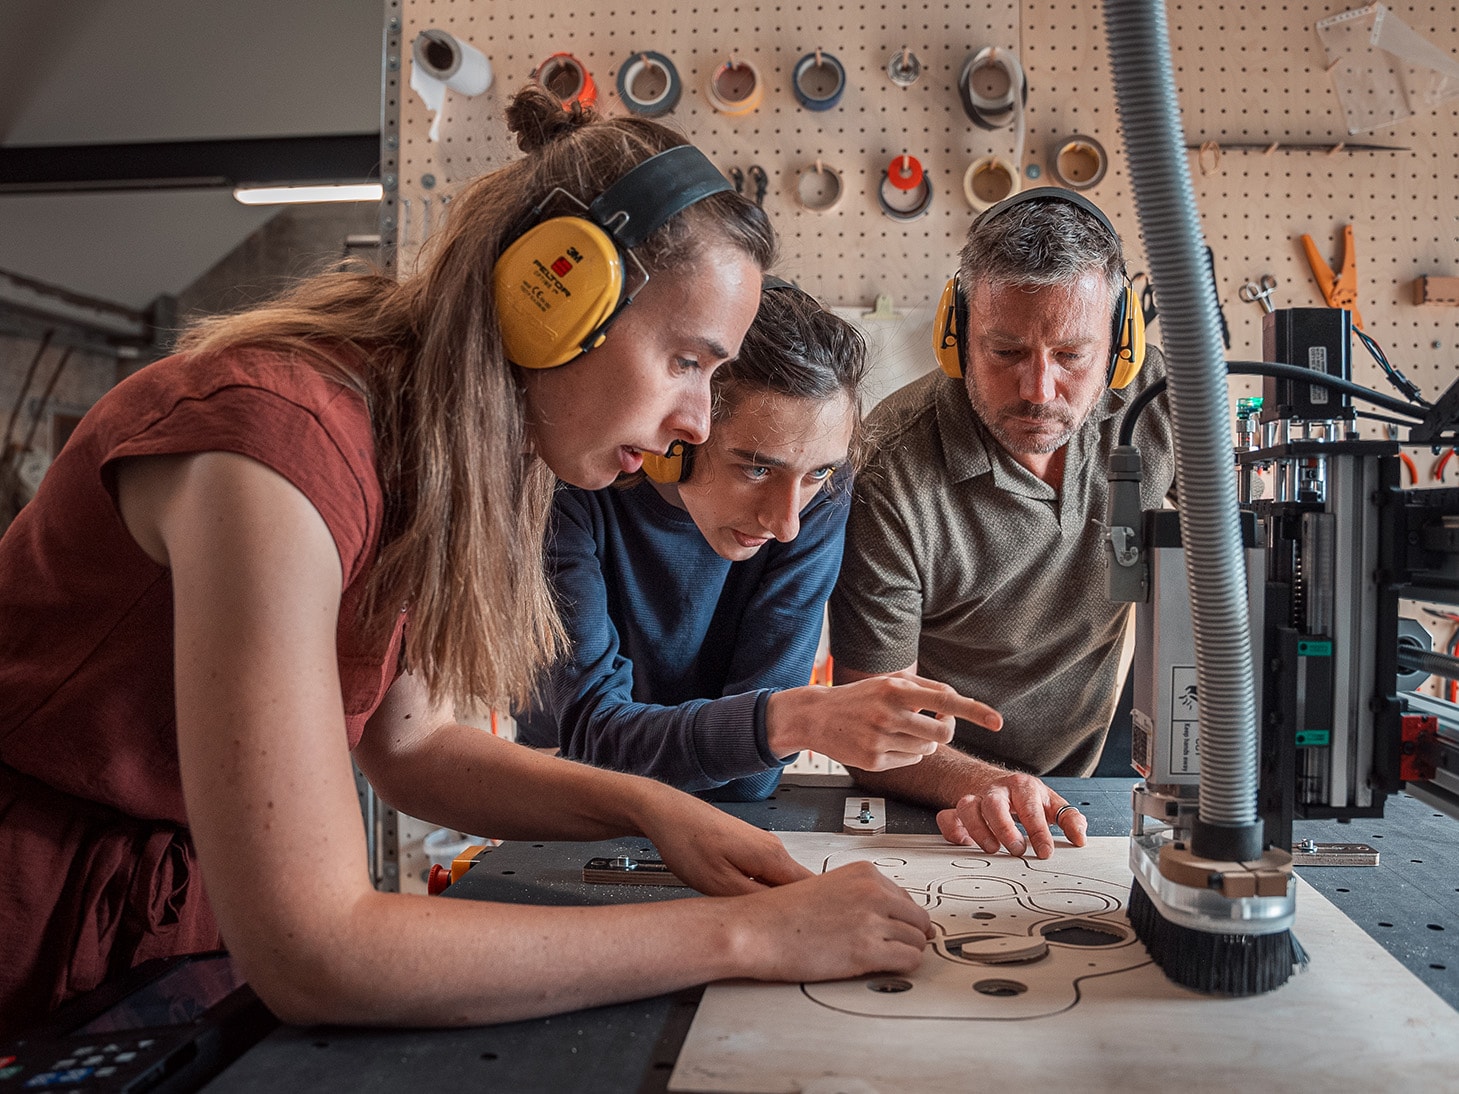
Digital milling is drawing in more and more woodworking craftsmen. You picture the precision, the consistent runs, the perfect jigs, clean engraving on the first try. Then comes the real question, the one many joiners ask before taking the plunge: where do you start?
Because digital milling isn't just an unfamiliar machine to master. It often means software to discover, and perhaps a new way of organising the work. And before any of that, a serious investment. Enough to think it over carefully, even when the desire is there.
This article breaks the topic down step by step. The goal is simple: to show what can genuinely be a sticking point, and where to focus your research when you want to get started.
The machine itself is often what scares people, yet it's the easiest part to get comfortable with. Once it's assembled, the control software is designed to be followed step by step, and outside of complex jobs, only a few positioning and safety operations need to be mastered.
The key skills for getting a machine under control are:
Next comes drawing the part, the CAD stage. Here too, the gap is smaller than you'd think, because most woodworkers already produce their plans on a computer, in DXF or DWG. If digital drawing isn't yet part of the workflow, the learning curve is admittedly longer, but the logic of drawing stays the same.
Some machines, including Mekanika mills, let you work directly from vector files without going through CAM software. In our experience, that's enough for through-cuts or pockets on simple designs. As soon as you want to make more complex parts, and optimising milling time matters, you need to go through operation planning before machining.
This is where a CNC beginner's learning usually concentrates, and let's be honest: it's the only genuinely new part. Between the drawing and the machine, CAM acts as the missing link: it lets you choose precisely what you want machined. A CAM program generates a machining file, in G-code, that the machine can interpret.
Fifty years ago, a machinist would still write this code by hand, but today it's all automated within the software. The work itself is about deciding how the part will be machined:
The choice of operations and cutting parameters starts with general guides (like our machining guide by material), then sharpens as you get to know your machine and your material. And generally, someone who already masters the material will reach optimised results far faster than a 3D designer who knows nothing about it.
Another stubborn misconception: thinking you'd have to shift everything onto the machine overnight. That's neither true nor the right way to start.
A mill takes on one stage of the process, the one where it's most useful. Jigs, cabinets, panel cutting, pockets, engraving. While it machines a run of fronts, you can move ahead in parallel on designing the next project, or on the finishing and assembly of a completed job. It fits into the workshop flow rather than replacing it, and it's the woodworker who decides where it earns its place.
You can perfectly well start by handing it just one repetitive task, then broaden its role as you grow more confident. Seeing the CNC as one more workstation, rather than a revolution of the whole trade, takes away much of the pressure at the outset.
Our philosophy, after supporting more than 2,000 craftsmen through the switch, is learning by doing. Three principles come up again and again among those who made the move to digital successfully:
That said, seeking help to train yourself is always worthwhile. On our side, we offer both self-learning resources and training partnerships.
On your own, a great deal can be learned solo and for free. At Mekanika, all the documentation is open source and available online: assembly, settings, maintenance. On top of that, a 9-day email course covering all the theory, a YouTube channel with tutorials, and our Discord community where you can ask your questions.
With guidance, you go faster. That's the point of the partnership between Mekanika and La Nouvelle École, a training organisation specialising in CNC wood milling. Training isn't a prerequisite for using your machine: the documentation and the community are enough to get going. It acts as an accelerator, a few guided days on operations and tool selection saving weeks of trial and error.
One last option: head to a shared making space such as a FabLab or a maker space near you, to get some hands-on practice before even thinking about investing.
And if any grey areas remain after this article, don't hesitate to get in touch: we'll be glad to talk through your project.
Mekanika is a Belgian company based in Brussels whose ambition is to make local production more accessible thanks to a 100% open-source approach.
We design and produce high quality machines for CNC milling and screen printing, which have been recognized for their reliability and ease of use. Our tools are delivered as kits and fully documented, allowing to easily adapt them to specific needs.
Visit our shop to find out more, or check out our online resources and tutorials to continue learning.
Create and machine a parametric pegboard using a toolpath pattern. You will learn how to prepare the design and how to use the Pattern operation in the Manufacture workspace.
Xavier Klein
CNC Educator
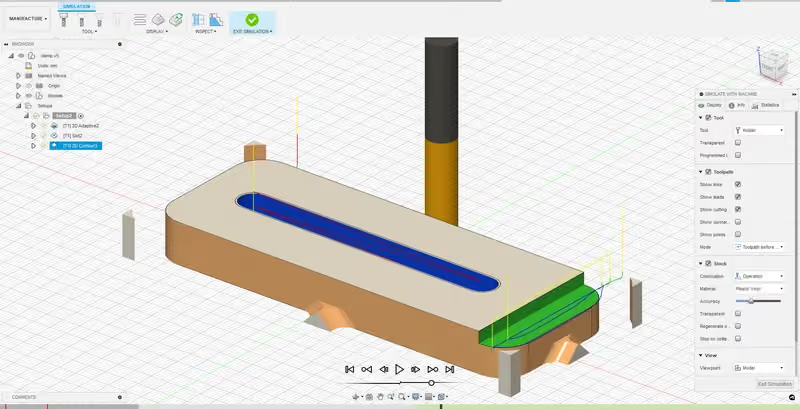
Learn the basics of Autodesk Fusion: the interface, the design of a parametric clamp and the preparation of its CNC machining.
Xavier Klein
CNC Educator
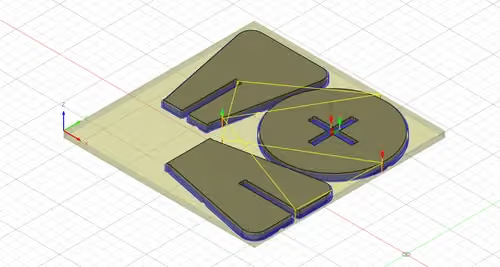
Learn how to design a parametric stool assembled with mortise and tenon and cross lap joints, then prepare its machining in Autodesk Fusion.
Xavier Klein
CNC Educator