Whenever you want to join 2 pieces using mortises and tenons, you will encounter a problem: because you’re cutting something using a spinning tool, the internal corners will be rounded, the tool can not cut 90° angles.
We need a solution, and it is called "Dogbones".
We'll teach you how to make them by hand, and how to find add-ons creating them automatically for complex projects.
Why Use Dogbones?
Lets take a simple example:
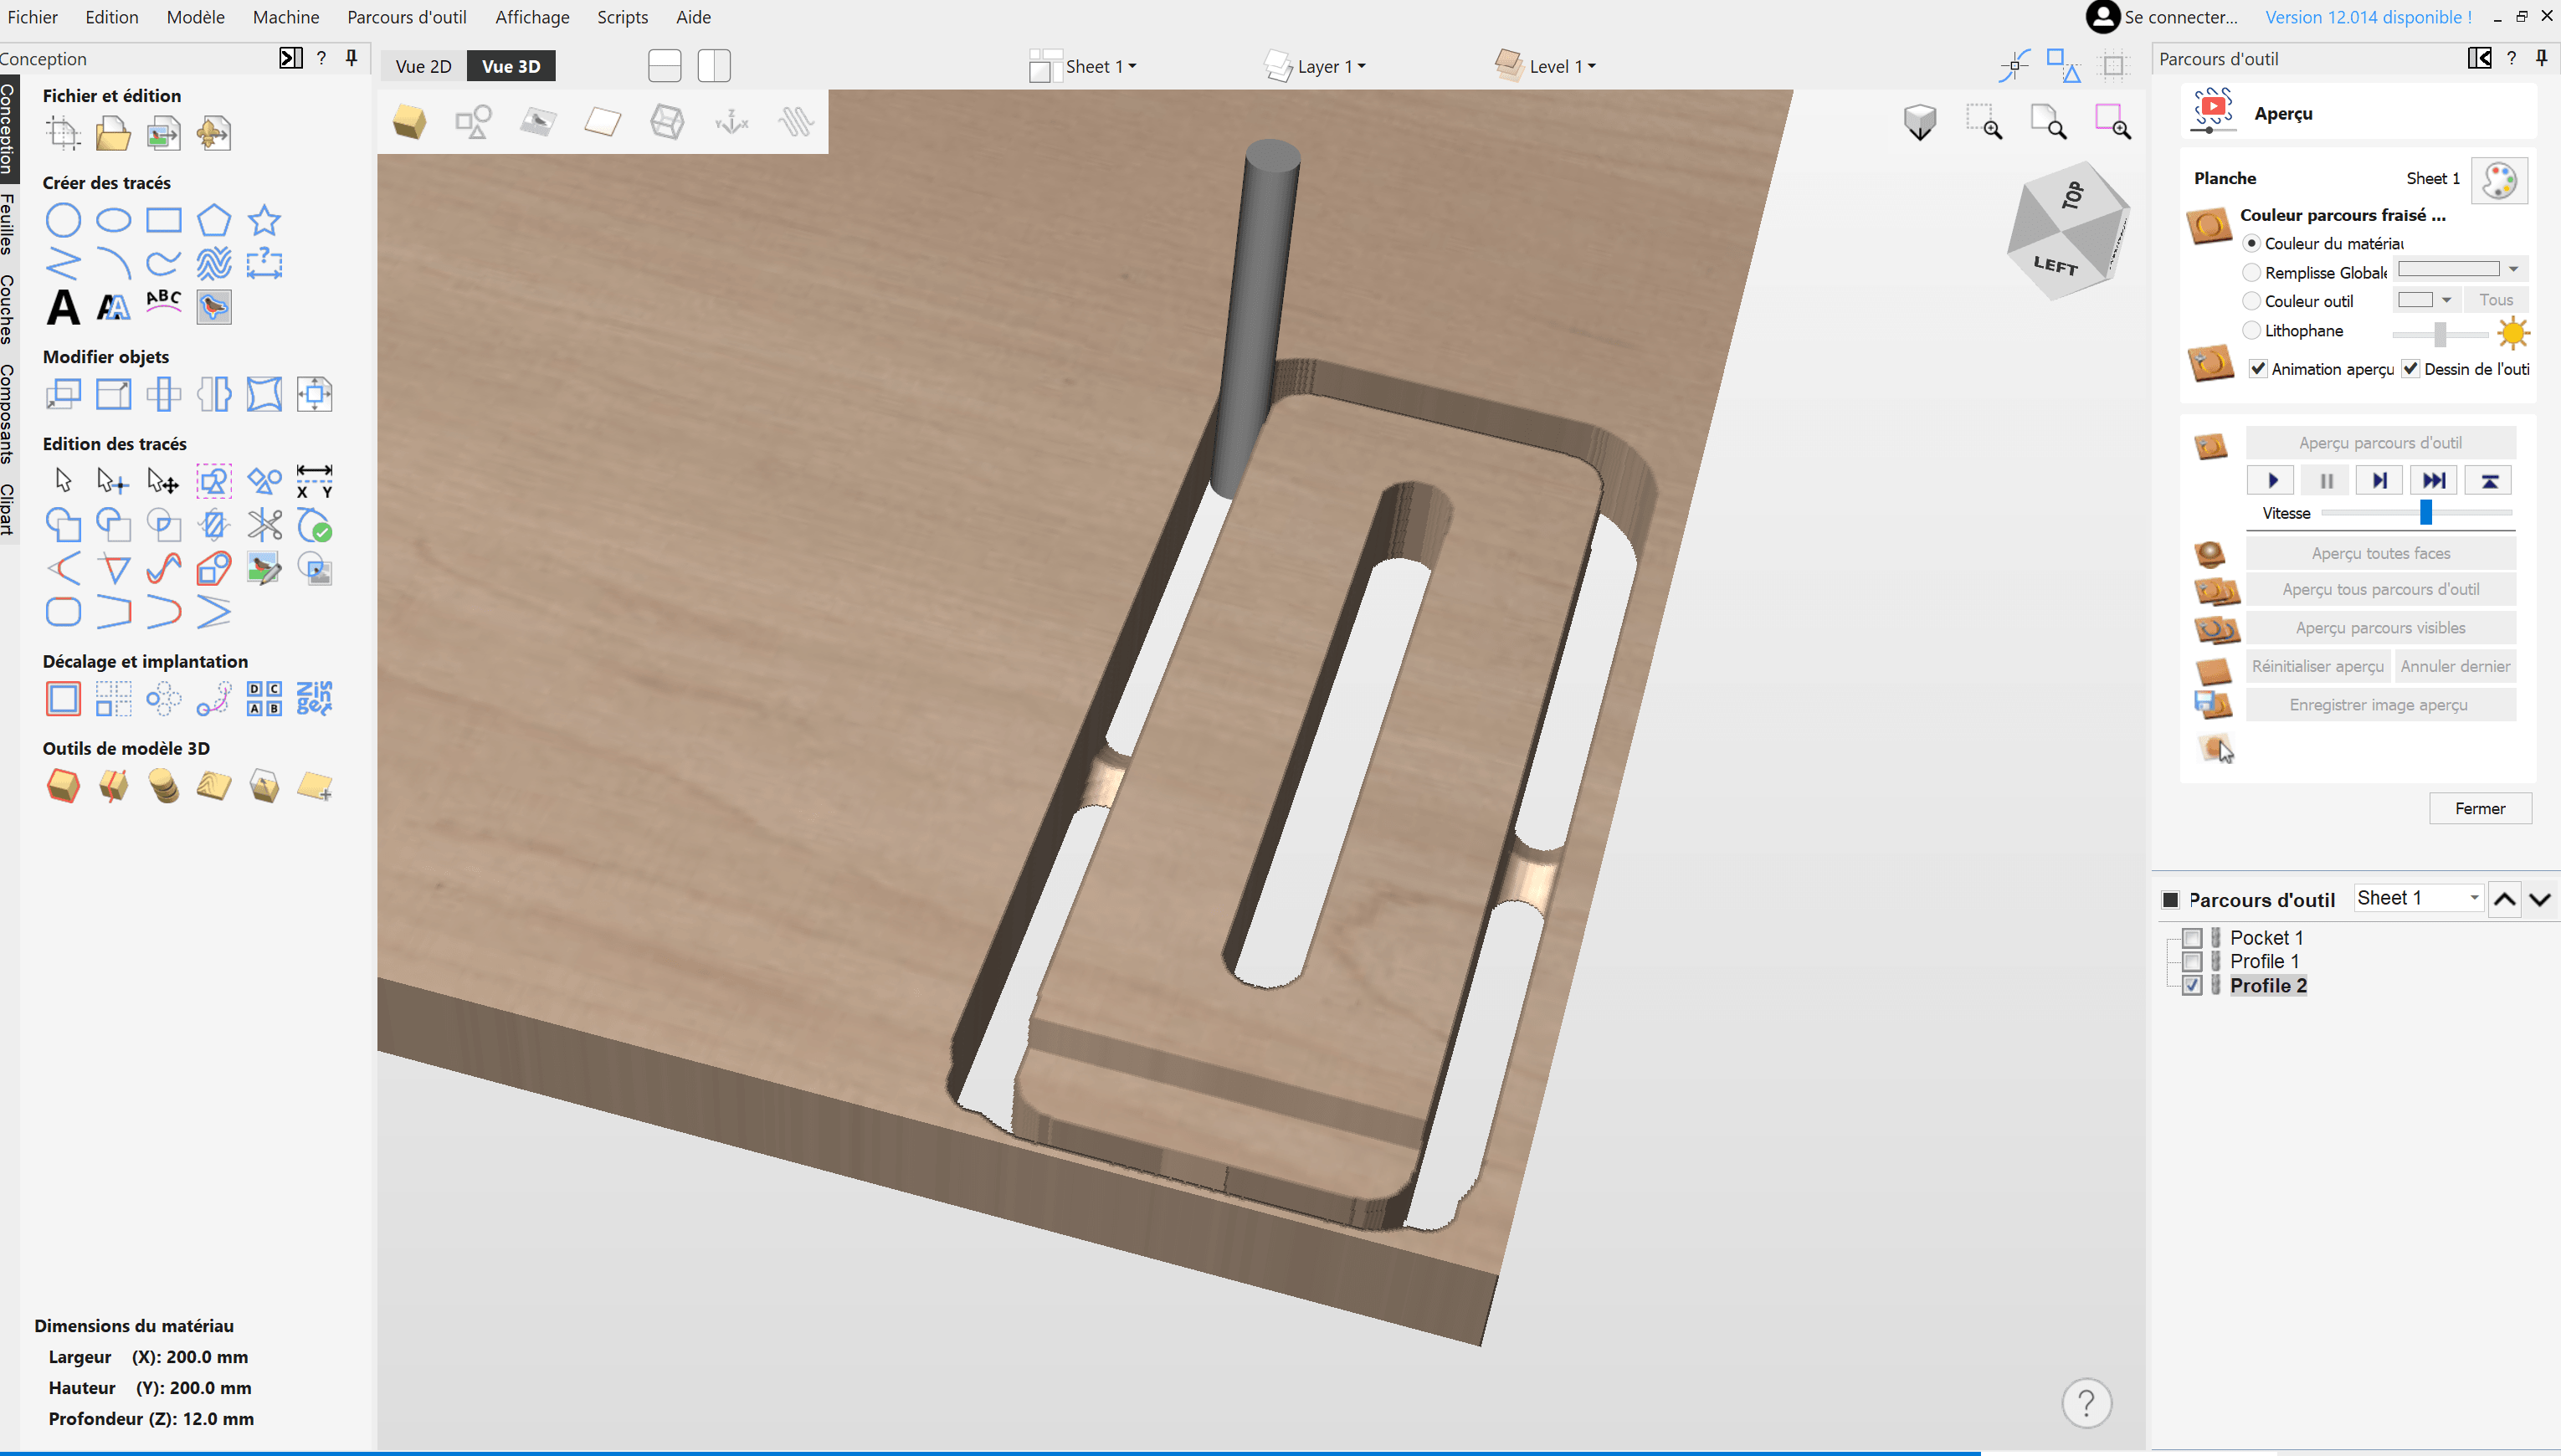
We have this model and we want to mill it so we can fit another part inside.

But this is what the milled part will look like (it will have rounded corners brecause of the round tool):

And it will be impossible to fit another part inside because there will be interferences:

In regular woodworking, we usually remove those rounded corners with a chisel.
But in the world of CNC milling where we want to automate things as much as possible, we need a way to avoid this issue and to allow the second part to fit inside the first one.
Dogbones are the solution used: by deforming the inner angles shapes, they add extra space for the tool to go in and remove the rounded corners.
Optimal Solution: Corner Dogbones
The most common dogbone solution involves integrating a circle recess of the diameter of your tool at each inner angle. This allows the corner of the other part to fit in.
However, we want this circle to be as invisible as possible, and the optimal technique for achieving this is to offset it by half the endmill diameter at a 45° (or 135°) angle.
This is the solution to avoid rounded corners that removes the less material, and therefore the most discreet. Note that the smallest the tool you use, the smallest the dogbone can be.


Alternative Solution: Side Dogbones
There is an alternative way to create dogbones that give a different aesthetic output: putting the dogbone on one side instead of on the corner.
Simply place a semi-circle of the diameter of your tool on the side of your shape, tangent to the other side of the corner, and the tool will manage to clear a 90° angle to allow assembly of a second part.
It's less discreet, but it can have its own charm.


Note that those dogbones could also be on the short side of the pocket, adding another possible aesthetic.
Automatic Dogbone Add-Ins for Autodesk Fusion 360
For those of you who are working in Fusion 360, there are super handy Add-Ins we advise you to download, that creates dogbone automatically!
1. DVE2000 Dogbone
This one is a totally free add-in you can download here.
Check the latest version, download the zip file in the "assets" of this version and follow this guide to install it.
It has basic functionnalities but will work perfectly for beginners or not so complex projects.
It adds a new function in Fusion that works this way:
- Make your design with regular edges and without thinking of dogbones.
- In the design tab, click on the dogbone icon.
- Select the edges you want to become dog bones, and enter the parameters according to the tool you are going to use, and the Radial offset you desire.
- It will automatically create dog bones on all the corners you've specified.
2. Nifty Dogbone
If you are using a lot of dogbones in your designs,
we recommend this more advanced Add-in : Nifty Dogbone.
It is not very expensive and will manage updatable dogbones on any complex design perfectly.
Check their page for a lot more information and details about dogbones.