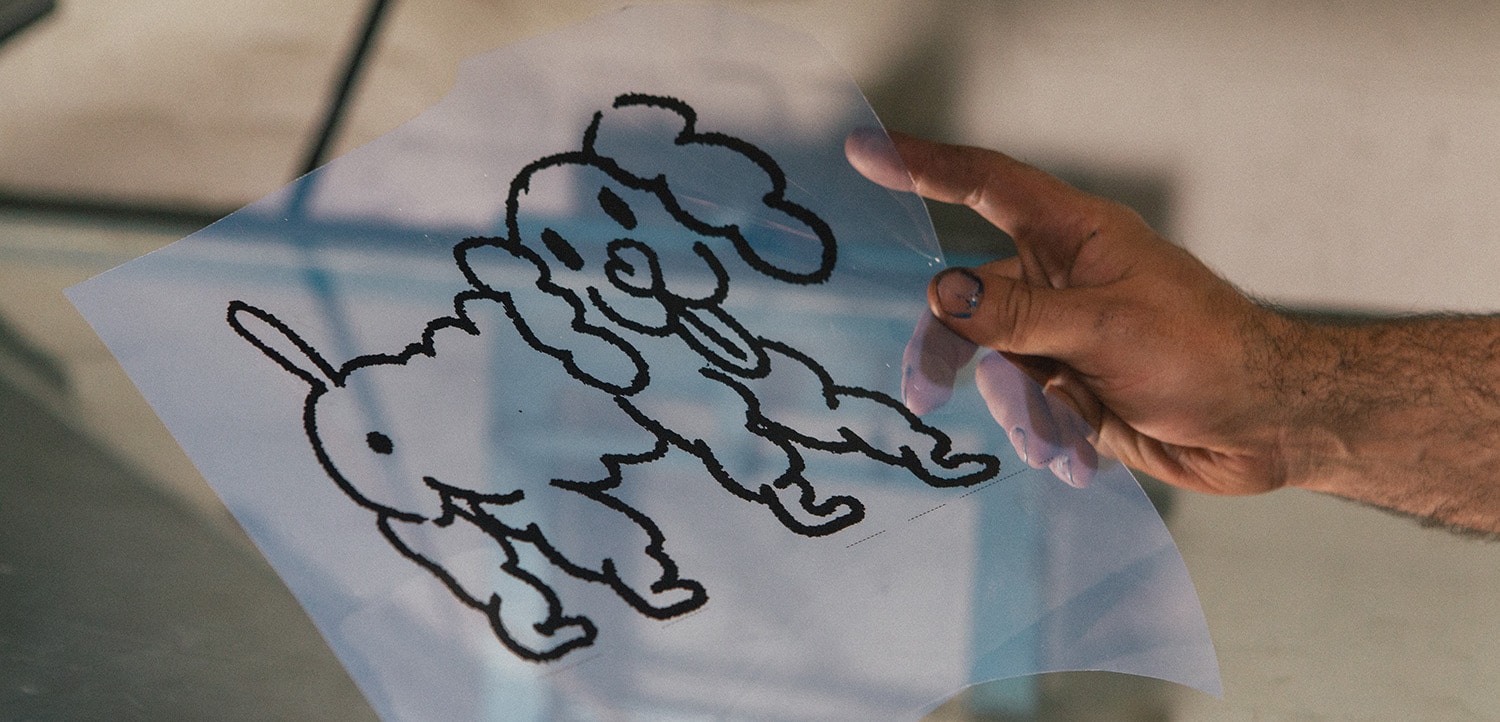
As you already printed your film master on transparent sheets, you’ll now need to prepare your screen to put your pattern on it. To do so, you’ll need to apply emulsion on the screen and to expose it with your film master to reveal it.
It is called the coating of a screen.
Coating your screen is the step that will allow you to prepare frames to accommodate your images. It is a crucial step in making a good stencil.
Some foam or soft material, at least with the inner dimensions of the screen
A transparent window panel or plexiglas, at least with the outer dimensions of the screen
Protective gloves and glasses
1. Preparing the emulsion
As our photopolymer emulsion is very sensitive to light, you’ll need to handle under a safelight or in half-light. However, as we offer pre-sensitized emulsion, you won’t need to do anything to prepare your emulsion before coating.
2. Cleaning the screen
Before applying anything on your screen, you’ll need to clean it. Photopolymer emulsion is very sensitive to grease when exposed to light: if the mesh is dirty, it might interfere during polymerization.
You can use washing-up liquid and a regular sponge to do so. Be sure to rinse your screen with clean water and to dry it before starting the coating.
3. Coating the screen
As mentioned above, this process must be done in half-light or in a room with a safelight. If you don’t have any material at home, just do it in a dark room with just enough light to see what you’re doing.
Pour the emulsion into the coating trough.
Put your screen vertically. Hold it with one hand by the top while the bottom is placed on the ground. With your other hand, hold firmly the coating trough, then apply it against the screen. You can then easily put a uniform layer of emulsion on all the mesh of the screen. The more the layer is even, the better the exposure will work.
Turn the screen around and repeat the process on the other side of the screen.
If the layer isn’t uniform or if you did put too much emulsion, don’t hesitate to make another pass through without putting emulsion again.
Once the screen is coated, you can put the excess of emulsion in your flask.
4. Drying the screen
When you've finished the coating, you’ll need to let the screen dry :
flat, so the coating doesn’t flow ;
in a total dark ;
without the mesh touching anything ;
in a place without dust, to avoid unwanted holes in the coating ;
In a dry place, if humidity is more than 50%, it might interfere with the polymerization ;
At home, you’ll need at least 4h of drying before your screen is totally dry. If you want to accelerate the process, put a fan and some heat in the darkroom, being extra careful on avoiding dust and not to exceed 35°C.
5. Cleaning the coating trough
You can put the extra emulsion remaining in the trough back in the emulsion bottle.
To clean the coating trough, you can wash it with clean water and washing-up liquid, then dry it with a rag.
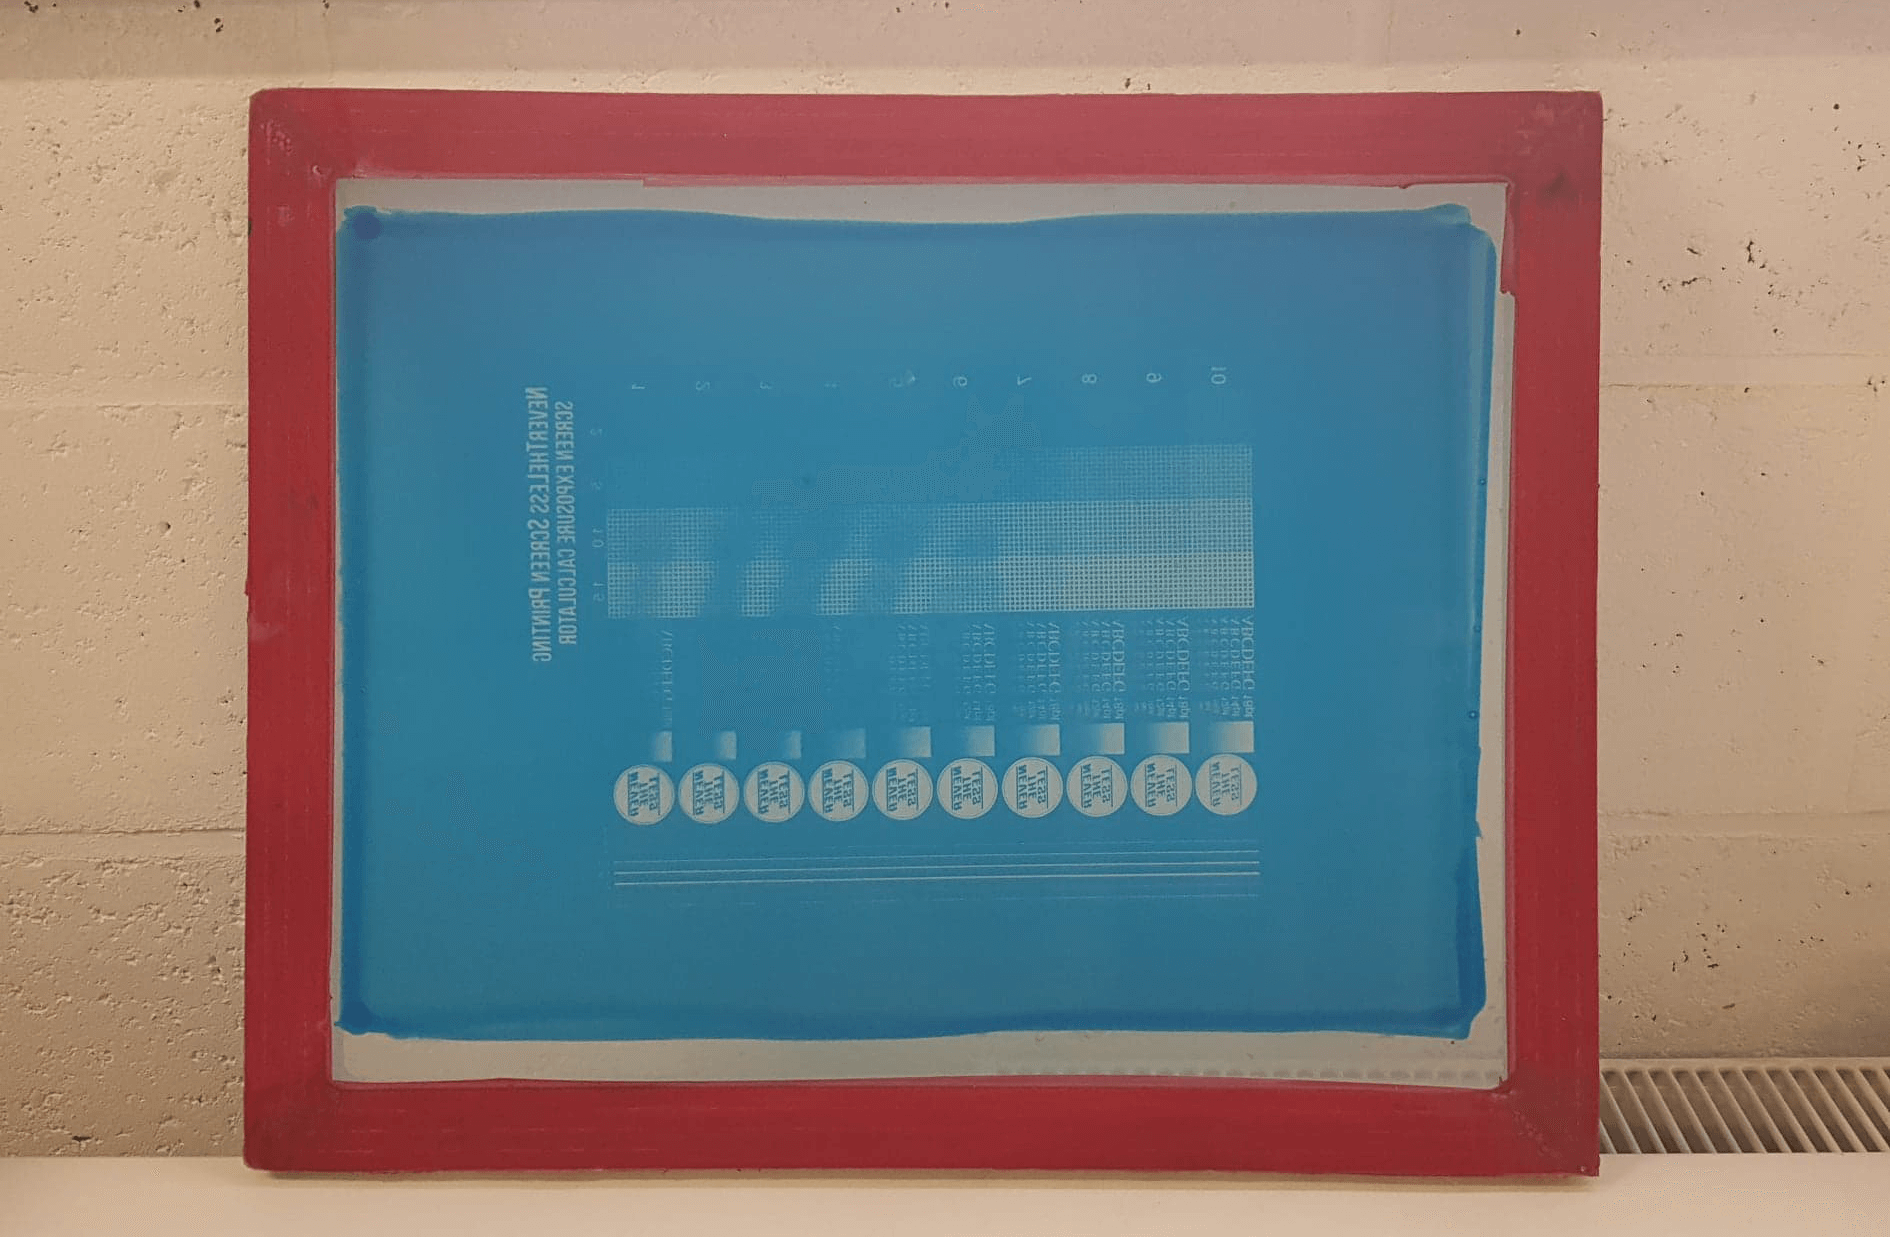
6. Exposing your screen
When your screen is ready and you have your film master, it’s time to expose it. The exposure duration will depend on your film master opacity, on the emulsion and on the light source you use. It is the major step in all the screen printing process: it will engrave your pattern on the mesh by burning the emulsion where there is no image while leaving it untouched where your image stand. Then, you’ll be able to wash your screen to reveal the image.
Pay special attention to this step, as a wrong exposure time will lead to a bad quality screen :
If the screen exposure is too short, the emulsion won’t be burned enough and some non-desired zones might appear at the revelation ;
If the screen exposure is too long, some details won’t appear.
If you use a different setup than ours or need very fine details, we strongly advise you to make an exposure test to know the best settings.
Set up your exposure unit. In our case, it's a simple halogen light on an aluminum profile.
Put the screen on your screen printing press (upside down!)
Put your film master (reversed!) on the screen.
As you will scrape the ink from the inside side of the screen, the film master will be in the right direction when you print.
When the film master is perfectly positioned, put a glass panel or transparent acrylic on it to flatten it on the mesh. If you don't have one, you can use transparent tape instead.
Turn on the light to engrave the screen for the proper exposure time.
7. Revealing your screen
Put a water flow on the inside side of the screen. Let the emulsion get dissolved for a few minutes.
Rub the screen - very gently - with the sponge, insisting on the pattern to remove the uncooked emulsion. Do it on both sides of the screen.
Rinse both sides of the screen with cold water and a low-pressure jet. Repeat the operation until water is clear and you see no froth.
When your pattern is revealed, pay attention that no emulsion block the mesh on printing zones. Let then dry the screen before using it.
You are now ready to start printing!
About Mekanika
Mekanika is a Belgian company based in Brussels whose ambition is to make local production more accessible thanks to a 100% open-source approach.
We design and produce high quality machines for CNC milling and screen printing, which have been recognized for their reliability and ease of use. Our tools are delivered as kits and fully documented, allowing to easily adapt them to specific needs.
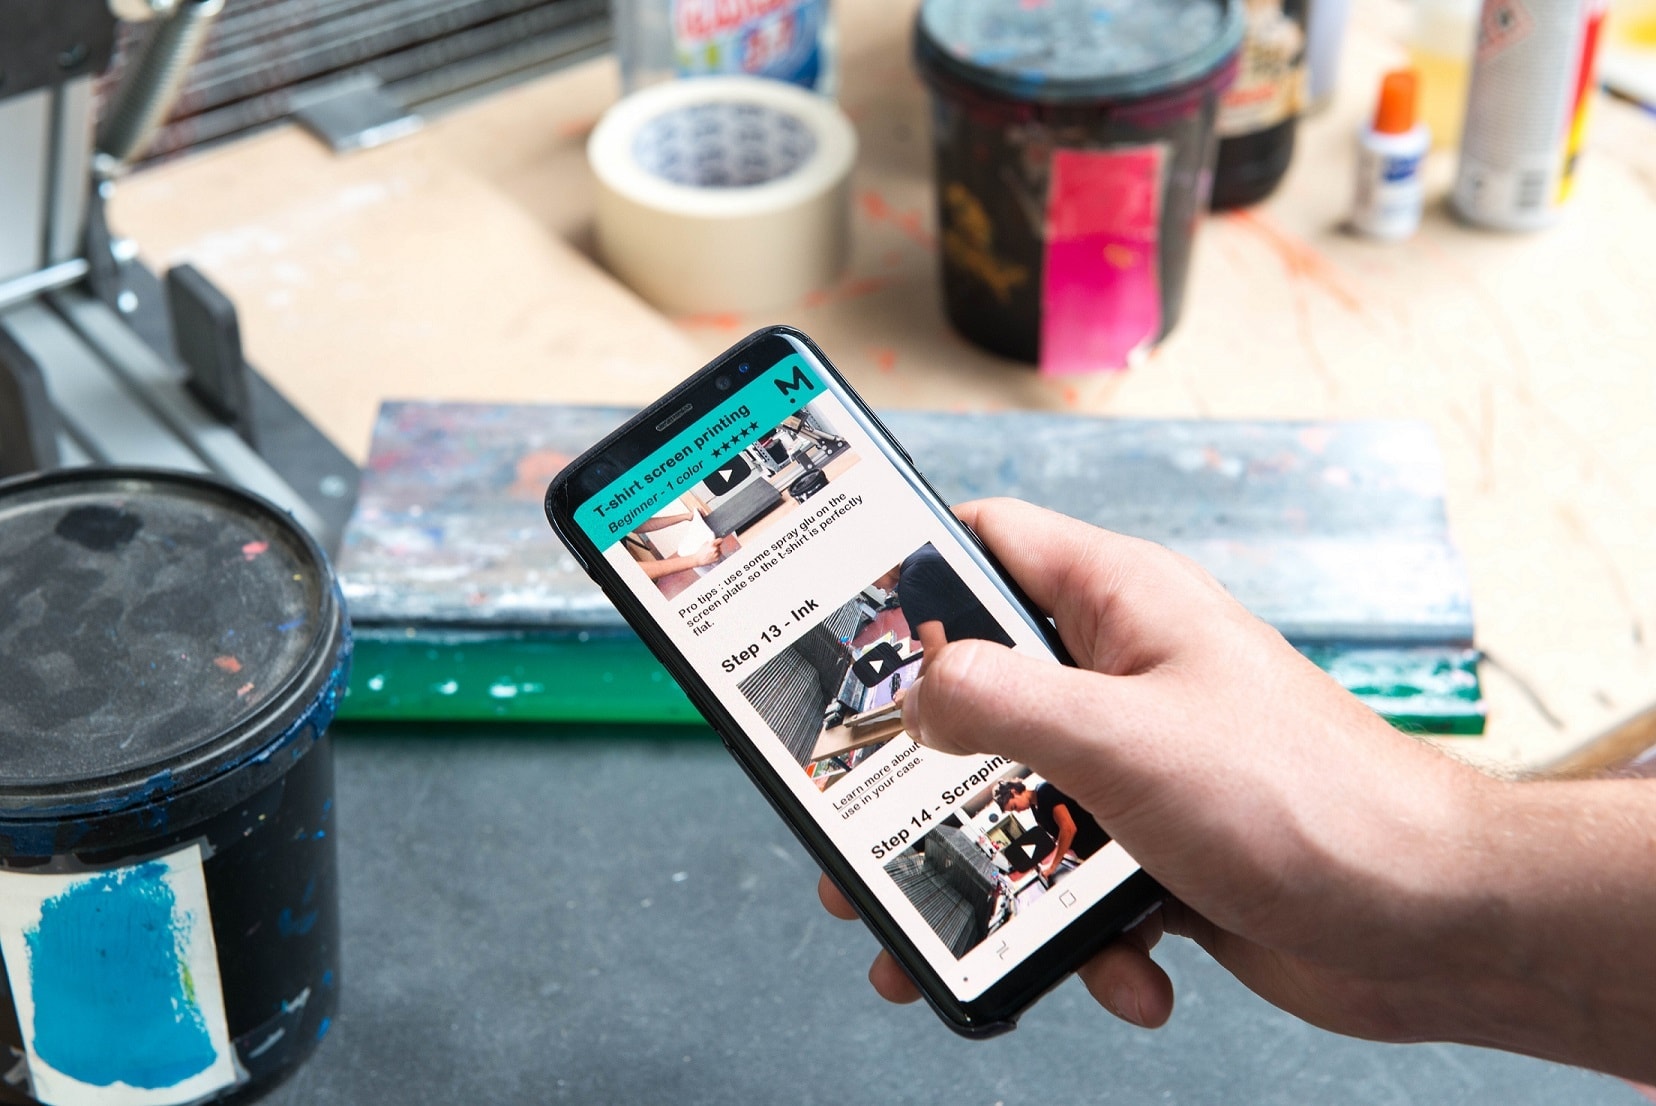
Here are 10 common mistakes that beginner screen printers make, and how to avoid them, with a set of video tutorials to take you through your first successful print, step by step.
Not sure which criteria should make you go for an inkjet or a laser printer? Check this article, understand the pros and cons and get printer recommendations.