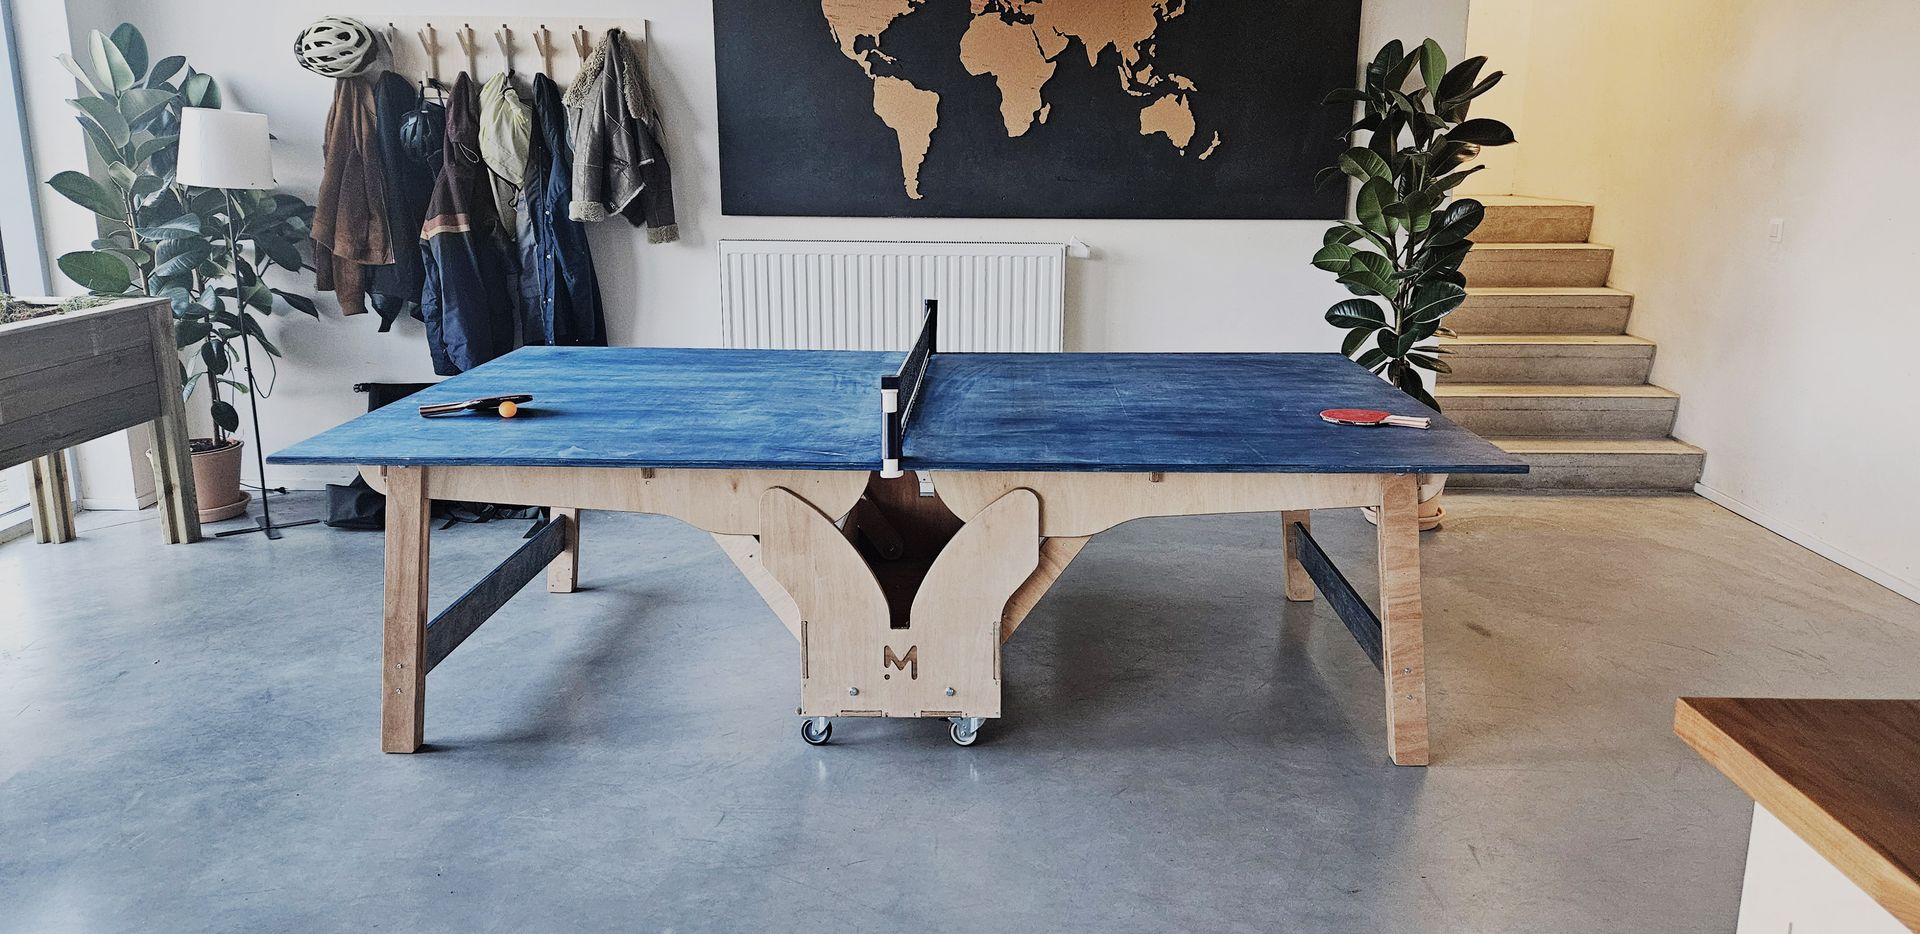
This project will guide you through the creation of a fully functional folding ping pong table entirely made of CNC cut wood panels.
IMPORTANT :
This project is an advanced project and many basic CNC milling and woodworking techniques won't be detailed here as we consider that you are already aware of them.
This project is meant to be cut on a full format CNC machine such as the Mekanika FAB model as many parts are too big for desktop models.
Even though it is possible to cut those parts on smaller models using the tilling technique, many adjustments would be needed on the file and this guide is not covering this technique (yet).
DOWNLOAD FILES :
| Fusion 360 file (.f3d) | Object 3D model (.obj) |
1/ Materials
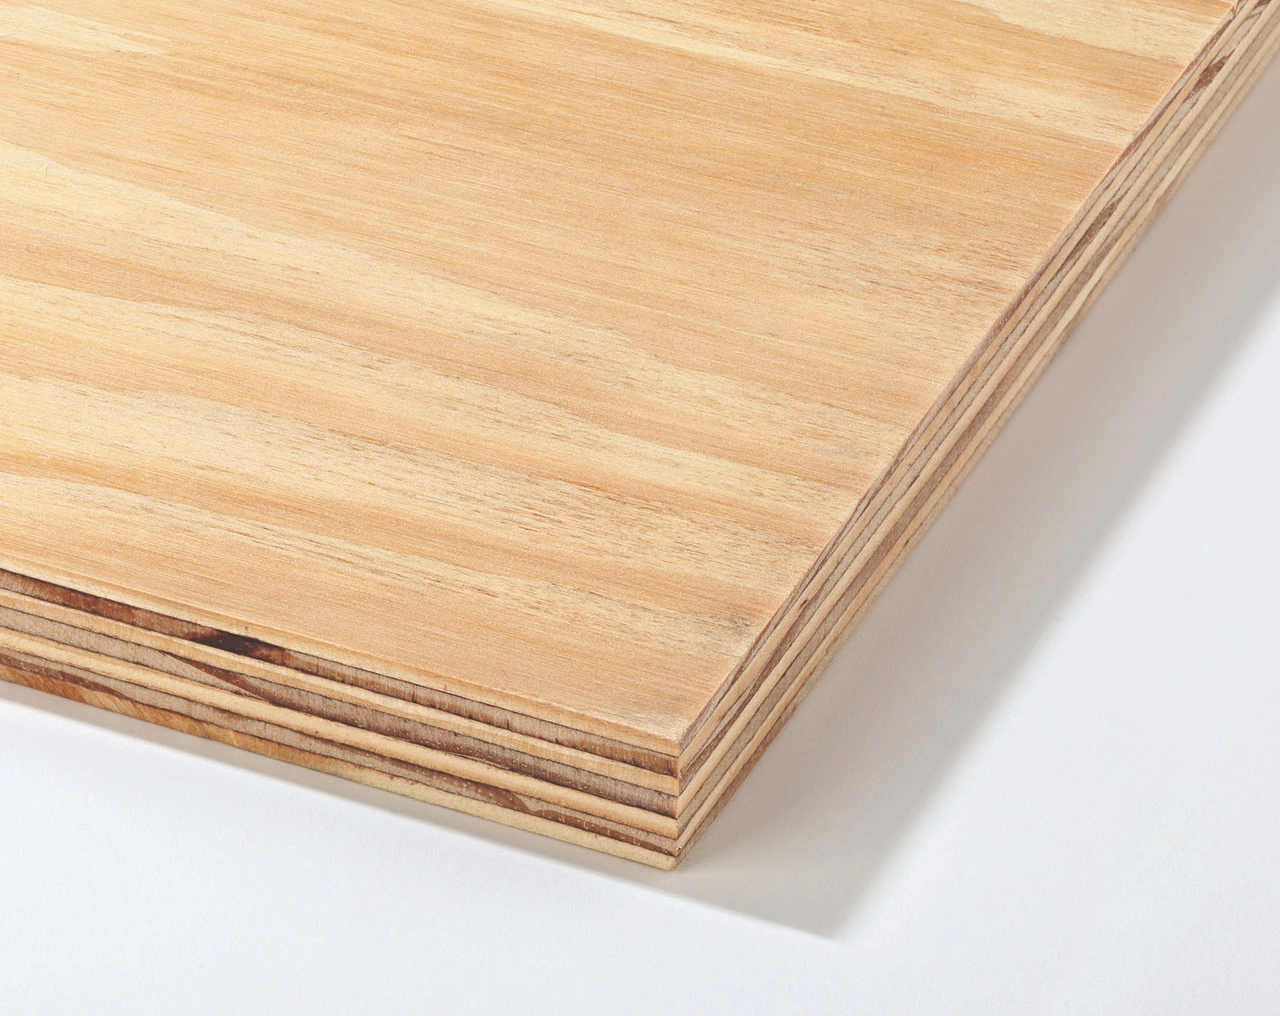
2x 18mm Plywood Panels
1220 x 2440mm minimum
For the table structure. It can be any other type of panel but we recommend plywood.
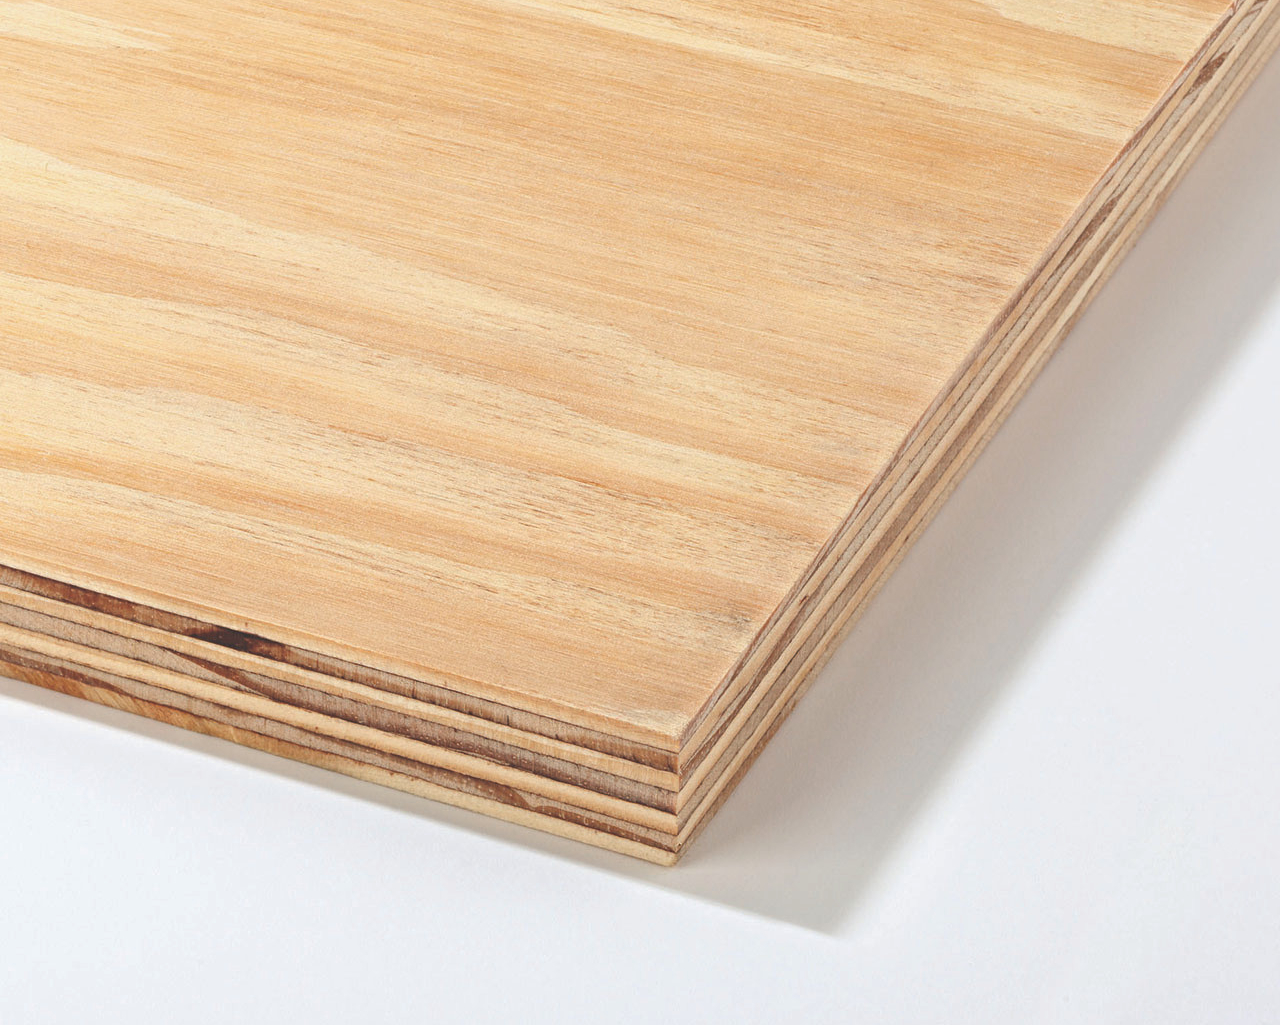
1x 18mm Plywood Large Panel
1530 x 3050mm (or 2x 1530x1530mm)
For the tabletop. It can be any other type of panel but we recommend plywood.

Hardware
- 12x M10x 100mm screws
(or M12 if you don't use steel tubes) - 12x M10 locking nuts
- 24x M10 large washers
- 4x Ø12x72mm steel tubes (Ø10mm hole)
- 8x Ø12x54mm steel tubes (Ø10mm hole)
- 1x piano hinge (L1200 x H34mm max.)
- 4x Swivel wheels (100mm high)
- Optional : 90° metal brackets
2/ End mill
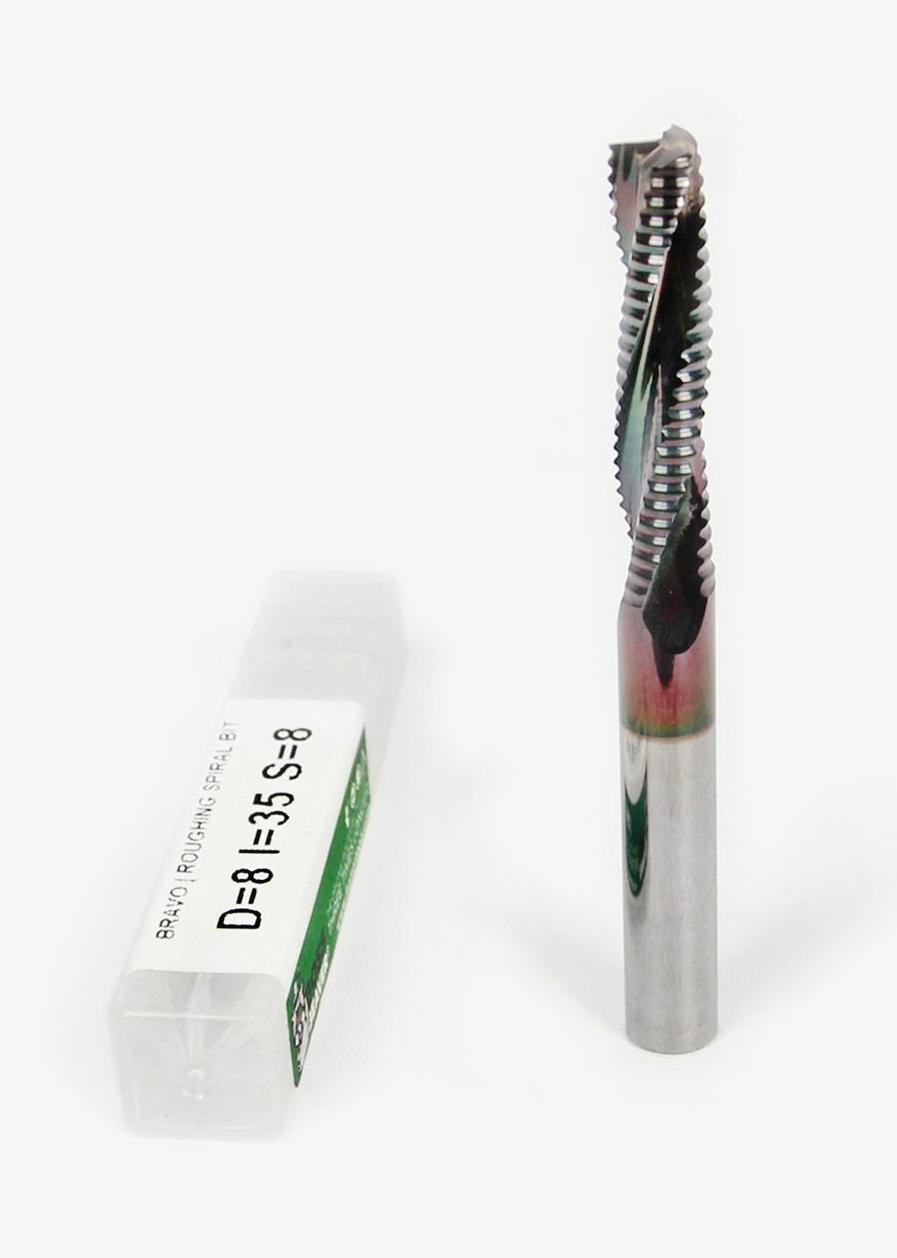
The file was prepared for a 8mm Upcut 3 flutes roughing bit from our Boss ultimate Fraiser kit.
It allows very quick cuts and rough finish are not a big deal here as all the parts will need manual sanding and finishing anyways.
If you want better finish you can either use a compression bit or start with a downcut for the first pass and then use an upcut for a better chip evacuation (but you must modify the g-code).
Any 8mm bit can be used for the provided G-codes, but feeds and speeds might need adjustments. We highly recommend to open the Fusion360 file and to adjust each operations parameters to your end mill and machine capabilities. You could also adapt it for 6 or 10mm end mills for example...
3/ Milling
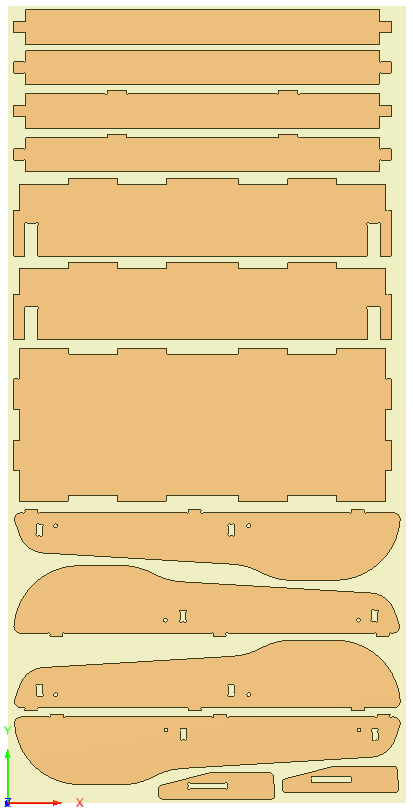
Panel 1 contains the simplest parts of the structure, they have basic operations.
Operations are ordered as follow :
(if you modify the file we recommend to keep the operation order)
- Bore : Drilling 12mm holes for the joints
- Pocket : Milling mortises inside parts for assembly
- Contour : Cutout of the parts
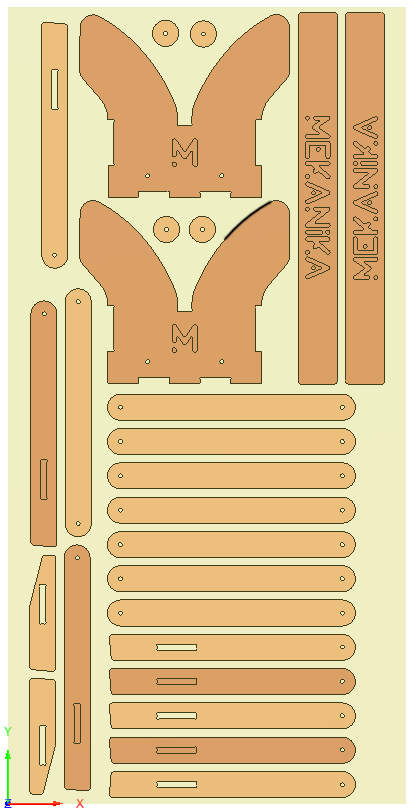
Panel 2 contains parts for the structure including engraved parts (dark orange).
Make sure those parts are cut using a downcut bit to have a nice finish on logos.
Operations are ordered as follow :
(if you modify the file we recommend to keep the operation order)
- Logo pockets : Low depth pocket
- Bore : Drilling 12mm holes for the joints
- Pocket : Milling mortises inside parts for assembly
- Contour : Cutout of the parts
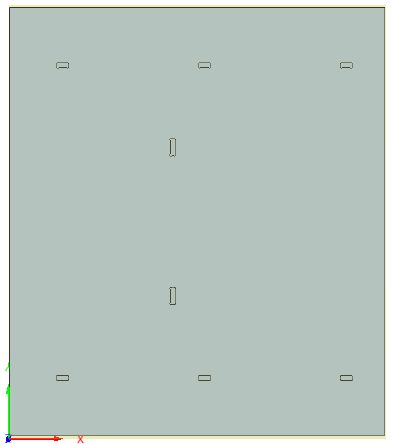
Panel 3 has to be cut twice !
It's the tabletop panels. They are big pieces and are sized a few centimeters smaller than official table tennis sizes so that it can fit in the Mekanika FAB.
(1320 x 1508mm) That's why we need a panel bigger than standard for them.
Feel free to adjust this size for your machine.
You could also cut it manually with a track saw.
If you do so, you should also remove the tenons on the structure's top edges as there won't be pockets on the tabletop to fit them.
Operations are ordered as follow :
(if you modify the file we recommend to keep the operation order)
- Pocket : Milling mortises for assembly
- Contour : Cutout of the part
4/ Finishes
Before assembly, make all due finishing on the parts:
- Clean the edges from tabs and add chamfers or filets to make them safer.
- Sanding everything to at least 120 grit is also a good idea as there are moving parts (sanded surfaces make articulations smoother by reducing friction).
- You can then apply your favorite colour/varnish/finish to all the parts.
5/ Assembly
Front feet are each made of 3 parts. Inner and outer parts are different (one with a full hollow area, one with partial pocket area) and the middle part has a direction. I recommend doing a blank mounting of all of the feet before fixing. Make sure the alignment of the parts are perfect and glue/screw them together.
Put the logo crossbars joining the front feet. Make sure the feet are in the same direction has they are not symetrical (there is an angle at the bottom).
It will fit in the pockets in the feet (might need a bit of hammering depending on your panels tolerances). You can then put screws to secure the crossbar to the feet.
The inner feet/articulations are easier (no direction). Align and glue/screw together 2 parts for each of the 4 articulations. The little round piece is a spacer that doesn't really need to be fixed to the rest (the joint will hold it).
Assemble the base of the table, do not hesitate to put a good amount of glue/screws as it can be solicited quite a lot in use.
Add the 4 swivel wheels to each corners of the base.
Assemble the 2 top structures made of 2 long arms joined by 2 crossbars.
The crossbar with tenons on top goes to the interior (bigger side of the arms).
Screw the crossbars to the arms firmly

You can then start the complete assembly of the structure.
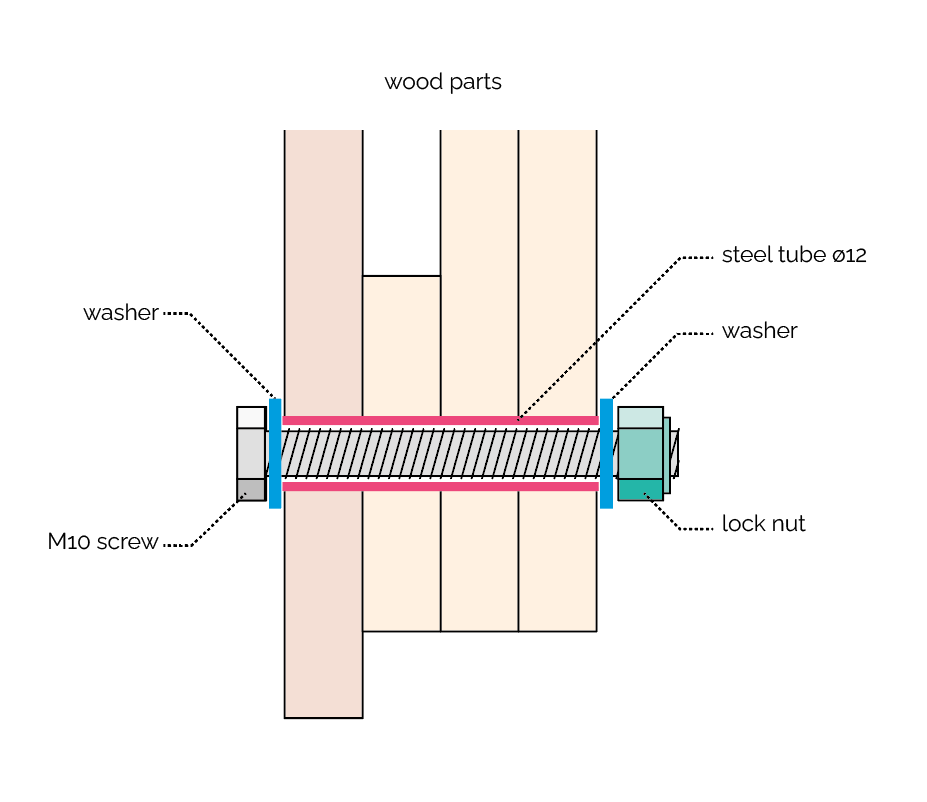
All joints are fixed this way:
Screw / washer / steel tube / washer / lock nut
It should not be tighten to much to allow rotation, but enough to avoid wiggling.
Use the 72mm tubes where the screw pass though 4 panels (bottom joints) and the 54mm where it passes through 3 panels (top joints).
You might need to have your tubes/screws cut to different sizes than those theoretical sizes, depending on your panels thickness, varnish coat, etc.
It is possible to not use steel tubes but the joints will be harder to move and probably less durable.
We'll now fix the piano hinge to the tabletop parts.
Put the two tabletops on one another. Make sure the 2 horizontal pockets on both panels are on the same side and that the top/playing sides are facing each other.
We recommend putting a temporary 4mm spacer between the panels to allow some clearance for the hinge.
Once prepared, align perfectly the two panels, fix them temporarily with clamps and screw the piano hinge to the edges that are the closest to the 2 horizontal pockets.
You'll need some friendly hands for the next step: you'll need to put the heavy tabletops on the structure :
Add some glue on all the top edges of the structures and proceed to put the panels on it with some friend's help.
My technique top handle this tricky step was to put it folded on one side of the structure and then unfold the second part (as seen on the animation).
Be careful as the tabletop is the key holding everything together, so until it is fixed, the structure can we wobbly and moving (that's why being 3 or 4 helps a lot).
If you have a big workshop, it might be easier to do this step before the previous one. It really depends on your technique, tools available and personal preference...
You can then screw the tabletop: depending on your tools you can:
- Put long screws in the crossbars from the bottom (to avoid screws on the surface).
- Use a pocket jig on the crossbars to fix screws in diagonal to the table top (be careful that it doesn't go through the surface).
- Use metal brackets to fix the tabletop to the arms and crossbars.
Fix it strongly as every folding of the table will apply a lot of tension to this fixation.
And it's over !
You can get a quick-fix net from any sport shop and some rackets and balls.
Wait to be sure that all glues are dried before folding it.
it should fold easily. You can also add some wax on the moving parts to help with the friction if it is to high.
Enjoy your games, feel free to send us pictures of your creation and/or improvements on this open source project!